Table of Contents
Advertisement
Quick Links
Important Safety & Warning Precautions
Make sure to read this user's guide and follow the procedures below.
Caution: The screen's Black Top Drop is already set to its maximum drop distance. There is NO extra
Black Top Drop in the roller. Please be aware of this as it will void your warranty with AKIA Screens.
Unapproved changes or modifications (except for cutting the power cord for hardwire installations) to this
unit are prohibited and will void your warranty. For more information, please contact our Technical Support
Department at (877) 511-1211.
•
Please retain this user's guide for future reference.
•
To avoid damaging the unit, do not use with any unauthorized accessories not recommended by the
manufacturer.
•
Handle the unit carefully during transportation to avoid any damages.
•
To ensure safe and reliable operation, direct connection to a properly grounded power source is
advised.
•
The power outlet supplying power to the unit should be close to the unit and easily accessible.
•
Do not install the unit on uneven or inclined surfaces.
•
Do not put heavy objects on the power cord and position it properly to avoid creating a trip
obstacle.
•
Never overload the power cord to prevent an electric shock or fire due to a loose contact or a short
circuit.
•
There are not user serviceable parts in this unit. Do not attempt to disassemble this unit by yourself.
No one except authorized technicians can open and make repairs to this unit.
•
Make sure the power source this unit is connected to has a continuous power flow.
•
If there is need to use an extension cord, make sure the cord has an equal rating as the appliance to
avoid overheat.
•
Do not handle the power plug when your hands are wet or your feet are in contact with water.
Do not use this unit under the following circumstances.
•
Disconnect the power cord under the conditions of heavy rain, wind, thunder or lightning.
•
Avoid direct Sunshine, rain shower and moisture.
•
Keep away from fire sources and high temperature to prevent this device from overheating.
•
Cut off the power supply first before transportation or maintenance.
•
Fully disconnect from the power supply when the unit is not in use for a long period of time, as
should be done with any other electric household appliance.
•
To avoid possible injury and/or an electric shock, do not attempt to use the screen if there is
obvious damage or if there are any evident broken parts.
NOTE:
This equipment has been tested and found to comply with the limits for a Class B digital device, pursuant to
Part 15 of the FCC Rules.
Rev.010918-BR
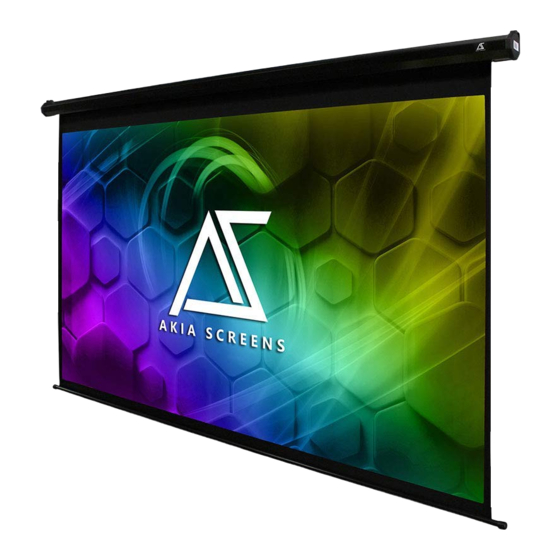
Motorized Series
Electric Wall/Ceiling Projection
Screen
USER'S GUIDE
1
www.akiascreens.com
Advertisement
Table of Contents

Summary of Contents for Akia Screens Motorized Series
- Page 1 Caution: The screen’s Black Top Drop is already set to its maximum drop distance. There is NO extra Black Top Drop in the roller. Please be aware of this as it will void your warranty with AKIA Screens. Unapproved changes or modifications (except for cutting the power cord for hardwire installations) to this unit are prohibited and will void your warranty.
- Page 2 C. Snap link x2 D. M6.5 eyebolt screw x2 E. RF Remote x1 F.Wireless 5-12v trigger cable G. AAA batteriesx2 Installation Instructions For installation assistance, please consult a professional Installer. AKIA Screens is not liable for faulty installations. Rev.010918-BR www.akiascreens.com...
- Page 3 A. Wall Mount Step 1: Measure and mark the (A) distance between the Step 2: Drill a hole for each screw hole on the marked two holes on each bracket. areas. Insert a dry-wall anchor into the wall. Then screw the M5x60 Screw in each dry-wall anchor in leaving about 1/8”...
- Page 4 (Please be aware, the projector on/off cycle may take longer to fully activate. It usually takes around 20- 30seconds for full off and on cycle each time) The back of the projector DC 5-12V out Wireless 5-12V Stop trigger cable Down For more information, technical support or your local AKIA Screens contact, please visit www.akiascreens.com Rev.010918-BR www.akiascreens.com...
- Page 5 SCREEN MATERIAL DISCLAIMER: At first, the screen material may have a series of noticeable horizontal lines on its surface. These are known as memory lines. Memory lines are caused when the pliable projection material is rolled up and stored for the duration between its production and sale.
- Page 6 スクリーンの素材の免責事項: スクリーン生地は、出荷直後に限り、その表面に、目で見える水平の線が付いている場合があります。これは、 「メモリーライン」と呼ばれる既知の現象です。メモリーラインは、スクリーンの在庫期間、スクリーン生地 が巻き上げられたままの状態で保存されたことが原因で発生する現象です。この現象は、正常であり、かつ、 簡単に直るものです。また、テンションなしのスクリーンでは、スクリーン生地の縁の部分がカールしている ことがあります。これは主に気温が低いことに起因して発生する現象です。メモリーラインやカールを直すに は、設置後の最初の数日間、部屋を暖かくした状態(24 度以上)でスクリーンを下ろしたまま放置し、その後、 通常の使用(アップ/ダウン)を開始してください。放置することでスクリーンの生地を伸ばし、メモリーライ ンやカールを直すことができます。万一、数日経っても直らない場合、スクリーンを末永くご使用いただける よう、交換致しますので販売店までお申し付けください。 AVISO SOBRE MATERIAL DE TELA DE PROJEÇÃO: Inicialmente, o material da tela poderá ter uma série de linhas horizontais visíveis na sua superfície, no início. Estas são conhecidas como linhas de memória. As linhas de memória são causadas quando o material de projeção flexível é enrolado e armazenado durante o período entre a sua produção e utilização.
- Page 7 Standard throw projected image shown below (waves are not visible) This short throw projected image shown below, demonstrates how waves on the surface become more pronounced: Actual Projection Images by two different AKIA Screens model with Standard Throw Projector (Model #:ViewSonic Pro8300) vs. Short Throw Projector (Model # :BenQW710ST) Rev.010918-BR...
- Page 8 Direct Sunlight Disclaimer Projection Screens from any maker are not designed for use as a window curtain and should never be exposed to direct sunlight. Prolonged exposure to solar radiation will destroy synthetic materials and such damage is not covered by our standard warranty. See examples below.


Need help?
Do you have a question about the Motorized Series and is the answer not in the manual?
Questions and answers