Advertisement
Product Description:
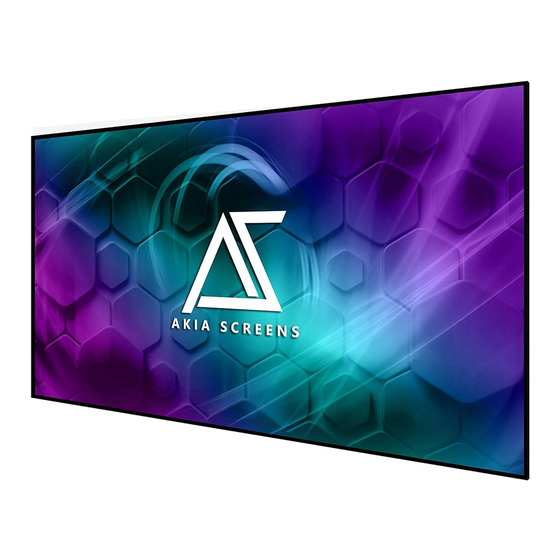
The Edge Free Series is a fixed frame projection screen that uses Akia's EDGE FREE® technology. The EDGE FREE®
design resembles a giant size flat panel TV display. The Aeon includes a bezel trim to further enhance the frame
appearance and absorb projector overshoot.
Thank you for choosing an Akia fixed frame projection screen! Congratulations on your new Edge Free Series
purchase! Please read through this user guide before utilizing the screen. Correct usage and maintenance will ensure
a long product life.
Care and use instructions:
Dust, dirt, and scratches on the projection surface will affect the picture quality, please take note of the points
below to prevent that from occurring:
Use a dry microfiber cloth to remove dust from the screen's surface.
When cleaning, use a damp microfiber cloth with warm water to remove any marks.
Never rub or apply pressure when cleaning the surface.
Never attempt to use any solutions, chemicals or abrasive cleaners on the screen surface.
In order to avoid damaging the screen, avoid touching it directly with your fingers, pens/pencils or any other
sharp or abrasive objects.
022323KP
EDGE FREE Series
EDGE FREE® Fixed Frame Screen
USER'S GUIDE – Spring Type
www.akiascreens.com
1
Advertisement
Table of Contents

Summary of Contents for Akia Screens EDGE FREE Series
- Page 1 Product Description: The Edge Free Series is a fixed frame projection screen that uses Akia's EDGE FREE® technology. The EDGE FREE® design resembles a giant size flat panel TV display. The Aeon includes a bezel trim to further enhance the frame appearance and absorb projector overshoot.
- Page 2 2. Hardware Parts List Item Parts List 100” 125” 145” Frame Center Joints M5x15 Frame Elbow Joints M5x15 Edge trim Center Joints M4x4 Edge trim Elbow Joints M4x4 M5x15 Screws Frame Springs Spring Hook Wall Brackets Wall Screws-35 CSK M4x4 Screws Center Support Bar White gloves Edge Trim Spring...
- Page 3 Step 1: Position the pieces of the frame in the arrangement shown below on a clean area. Step 2: Insert center joint (a) connectors and elbow joints (b) into the corresponding frames pieces as shown in the illustration below. Make sure all holes are in alignment and the frame pieces are flush (no gaps). They should form perfect right angles.
- Page 4 Step 5. Carefully and gently place the assembled frame on top the screen material as shown below. Make sure to not allow the angle edge of the frame to come in direct contact with the screen material to avoid puncturing it. Step 6.
- Page 5 Step 8. Starting from all four corners, hook the Springs (f) through the hole located on the screen material’s outer edge. First, hook the spring to the frame and then use the Spring hook (g) to attach to the material. Continue attaching the remainder of the springs to the rest of the corners in the order shown below.
- Page 6 Correct material installation - Corners of the screen material are properly wrapped around the corner edges of the frame and material is evenly tensioned and flat, creating a nicely taut surface. Incorrect material installation -The corners of the screen material are not properly wrapped along the edge of the frame leaving the material with unbalanced tension and an uneven finish.
- Page 7 4. The design of the wall brackets allows the frame to slide over them through its sides. This is an important feature of the installation design as it allows your screen to be properly centered. For a local Akia Screens contact or Technical Support, Please visit www.akiascreens.com www.akiascreens.com...


Need help?
Do you have a question about the EDGE FREE Series and is the answer not in the manual?
Questions and answers