Sign In
Upload
Download
Table of Contents
Contents
Add to my manuals
Delete from my manuals
Share
URL of this page:
HTML Link:
Bookmark this page
Add
Manual will be automatically added to "My Manuals"
Print this page
×
Bookmark added
×
Added to my manuals
Manuals
Brands
VERDER Manuals
Water Pump
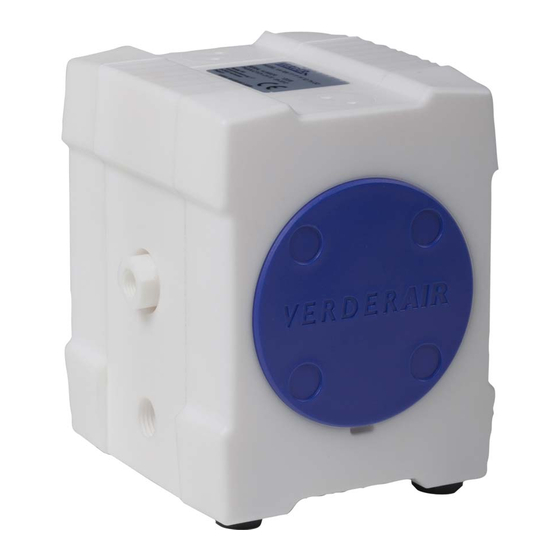
VERDERAIR PURE
Manual
VERDER VERDERAIR PURE Manual
Hide thumbs
1
Table Of Contents
2
3
4
5
6
7
8
9
10
11
12
13
14
15
16
17
18
19
20
21
22
23
24
page
of
24
Go
/
24
Contents
Table of Contents
Troubleshooting
Bookmarks
Table of Contents
Table of Contents
Pump Matrix
Atex
Warnings
Installation
Operation
Maintenance / Repair
Trouble Shooting
Parts and Kits
Dimensions and Mounting
Performance Charts
Technical Data
Torque Values
Optional Equipment
Customer Services & Guarantee
Advertisement
Quick Links
1
Table of Contents
2
Pump Matrix
3
Installation
4
Operation
5
Maintenance / Repair
6
Parts and Kits
Download this manual
VERDERAIR PURE
The most efficient diaphragm pump
Find you local supplier
at www.verderair.com
or scan the QR code
Table of
Contents
Previous
Page
Next
Page
1
2
3
4
5
Advertisement
Table of Contents
Need help?
Do you have a question about the VERDERAIR PURE and is the answer not in the manual?
Ask a question
Questions and answers
Related Manuals for VERDER VERDERAIR PURE
Water Pump VERDER Verderflex Vantage 5000 Series Original Operating Manual
Peristaltic cased tube pump (58 pages)
Water Pump VERDER Verderflex Rapide Original Operating Manual
Peristaltic industrial tube pump (28 pages)
Water Pump VERDER VERDERAIR CONT-EX Manual
Solid machined air operated diaphragm pumps (26 pages)
Water Pump VERDER VERDERAIR HC-PURE FD Series Manual
(24 pages)
Water Pump VERDER VERDERAIR E-PURE ATEX Manual
The most efficient electric diaphragm pumps (28 pages)
Water Pump VERDER VERDERAIR HC-PURE SB Series Manual
(24 pages)
Water Pump VERDER VERDERAIR VA 40 Instructions-Parts List Manual
Aluminium and stainless steel air-operated diaphragm pumps (34 pages)
Water Pump VERDER VERDERAIR VA 40 Instructions And Parts List
Air-operated diaphragm pumps (36 pages)
Water Pump VERDER VERDERAIR VA 40 Instructions Manual
(34 pages)
Water Pump VERDER VERDERAIR VA 25 Instructions-Parts List Manual
Hp air-operated diaphragm pumps (32 pages)
Water Pump VERDER VERDERAIR VA 25 Repair Parts
Air-operated diaphragm pump (35 pages)
Water Pump VERDER VERDERAIR VA 25 Instructions-Parts List Manual
Air-operated diaphragm pumps (34 pages)
Water Pump VERDER VERDERAIR VA-P08 Manual
(24 pages)
Water Pump VERDER VA 50 Instructions-Parts List Manual
Air-operated diaphragm pumps (36 pages)
Water Pump VERDER HI-CLEAN VA-H20 Instructions Manual
Diaphragm pumps (30 pages)
Water Pump VERDER VERDERAIR VA-2E Instructions Manual
(56 pages)
This manual is also suitable for:
Verderair va-p08
Verderair va-p10
Verderair va-p15
Verderair va-p25
Verderair va-p40
Verderair va-p50
...
Show all
Verderair pure va-p08
Verderair pure va-p10
Verderair pure va-p15
Verderair pure va-p25
Verderair pure va-p40
Verderair pure va-p50
Verderair pure series
Va p08
Va p10
Va p15
Va p25
Va p40
Va p50
Table of Contents
Print
Rename the bookmark
Delete bookmark?
Delete from my manuals?
Login
Sign In
OR
Sign in with Facebook
Sign in with Google
Upload manual
Upload from disk
Upload from URL


Need help?
Do you have a question about the VERDERAIR PURE and is the answer not in the manual?
Questions and answers