Advertisement
Quick Links
Advertisement

Subscribe to Our Youtube Channel
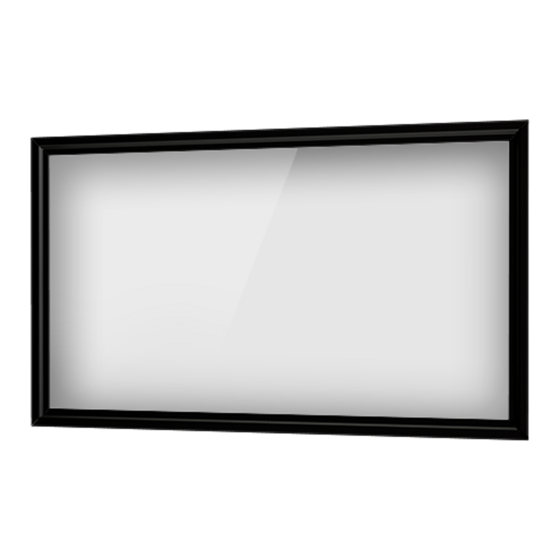
Summary of Contents for Da-Lite Polacoat Da-Plex Semi-Rigid
- Page 1 INSTRUCTION BOOK FOR Polacoat Da-Plex Semi-Rigid Screen...
-
Page 2: Screen Orientation
Preparation It requires at least four people to assemble a Da-Plex Semi-Rigid. To maintain optimal image geometry and screen alignment, a flat and straight wall free from obstructions and angular distortions should be used. A wall opening with 5” + the ordered viewing height and 5”... -
Page 3: Included Hardware
Never apply adhesive tapes to the coated surface. Always be careful to guard the screen against damage from moving scaffolding, ladders, or staging materials. General Cleaning Never use solvents on or near Da-Lite rear projection screens. Remove dust by gently blotting the screen with a soft, clean, lint-free cloth. Dry Soil Marks Clean with VM&P Naptha or with Da-Lite Lenskleen and a soft, clean, lint-free cloth. -
Page 4: Installation
Da-Lite does not recommend wrapped around the roll at the edge/end of the surface. Once... - Page 5 Installation (continued) 3. While the screen is resting, the T-tracks can be installed into 4. Using the other 4” piece of trim as a guide, secure the opposite end of the T-track section on the end hole with a #10 the wall opening.
- Page 6 Installation (continued) 6. Mount the first lifting bracket in the top section of the wall 8. Position the third lifting bracket 2⅛” from the back of the opening behind the T-track. Measure 2⅛” from the back T-track in the center of the top section of the wall opening (projector side) of the T-track to the back edge of the lifting and mount with 1/4”X 1”...
- Page 7 Installation (continued) 9. At the unrolled screen surface, peel back the protective paper 11. Place the frame sections around the screen surface. Attach to approximately 3/4” on all sides. This will allow the frame to be frame over the rubber gasket with set screws facing upwards. attached easily to the screen surface.
- Page 8 Installation (continued) 14. Feed the first rope through the large hole on the left hoisting 16. Lift the screen assembly to a vertical position on the floor bracket so that the knotted end makes contact with the parallel to the wall opening. On the projector side of the wall inside of the bracket.
- Page 9 Installation (continued) 17. Raise the screen assembly into the wall opening. On the projector side, one person will remain holding all three ropes without slack, guiding the screen into place. On the audience side, two people will lift the screen vertically, one on the left and one on the right side.
- Page 10 Installation (continued) 18. At the top section, align the T-track and the frame. Insert eight 21. Tighten the remaining tensioning assemblies on the top tensioning assemblies (four per frame section for larger section of the screen assembly until all eight (four per frame screens).
- Page 12 Da-Lite’s sole obligation under this warranty shall be to repair or to replace (at Da-Lite’s option) the defective part of the merchandise. Returns for service should be made to your Da-Lite dealer. If it is necessary for the dealer to return the screen or part to Da-Lite, transportation expenses to and from Da-Lite are payable by the purchaser and Da-Lite is not responsible for damage in shipment.


Need help?
Do you have a question about the Polacoat Da-Plex Semi-Rigid and is the answer not in the manual?
Questions and answers