Table of Contents
Advertisement
Quick Links
Advertisement
Table of Contents

Subscribe to Our Youtube Channel
Related Manuals for Da-Lite Polacoat Flex Plex


Summary of Contents for Da-Lite Polacoat Flex Plex
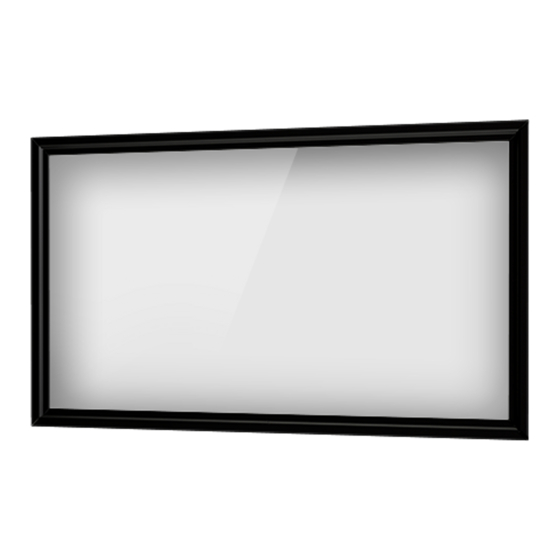
- Page 1 INSTRUCTION BOOK FOR Polacoat Flex Plex Screen...
-
Page 2: Maintenance And Protection
Milestone makes no representation of warranty, expressed or implied, regarding the information contained herein. Milestone assumes no responsibility for accuracy, completeness or sufficiency of the information contained in this document. Da-Lite® is a registered trademark of Milestone AV Technologies. All rights reserved. Maintenance and Protection... - Page 3 Tools Required for Installation (not provided) 1/2" Open Wrenches Knife Screw Gun/Drill and Drill Bits (2) Ladders Rubber Mallet Measuring Tape Level 1/8” & 3/16” Hex Keys ¼” x 1” Hex Lag Screws #10 x 1” Countersunk Flat Head Screws...
- Page 4 Included Parts and Hardware NOTE: Quantities listed are for standard sizes. Quantities will vary if a custom screen that is larger than standard is ordered. A (1) B (6) C (2) D (3) Screen Surface T-Tracks 4” Pieces of Trim Lifting Brackets E (4) pairs F (4)
-
Page 5: Screen Orientation
Da-Lite does not recommend surface. Once all tape pieces have been cut, the screen beginning installation if there is high humidity in the surface can be unrolled. - Page 6 Installation (continued) NOTE: Most screen units will have one piece of T-track (B) for 4. While the screen is resting, the T-tracks (B) can be installed into the wall opening. Measure 2½” from the side of your wall the side openings and two pieces each for the top and opening to locate the end of the first T-track (B) piece bottom wall openings.
- Page 7 Installation (continued) 5. Using the other 4” piece of trim (C) as a guide, secure the 6. Repeat Steps 4 and 5 until all T-track (B) sections have been opposite end of the T-track (B) section on the end hole with a secured to the wall opening (See Figure 3).
- Page 8 Installation (continued) 7. Mount the first lifting bracket (D) in the top section of the wall 9. Position the third lifting bracket (D) 2⅛” from the back of the opening behind the T-track (B). Measure 2⅛” from the back T-track (B) in the center of the top section of the wall opening (projector side) of the T-track (B) to the back edge of the and mount with 1/4”X 1”...
- Page 9 Approximately two threads should be visible on each set screw when properly tightened. Da-Lite recommends that the provided gloves (E) be worn at this time in order to prevent damage to the screen surface and 15. Prepare to attach the seam brackets (J) and corner brackets to provide grip while lifting.
- Page 10 Installation (continued) 18. Feed the first rope (N) through the large hole on the audience 20. Lift the screen assembly to a vertical position on the floor left hoisting bracket (H) so that the knotted end makes parallel to the wall opening. On the projector side of the wall contact with the inside of the bracket.
- Page 11 Installation (continued) 21. Raise the screen assembly into the wall opening. On the 22. Once the screen is hanging on the hoisting and lifting projector side, one person will remain holding all three ropes brackets, carefully remove the seam (J) and corner (K) (N) without slack, guiding the screen into place.
- Page 12 Installation (continued) 23. At the top section, align the T-track and the frame. Insert eight 26. Tighten all tensioning assemblies (O) on the top section of tensioning assemblies (O) (four per frame section for larger the screen assembly until all eight (four per frame section) screens).
- Page 13 Installation (continued) 30. Assemble the six provided trim pieces (P). The two top pieces 32. Starting at the audience side bottom left corner, align a side will be labeled "A" at the 45 degree overlap and the two piece of trim (P) with the side edge of the screen. The end bottom pieces will be labeled "B".
-
Page 14: Warranty
Da-Lite’s sole obligation under this warranty shall be to repair or to replace (at Da-Lite’s option) the defective part of the merchandise. Returns for service should be made to your Da-Lite dealer. If it is necessary for the dealer to return the screen or part to Da-Lite, transportation expenses to and from Da-Lite are payable by the purchaser and Da-Lite is not responsible for damage in shipment.
Need help?
Do you have a question about the Polacoat Flex Plex and is the answer not in the manual?
Questions and answers