Johnson Controls EDA-8000 Installation Sheet
Electric damper actuator
Hide thumbs
Also See for EDA-8000:
- Product/technical bulletin (9 pages) ,
- Installation sheet (8 pages)
Table of Contents
Advertisement
Quick Links
EDA-8000 Electric Damper Actuator
Kit Includes
Tools Required
Installation
Overview
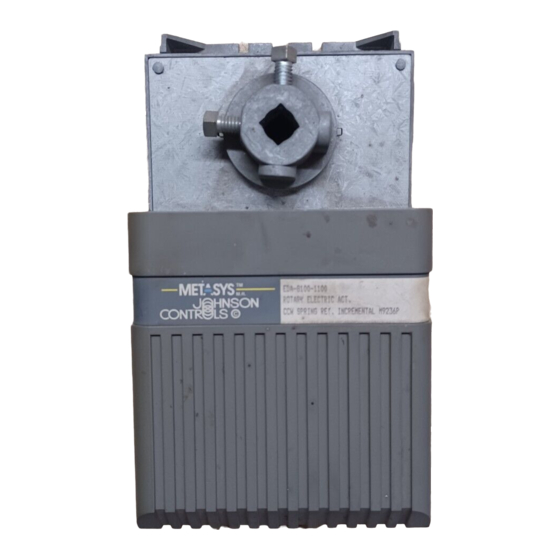
1. EDA-8000-1100 Actuator
2. Two #10 mounting screws
3. Two isolator grommets
ς
screwdriver, flat blade, 1/4 to 5/16 inch and 1/8 inch tips
ς
drill, 5/32 inch (4 mm) drill bit, 1-1/4 inch (32 mm) hole saw
ς
adjustable wrench
ς
pliers
Figure 1: Electric Damper Actuator
1. Compatibility and torque:
ς
use on dampers having 10 to 12 mm (0.394 to 0.472 inch) square
or 7/16 to 1/2 inch (11 to 12.5 mm) round shafts
ς
compatible with Johnson Controls D-1300 Dampers
ς
delivers 100 in·lb of stall torque
2. Mounting requirements:
ς
mounts in any orientation
ς
duct or wall must be 16 gauge (0.06 inch or 1.5 mm) or thicker
Note: Order the Universal Mounting Bracket (D-3153-105) to mount on
duct or wall less than 16 gauge.
Installation Sheet
Issue Date 0392
1
Advertisement
Table of Contents

Related Manuals for Johnson Controls EDA-8000


Summary of Contents for Johnson Controls EDA-8000
- Page 1 10 to 12 mm (0.394 to 0.472 inch) square or 7/16 to 1/2 inch (11 to 12.5 mm) round shafts ς compatible with Johnson Controls D-1300 Dampers ς delivers 100 in·lb of stall torque 2. Mounting requirements: ς...
- Page 2 6. Add protective control devices as needed to prevent undesirable system failure modes. Pre-Mounting 4.65 For #10 Mounting (118) 2.33 Screw (6 places) (59) 9.26 (235) 8.78 (223) 6.94 (235) 2x 0.75 2x 1.50 inches Figure 2: Top View Dimension EDA-8000 Electric Damper Actuator...
- Page 3 5. Note which direction closes the damper, clockwise (CW) or counterclockwise (CCW). Figure 4: Removing Cover 6. Insert a screwdriver under the edge of the plastic cover to gently pry off the cover. See Figure 4. EDA-8000 Electric Damper Actuator...
- Page 4 2. Use of the actuator’s center mounting slots with the isolation grommets is the preferred mounting arrangement. If the duct or wall is less than 16 gauge (0.06 inch or 1.5 mm), use the Universal Mounting Bracket (D-3153-105). EDA-8000 Electric Damper Actuator...
- Page 5 Figure 4. Conduit Opening Opening Covers Figure 7: Conduit Openings 2. Insert the leads from the controller through one of the three conduit openings. Install the black plugs in the other two openings. See Figure 7. EDA-8000 Electric Damper Actuator...
- Page 6 Use the controller to drive the actuator fully CW and CCW. Verify that the damper blades fully open and close. 3. Install the plastic cover. Replacement The EDA-8000 is not field repairable. For replacement, contact the nearest Johnson Controls branch office or your wholesale distributor. EDA-8000 Electric Damper Actuator...
- Page 7 Notes EDA-8000 Electric Damper Actuator...
- Page 8 Notes Controls Group 507 E. Michigan Street P.O. Box 423 Milwaukee, WI 53201 EDA-8000 Electric Damper Actuator...
Need help?
Do you have a question about the EDA-8000 and is the answer not in the manual?
Questions and answers