
Related Manuals for zortrax Z-Axis


Summary of Contents for zortrax Z-Axis
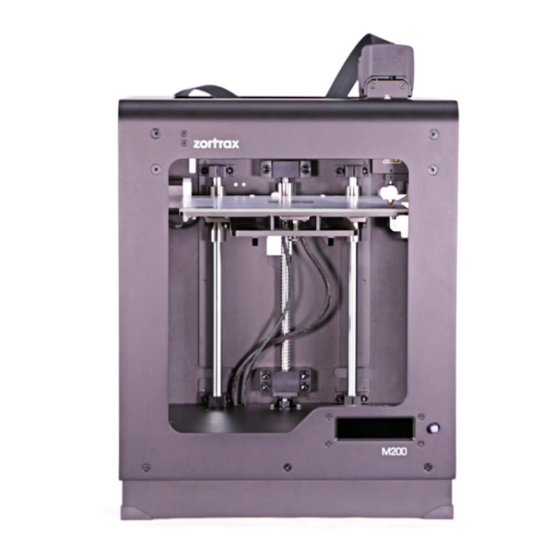
- Page 1 Z-Axis Coupler Replacement SOURCE: https://support.zortrax.com/z-axis-coupler-replacement/ page 1 / 25...
-
Page 2: Table Of Contents
Unscrewing the Bottom Plate, part 1 Turning the Printer Unscrewing the Bottom Plate, part 2 Separating the Bottom Plate Providing Better Access to the Z-Axis Coupler Unplugging the Z-Axis Motor Cable Loosening the Z-Axis Coupler Screws Unscrewing the Z-Axis Motor... - Page 3 The Z-axis coupler is responsible for the platform’s movement along the Z axis. Therefore, if the platform does not move at all or it moves with difficulties and makes unusual noises, the Z-axis couple needs to be replaced. Before replacing the coupler, make sure that the screws on the coupler are properly tightened.
-
Page 4: Unplugging The Power Cable
Unplugging the Power Cable Turn off the printer and unplug the power cable. Wait a few minutes for all the capacitors to discharge. page 4 / 25... -
Page 5: Changing The Printer's Position
Changing the Printer's Position Grab the printer’s housing and change the printer’s position so that you can easily access the bottom plate. page 5 / 25... -
Page 6: Unscrewing The Bottom Plate, Part 1
Unscrewing the Bottom Plate, part 1 Unscrew the screws that secure the bottom plate on one side of the housing. Use a 2.5mm Allen key. page 6 / 25... -
Page 7: Turning The Printer
Turning the Printer Turn the printer over. page 7 / 25... -
Page 8: Unscrewing The Bottom Plate, Part 2
Unscrewing the Bottom Plate, part 2 Unscrew the screws that secure the bottom plate on the other side of the housing. Use the same key. page 8 / 25... -
Page 9: Separating The Bottom Plate
Separating the Bottom Plate Separate the bottom plate from the printer and unplug the bottom fan cable from the motherboard. page 9 / 25... -
Page 10: Providing Better Access To The Z-Axis Coupler
Finally, grab the cables next to the motherboard and fasten the strap. This step is not necessary to follow, however it is recommended so as to avoid the risk of damaging the cables and to get better access to the Z-Axis coupler. page 10 / 25... -
Page 11: Unplugging The Z-Axis Motor Cable
Unplugging the Z-Axis Motor Cable Unplug the Z-Axis motor cable. page 11 / 25... -
Page 12: Loosening The Z-Axis Coupler Screws
Loosening the Z-Axis Coupler Screws Loosen the three Z-Axis coupler screws placed on the Z-Axis motor side. TURN THE Z-AXIS SCREW TO GET ACCESS TO EACH Z-AXIS COUPLER SCREW. page 12 / 25... -
Page 13: Unscrewing The Z-Axis Motor
Unscrewing the Z-Axis Motor Unscrew the two screws that secure the Z-Axis motor. Remove the motor with its distance piece. Remove the two big screws from the housing. page 13 / 25... -
Page 14: Z-Axis Coupler Removal
Z-Axis Coupler Removal Loosen the three Z-Axis coupler screws placed on the Z-Axis side. Remove the coupler. Turn the Z-Axis coupler to get better access to each screw on the coupler. page 14 / 25... -
Page 15: Z-Axis Coupler Assembly
Z-Axis Coupler Assembly Install the Z-Axis coupler in its place and tighten the screws placed on the Z-Axis side. Turn the Z-Axis coupler to get better access to each screw on the coupler. page 15 / 25... -
Page 16: Z-Axis Motor Assembly
Z-Axis Motor Assembly Insert the two Z-Axis motor screws in the housing, hold them and put the motor with the distance piece on them. Next, tighten the screws. page 16 / 25... -
Page 17: Tightening The Z-Axis Coupler Screws
Tightening the Z-Axis Coupler Screws Tighten the three Z-Axis coupler screws placed on the Z-Axis motor side. TURN THE Z-AXIS SCREW TO GET ACCESS TO EACH Z-AXIS COUPLER SCREW. page 17 / 25... -
Page 18: Plugging The Z-Axis Motor Cable
Plugging the Z-Axis Motor Cable Plug the Z-Axis motor cable in. page 18 / 25... -
Page 19: Rearranging The Cables
Rearranging the Cables Rearrange the cables to their original position: unfasten the strap next to the motherboard. Secure the extruder cable with the first strap and plug it in. Fasten the remaining straps. page 19 / 25... -
Page 20: Bottom Plate Installation
Bottom Plate Installation Plug the bottom fan cable into the motherboard and install the bottom plate. page 20 / 25... -
Page 21: Securing The Bottom Plate, Part 1
Securing the Bottom Plate, part 1 Secure the bottom plate on one side of the housing. Use a 2.5mm Allen key. page 21 / 25... -
Page 22: Turning The Printer
Turning the Printer Turn the printer over. page 22 / 25... -
Page 23: Securing The Bottom Plate, Part 2
Securing the Bottom Plate, part 2 Secure the bottom plate on the other side of the housing. Use the same key. page 23 / 25... -
Page 24: Changing The Printer's Position
Changing the Printer's Position Grab the printer’s housing and set the printer upright. page 24 / 25... -
Page 25: Plugging The Power Cable
Plugging the Power Cable Plug the power cable in. page 25 / 25...
Need help?
Do you have a question about the Z-Axis and is the answer not in the manual?
Questions and answers