Advertisement
Quick Links
Recessed Door Sensor Gen 7 user guide.
Modified on: Mon, 16 Mar, 2020 at 2:10 AM
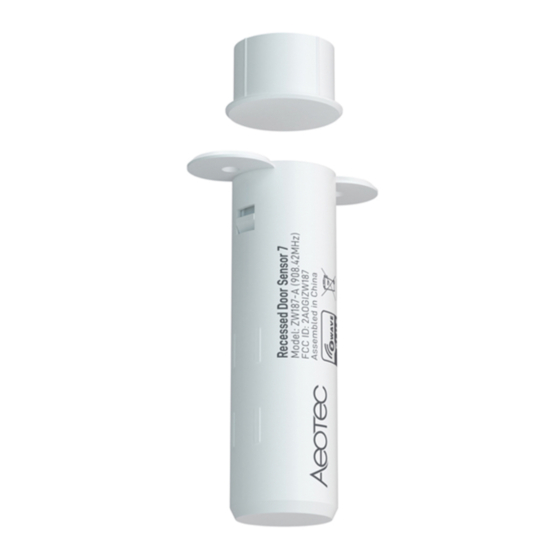
Aeotec Recessed Door Sensor Gen7.
Z-Wave Plus
Aeotec Recessed Door Sensor Gen 7 was developed to detect the status of a door and transmit it via
. It is powered by Aeotec's
Gen7
(http://aeotec.com/z-wave-plus)
(https://aeotec.com/z-wave-home-automation/z-
Recessed Door Sensor Gen7
technology. You can find out more about
wave-gen7.html)
(http://aeotec.com/hidden-
by following that link.
z-wave-door-sensor)
To see whether Recessed Door Sensor Gen7 is known to be compatible with your Z-Wave system or not, please
Z-Wave gateway comparison
technical
reference our
(http://aeotec.com/z-wave-gateways)
listing. The
specifications of Recessed Door Sensor Gen7
(https://aeotec.freshdesk.com/support/solutions/articles/6000226851-recessed-door-sensor-gen7-technical-
can be viewed at that link.
specifications-)
Advertisement

Related Manuals for Aeotec ZW187


Summary of Contents for Aeotec ZW187
- Page 1 Modified on: Mon, 16 Mar, 2020 at 2:10 AM Aeotec Recessed Door Sensor Gen7. Z-Wave Plus Aeotec Recessed Door Sensor Gen 7 was developed to detect the status of a door and transmit it via . It is powered by Aeotec’s Gen7 (http://aeotec.com/z-wave-plus)
-
Page 2: Important Safety Information
Important safety information. Please read this and other device guides carefully. Failure to follow the recommendations set forth by Aeotec Limited may be dangerous or cause a violation of the law. The manufacturer, importer, distributor, and / or reseller will not be held responsible for any loss or damage resulting from not following any instructions in this guide or in other materials. -
Page 3: Quick Start
Quick start. The installation of your Recessed Door Sensor has two key steps: 1. Install both parts of your sensor. 2. Connect your sensor to your Z-Wave network Prepare the Main Sensor. 1. Press the sensor latch with a slotting screwdriver to remove the lid of the sensor. 2. - Page 4 4. With the battery insulator removed, reinsert the internal components into Main Sensor's enclosure before reattaching its lid. Ensure that Main Sensor's button aligns with the buttonhole of its lid. Main Sensor will now look as it did prior to step 1. Add Recessed Door Sensor to your Z-Wave network.
- Page 5 3. Press the Z-Wave Button on your Recessed Door Sensor 7 and quickly release the button (should only be a quick tap action on the button). Recessed Door Sensor 7 will quickly flash its red LED up to 30 seconds or until it is paired successfully. If successfully paired, the red LED will become solid for 10 seconds.
- Page 6 Recommended drill bit size should be: 20 - 21mm in size. Step 2 - Drill for Magnet piece. Drill a corresponding hole in your door. The hole should be 15mm deep. As stated, the position of this hole should align exactly with the hole you just created in the doorframe. Again, use a 19mm wide drill bit. Unlike the main unit, 19mm drill bit should be used.
- Page 7 Step 5 The gap between the two parts of your sensor must be no less than 1mm and no more than 5mm. If your gap is different, re-affix Main Sensor by altering its hole.
-
Page 8: Advanced Functions
Advanced Functions. Remove your sensor from your Z-Wave network (Software reset). Your Recessed Door Sensor can be removed from your Z-Wave network at any time. You'll need to use your Z-Wave network's main controller to do this. 1. Set your Z-Wave Controller into its ‘Remove Device‘ mode in order to remove the product from your Z-Wave system Refer to the Controller's manual if you are unsure of how to perform this step. - Page 9 Gen7. These are not exposed well in most gateways, but at the least, you can manually set configurations through most Z-Wave gateways available. These configuration options may not be available in a few gateways. You can find the configuration sheet here: https://aeotec.freshdesk.com/helpdesk/attachments/6092013991 (https://aeotec.freshdesk.com/helpdesk/attachments/6092013991) If you have any questions on how to set these, please contact support and let them know what gateway you are using.
Need help?
Do you have a question about the ZW187 and is the answer not in the manual?
Questions and answers