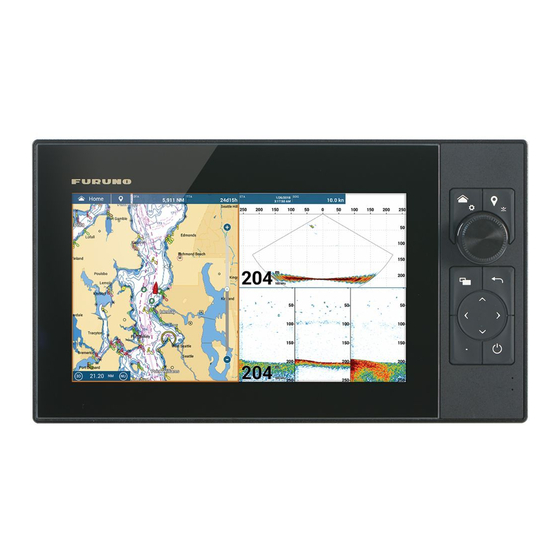
Furuno NAVnet TZtouch3 Series Installation Checklist
Hide thumbs
Also See for NAVnet TZtouch3 Series:
- Operator's manual (393 pages) ,
- Setup manual (12 pages) ,
- Manual (3 pages)
Summary of Contents for Furuno NAVnet TZtouch3 Series
- Page 2 TZtouch3 Installation Checklist MFD Network Installation Connect all TZtouch3 MFDs to the Ethernet Network. If a HUB101 is used, set the internal HUB101 DIP switches to OFF (HUB101 DIP Switches are OFF by Default). Please Appendix for more detailed information. Connect all TZtouch3 MFDs to a proper NMEA2000 backbone using drop cables (18 feet or less).
- Page 3 Once the TZtouch3 MFDs have started, press the “Home” button, select “Menu” on each MFD to confirm that you see both a “Radar” and “Fish Finder” menu as well as confirm the “Radar Source” and “Fish Finder Source” is set appropriately (assuming you have both a sounder and radar connected to the Ethernet Network).
- Page 4 If you have a Fusion radio(s) installed confirm you have a “Fusion” menu selection on the Home screen. If not, ensure you have connected the Fusion radio via LAN (Ethernet) and not NMEA2000 and have followed our instructions on furunousa.com concerning IP and Subnet configuration of the Fusion radio(s).
- Page 5 Select the “Preferred” data/sensor sources for the network by pressing the “Data Source” button in the “Initial Setup” menu. Select your preferred units of measurement such as Foot, Meters, Celsius, Fahrenheit, etc. from the “Units” menu. Ensure that you have set the appropriate “Local Time Offset” value under the “General” menu or the time displayed will be incorrect.
- Page 6 You can choose to increase the size of font, data boxes and the menu(s) . The “Scale & Layout” setting is found under the “General” menu. You have the following options: o Smallest o Small o Normal o Large Customize your Data Boxes simply by performing a left edge swipe from the left-hand side of the MFD.
- Page 7 DFF1-UHD DIP Switch Settings Connection to NavNet 3D,TZtouch,TZtouch2 and TZtouch3 The DFF1-UHD Dip Switches on S2 are defaulted to work with NavNet TZtouch, TZtouch2 and TZtouch3 MFDs. When connecting the DFF1-UHD to a TZtouch network you do not need to change the default position of the Dip Switches on S2.
- Page 8 DFF1/BBDS1 Mode Switch Settings Connection to NavNet 3D,TZtouch,TZtouch2 and TZtouch3 DFF1/BBDS1 Mode Switches are defaulted to work with NavNet 3D MFD (MFD8, MFD12 or MFDBB) network. When connecting the DFF1/BBDS1 to a TZtouch network you will need to change the default position of the MODE Switches. If the DFF1/BBDS1 was installed in a NavNet 3D MFD (MFD8, MFD12 or MFDBB) network, the Mode Switches must be changed to the position shown below.
- Page 9 DFF3 DIP Switch Settings Connection to NavNet 3D,TZtouch,TZtouch2 and TZtouch3 The DFF3 Dip Switch setting on S2 is defaulted to work with NavNet3D (MFD8, MFD12 or MFDBB) network. When connecting the DFF3 to a TZtouch network you will need to change the default position of the Dip Switches.
- Page 10 PSU012/PSU013 Jumper Location for TZtouch Series Installations If PSU013 or PSU012 was used in a NN3D network with HUB101 the J7 Jumper would not have been inserted. Jumper must be inserted in J7 to bypass Power Synch. TZtouch networks do no use Power Synch (DHCP). If you are missing the Jumper you can order a replacement. The part number for Jumper is 000-153-879.
- Page 11 HUB101 Switch Settings Connection to NavNet 3D,TZtouch,TZtouch2 and TZtouch3 HUB101 Power Synch Dip Switches are defaulted to the OFF position which works with NavNet TZtouch, TZtouch2 and TZtouch3 MFD(s), you will not need to change the default position. If the HUB101 was installed in a NavNet 3D MFD (MFD8, MFD12 or MFDBB) network, the DIP Switches that are set to the ON position must be changed and set to the OFF position to bypass Power Synch...
- Page 12 March 10, 2020...


Need help?
Do you have a question about the NAVnet TZtouch3 Series and is the answer not in the manual?
Questions and answers