Download Print this page
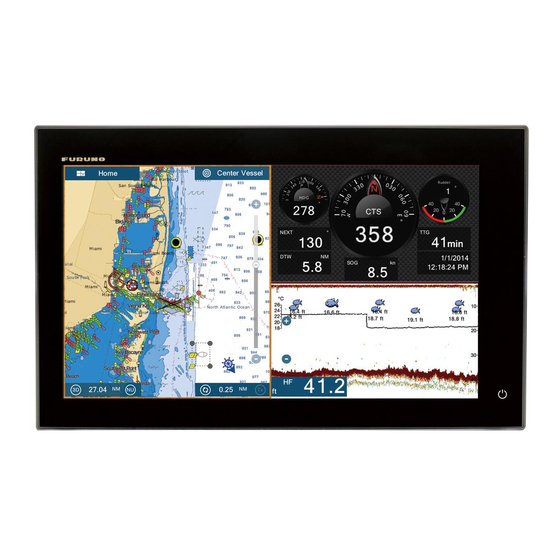
Furuno NavNet TZtouch2 TZTL12F Setup Procedures

Furuno NavNet TZtouch2 TZTL12F Setup Procedures

For flir camera
Hide thumbs Also See for NavNet TZtouch2 TZTL12F:

Advertisement

Quick Links

FLIR Camera Setup Procedures
Model:
TZT9/14/BB
Model:
TZTL12F/15F
Number of Pages: 18
Date: July 15, 2015
1

Advertisement

loading

Summary of Contents for Furuno NavNet TZtouch2 TZTL12F

  • Page 1 Number of Pages: 18 Date: July 15, 2015 Model: TZT9/14/BB Model: TZTL12F/15F FLIR Camera Setup Procedures...
  • Page 2 INDEX 1. Integration with FLIR M-Series 2. Network Overview 3. Setting up FLIR M-Series 3-1 Assigning Static IP Address – For NavNet TZtouch and TZtouch2 3-2 Additional Setup – For NavNet TZtouch2 Only 4. Setting up NavNet TZtouch and TZtouch2 4-1 NavNet TZtouch Models TZT9/14/BB 4-2 NavNet TZtouch2 Models TZTL12F/15F 5.
  • Page 3: Network Overview

    1. Integration with FLIR M-Series FLIR M-Series cameras can be integrated with NavNet TZtouch models TZT9/14/BB and NavNet TZtouch2 models TZTL12F/15F to pan, tilt, zoom in/out, move, or lock a camera to a specific target. This document describes how to configure the FLIR M-Series cameras before integrating them to the NavNet TZtouch and TZtouch2 network.
  • Page 4 3-1 Assigning Static IP Address – For NavNet TZtouch and TZtouch2 The recommended IP addresses are shown at right in order M-Series IP Address Subnet Mask to avoid duplication with the IP addresses of Furuno Ethernet Camera 172.31.200.9 255.255.0.0 sensors. For detailed setup, follow the steps below.
  • Page 5 Note: When networking the M-Series camera and JCU, which were previously assigned with other IP addresses, you can display the JCU IP address by pressing the COLOR button while pushing the puck. You can then assign an IP address to the PC accordingly and thus be able to access the M-Series camera and JCU configuration page.
  • Page 6 (5) In the configuration page, click [Network Setup] to configure a static IP address. (6) In the [Network Settings] page, select [Static] (not [Dynamic]). The screen will refresh, and the [IP], [(Subnet) Mask], and [Gateway] fields will change from gray to white, enabling you to enter information.
  • Page 7 Adjusting the PC’s IP Address to a New Domain (13) After changing the IP address of the M-Series camera and JCU, assign the 172.31.xxx.xxx 255.255.0.0 PC with an IP address of and subnet mask of to match with the new domain. In this example, the IP address 172.31.100.100 and subnet mask 255.255.0.0 are assigned as shown at right.
  • Page 8 (4) Open a web browser and enter the IP address assigned to the FLIR M-Series camera. In this example, 172.31.200.9 is entered. (5) After a login page appears, enter the following User ID and password. User: “admin” Password: “fliradmin” “indigo” (default) depending on unit.
  • Page 9 (8) The following page will appear to create a new Nexus CGI Interface under a new Device ID (Device ID must be 1). Click [Create]. (9) Nexus CGI Interface is now created under the new Device ID: 1. Change [Port] (port number) to [8090]. (Default: 8080) (10) Click [Save].
  • Page 10 (12) After the message in (11) disappears, click [Start] to restart the server. (13) If the icon changes to [Stop], the restart process has finished. Proceed to TZTL12F/15F setting. (14) Recycle power to the FLIR camera.
  • Page 11 Note: The new Nexus CGI Interface created must have a device ID of 1 and no other Device ID can exit after 1. If you have other Device ID’s they must be selected from the dropdown menu and then deleted.
  • Page 12 4. Setting up NavNet TZtouch and TZtouch2 After the FLIR M-Series setup is complete, the TZT9/14/BB and TZTL12F/15F should be set to detect the camera. 4-1 NavNet TZtouch Models TZT9/14/BB (1) Access [Home] – [Menu] – [Camera] – [FLIR Installation]. At this stage, the IP address of the camera is not detected yet.
  • Page 13 4-2 NavNet TZtouch2 Models TZTL12F/15F (1) Access [Home] – [Settings] – [Camera]. (2) Check the analog video port that the analog output from the FLIR M-Series camera is connected. In this example, the FLIR camera is connected to the port 1. (3) Set [VIDEO INPUT 1] –...
  • Page 14 Note: If the message of [FLIR DETECTED BUT CGI SERVICES IS NOT AVAILABLE] appears, see Section 5-2 to double check the setting of Nexus CGI Interface. (6) Once the M-Series camera is detected, select the video input port that the analog video output from the camera is connected to.
  • Page 15: Troubleshooting

    5. Troubleshooting When failing to scan and detect the IP address of the connected FLIR M-Series camera, you may see the following messages. This section describes how to cope with each message. Message Target See… NavNet TZtouch (TZT9/14/BB) No FLIR Detected Section 5-1 NavNet TZtouch2 (TZTL12F/15F) FLIR Detected but CGI Service Is Not Available...
  • Page 16 from the TZT9/14/BB or TZTL12F/15F but are able to use the Web Control of the FLIR M-Series to control it via a web browser on the PC, follow the instructions below. Note: If the Ethernet connection and IP address settings are not good, you cannot control the FLIR M-Series camera from a web browser on the PC.
  • Page 17 (5) Save the file somewhere on the PC, such as the Desktop. (6) Open the configuration file “server.ini” with a text editor, such as Notepad, and look for the section [Networking Configuration]. (7) Set [Enable Network Discovery], [Enabled] and [Allow Anonymous Clients] to [yes].
  • Page 18 (14) If the icon changes to [Stop], the restart process has finished. The TZT9/14/BB and TZTL12F/15F will now be able to detect and control the FLIR M-Series camera. 5-2 “FLIR Detected but CGI Service Is Not Available” – For NavNet TZtouch2 Only Symptom When scanning the IP address of the FLIR M-Series...
  • Page 19 After the icon changes to [Stop], all the setting procedures are complete. The TZT9/14/BB and TZTL12F/15F will now be able to detect the FLIR M-Series camera. --- END --- - Windows is registered trademarks or trademarks of Microsoft Corporation in the United States and/or other countries. - All brand and product names are registered trademarks, trademarks or service marks of their respective holders.

This manual is also suitable for:

Navnet tztouch2 tztl15fNavnet tztouch tzt9Navnet tztouch tzt12Navnet tztouch tztbb