Sign In
Upload
Download
Table of Contents
Contents
Add to my manuals
Delete from my manuals
Share
URL of this page:
HTML Link:
Bookmark this page
Add
Manual will be automatically added to "My Manuals"
Print this page
×
Bookmark added
×
Added to my manuals
Manuals
Brands
Blink Manuals
Battery Charger
IQ 200
Instruction manual
Blink IQ 200 Series Instruction Manual
Level 2 ac evse
Hide thumbs
Also See for IQ 200 Series
:
Instruction manual
(52 pages)
1
2
Table Of Contents
3
4
5
6
7
8
9
10
11
12
13
14
15
16
17
18
19
20
21
22
23
24
25
26
27
28
29
30
31
32
33
34
35
36
37
page
of
37
Go
/
37
Contents
Table of Contents
Troubleshooting
Bookmarks
Table of Contents
Table of Contents
1 Important Safety Instructions
2 Introduction
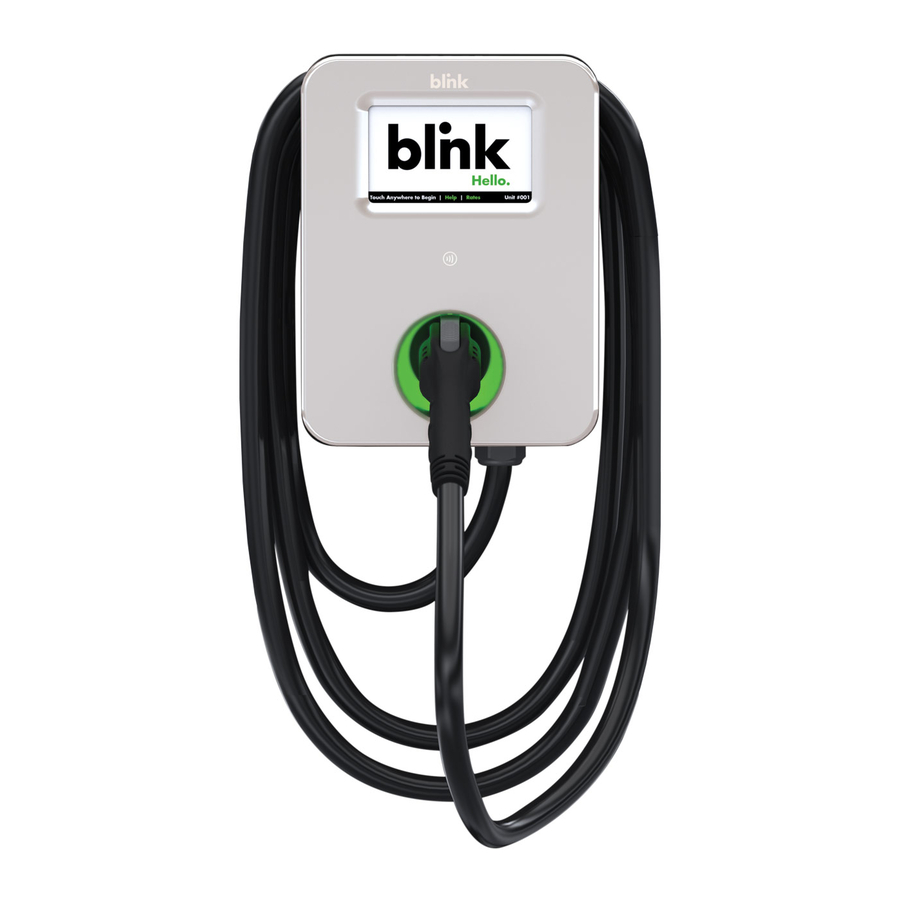
3 Product Overview
4 Product Specifications
5 Pre-Installation Instructions
Safety and Grounding
Conduit & Breaker Size Guide
Mounting Options
Product Placement Tips
6 Installation Instructions
Tools Required for Installation
Parts Required for Installation
Installation Procedure
7 Setup Instructions
Web Portal Access
Changing the Maximum Output (Charging) Current of a Charging Station
Connecting a Smart Unit to a Kiosk (Smart Units Only)
8 Operating Instructions
Starting a Charge Session
Stopping a Charge Session
Status Indicator
9 Configuration
Factory Settings
Station Settings
Ocpp Settings
Communication Settings
Maintenance Settings
Local Load Management Status (LLM Status)
Security Settings
Oqc Test Functionality
10 Troubleshooting
Troubleshooting Table
Automatic Restart Functionality
Power Outage Recovery
Error Codes
Reference Codes
11 General Care
12 Customer Support
Advertisement
Quick Links
1
Product Overview
2
Product Specifications
3
Pre-Installation Instructions
4
Conduit & Breaker Size Guide
5
Installation Instructions
Download this manual
Charge on.
Table of
Contents
Previous
Page
Next
Page
1
2
3
4
5
Advertisement
Table of Contents
Need help?
Do you have a question about the IQ 200 Series and is the answer not in the manual?
Ask a question
Questions and answers
Related Manuals for Blink IQ 200 Series
Automobile Accessories Blink IQ 200 Instruction Manual
Evse charger (52 pages)
Battery Charger Blink IQW2-80U-M1-R2-N-25 Instruction Manual
Level 2 ac evse (37 pages)
Battery Charger Blink IQW2-80U-W1-N1-N-25 Instruction Manual
Level 2 ac evse (37 pages)
Battery Charger Blink BC3 User Manual
3rd generation of basic charger-32a (78 pages)
Battery Charger Blink HQ 200 Instruction Manual
Level 2 ac evse (52 pages)
Battery Charger Blink MQ 200 Instruction Manual
Level 2 ac evse (56 pages)
Battery Charger Blink 6 Series Installation Manual
(26 pages)
Battery Charger Blink Basic Charger-32A Installation Manual
(22 pages)
Battery Charger Blink Wall Mount Charging System Installation Manual
Wall mount charging system (29 pages)
Battery Charger Blink WE-30C Owner's Manual
Level 2 residential charging system (63 pages)
Battery Charger Blink bluecorner PQ 150 User Manual
(15 pages)
Battery Charger Blink TP-EVPD-30kW Installation Manual
30kw dc charger (20 pages)
Battery Charger Blink SemaConnect US User's Manual & Installation Instructions
30kw wall mount dc fast charger (56 pages)
Battery Charger Blink PQ 150 Instruction Manual
(84 pages)
Battery Charger Blink DS Series User's Manual & Installation Instructions
Standalone fast charger (92 pages)
Battery Charger Blink DS Series User's Manual & Installation Instructions
Standalone fast charger (92 pages)
This manual is also suitable for:
Iqw2-80u-m1-r2-n-25
Iqw2-80u-w1-n1-n-25
Iqw2-00u-m1-r2-n-00
01-0207
01-0205
01-0208
Table of Contents
Save PDF
Print
Rename the bookmark
Delete bookmark?
Delete from my manuals?
Login
Sign In
OR
Sign in with Facebook
Sign in with Google
Upload manual
Upload from disk
Upload from URL


Need help?
Do you have a question about the IQ 200 Series and is the answer not in the manual?
Questions and answers