Advertisement
Quick Links
Heckler AV
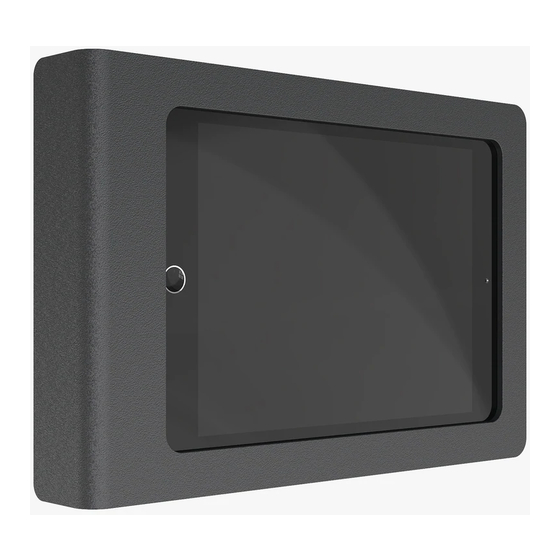
FRONT MOUNT
Room Scheduling Enclosure for iPad 10.2-inch 7th Generation
Assembly & Installation
Compatible with:
iPad 10.2-inch 7th Generation
Limited Warranty
Heckler Design warrants your product to be free from defect in material and
workmanship for a period of two years from the original date of purchase.
Electronic components are warranted to be free from defect for a period of one
year from the original date of purchase. If you discover a defect, please contact
service@hecklerdesign.com. Heckler Design will repair, at our discretion, using
new or refurbished components. If repair is not possible, Heckler Design will
replace the item.
H609
Advertisement

Summary of Contents for HECKLER FRONT MOUNT
- Page 1 Limited Warranty iPad 10.2-inch 7th Generation Heckler Design warrants your product to be free from defect in material and workmanship for a period of two years from the original date of purchase. Electronic components are warranted to be free from defect for a period of one year from the original date of purchase.
- Page 2 M3 Hex Key Thread-Forming Mounting Screw F529 F486 Keep your special assembly tool in a safe place. To purchase a replacement, please contact service@hecklerdesign.com. Phillips Head Drill Marker Screwdriver (#17 drill bit or 5/32-inch drill bit)
- Page 3 Disassemble Front Mount Remove Mounting Bracket From Front Bezel...
-
Page 4: Drill Mounting Holes
Mark Hole Positions Please select the mounting positions that work best for your mullion. Drill Mounting Holes You may use any screw you see fit for mounting the product to the mullion. If you choose to use the self-tapping mounting screws provided, we recommend drilling a pilot hole with a #17 drill bit or a 5/32-inch drill bit. - Page 5 Form Mounting Hole Threads F486 The mounting screws provided are thread-forming screws. Ethernet Cable Hole If your Ethernet cable has an RJ45 connector installed, drill a 5/8 inch hole in the position shown. If you will install an RJ45 connector after the Ethernet cable is drawn through the mullion, a smaller hole can be created.
-
Page 6: Remove Mounting Screws
Remove Mounting Screws Fasten Mounting Bracket to mullion F486... -
Page 7: Charging Options
Charging Options PoE Splitter (Power Only) PoE Splitter (With wired data connection) 1. Apple Lighting to USB 3 Camera Adapter 2. Apple USB Ethernet Adapter Gigabit + PoE Adapter Gigabit + PoE Adapter Battery Bank... - Page 8 Install Tablet Install Front Bezel...
- Page 9 Slide Front Bezel Onto Mounting Bracket Tighten Assembly Screws F529...


Need help?
Do you have a question about the FRONT MOUNT and is the answer not in the manual?
Questions and answers