Onespace 50-2401ES Assembly Instructions Manual
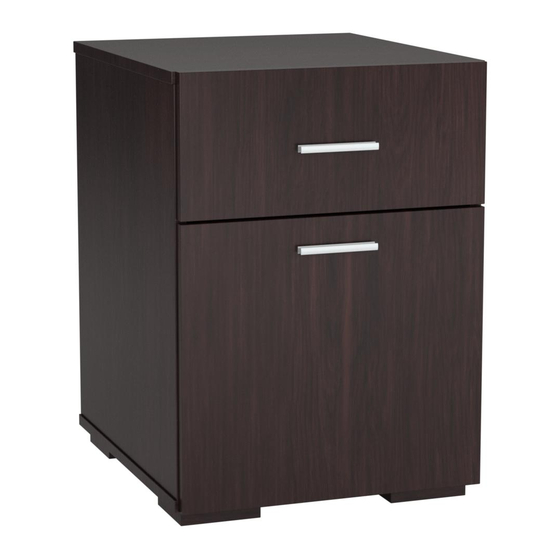
2 drawer cabinet
Hide thumbs
Also See for 50-2401ES:
- Assembly instructions manual (12 pages) ,
- Assembly instructions manual (12 pages)
Advertisement
Quick Links
™
OneSpace is a Trademark of Comfort Products, Inc.
ASSEMBLY INSTRUCTIONS
MODEL # 50-2401ES
SUPPLIER CODE: PMEX
2 Drawer Cabinet
CUSTOMER SERVICE
For fastest service on claims, requests for replacement parts, or
questions, please visit our website at
www.comfortproducts.net/support
e-mail: customerservice@comfortproducts.net
Keep your sales receipt as documentation of your ownership.
Advertisement

Subscribe to Our Youtube Channel
Related Manuals for Onespace 50-2401ES


Summary of Contents for Onespace 50-2401ES
- Page 1 ™ OneSpace is a Trademark of Comfort Products, Inc. ASSEMBLY INSTRUCTIONS MODEL # 50-2401ES SUPPLIER CODE: PMEX 2 Drawer Cabinet CUSTOMER SERVICE For fastest service on claims, requests for replacement parts, or questions, please visit our website at www.comfortproducts.net/support e-mail: customerservice@comfortproducts.net...
- Page 2 Cabinet top maximum weight capacity =40lbs Drawer maximum weight capacity =20lbs 2 OF 12...
-
Page 3: Cleaning And Care
DESCRIPTION DESCRIPTION PART STOCK NO PART STOCK NO Small Drawer Side Panel Left 51-2401ESA 51-2401ESH Side Left Small Drawer Side Panel Right 51-2401ESB 51-2401ESI Side Right Cabinet top 51-2401ESC Small Drawer Back 51-2401ESJ Large Drawer Bottom Panel 51-2401ESD 51-2401ESK Side Left Large Drawer Bottom Leg 51-2401ESE... - Page 4 Fix sixteen Wood Dowels (1) to Panel (A), Panel (B), Panel (H), Panel (I), Panel (K) and Panel (L) using a rubber hammer. Part 1 Fix the eight Minifix Bolts (2) to the bottom of the Desktop (C) and to the Drawer Front Panels (F) and (G) using the predrilled holes.
- Page 5 Screw two Left Drawer Slides (3) to the Left Side Panel (A) and then two Right Drawer Slides (4) to the Right Side Panel (B) using eight Euro Screws (5). Part 3 (L) x 2pcs Part 4 (R) x 2pcs Part 5 x 8pcs Screw the Bottom Panel (D) to the Left Side Panel (A) and Right Side Panel (B) with Unitar Screws (6)
- Page 6 Attach four Bottom Legs (E) to the Bottom Panel (D) using eight CSK Screws (7) and the predrilled holes. Part 7 x 8pcs Insert four Cams (8) as shown making sure the arrows are pointing up. Attach the Cabinet Top (C) to the assembled part by lowering the Minifix Bolts (2) into the predrilled holes.
- Page 7 Step 7: Attach the Back Panel (N) to the cabinet by aligning the Back Panel with the edges of the cabinet. Then use twenty-two Nail Pins (9) and a hammer to fix the Back Panel (N) to the cabinet. Part 9 x 22pcs Step 8: Small Drawer Assembly:...
- Page 8 Step 9: Slide the Drawer Bottom Panels (Z) into both the Small and Large drawers using the grooves of the side drawer panels. (Be sure the finished side of the Bottom Panel (Z) is facing up/inside the drawer). Insert the Metal Rods (11) into the Large Drawer Back (M) using predrilled holes. Part 11 x 2pcs Step 10:...
- Page 9 Step 11: Attach an Aluminium Handle (12) to each drawer using two Handle Screws (13). Part 12 x 2pcs Part 13 x 4pcs Step 12: Attach a Right Drawer Slide (14-DR) and Left Drawer Slide (15-DL) to the bottom of each drawer using four CSK Screws M3.5 x 15mm (16).
- Page 10 Step 13: Insert the large drawer into the bottom slot of the cabinet by aligning slides. Then insert the smaller drawer into the upper slot. 10 OF 12...
- Page 11 11 OF12...
- Page 12 40 pounds for the cabinet top and 20 pounds for the drawers. For claims or questions concerning this warranty, please visit: www.comfortproducts.net or email us at: customerservice@comfortproducts.net MODEL: # 50-2401ES Comfort Products, Inc. P.O. Box 999 Memphis, TN 38101 www.comfortproducts.net customerservice@comfortproducts.net ™ OneSpace is a Trademark of Comfort Products, Inc. 12 OF 12...
Need help?
Do you have a question about the 50-2401ES and is the answer not in the manual?
Questions and answers