Table of Contents
Advertisement
Quick Links
Advertisement
Table of Contents

Subscribe to Our Youtube Channel
Related Manuals for Flightline Spitfire Mk.IXc


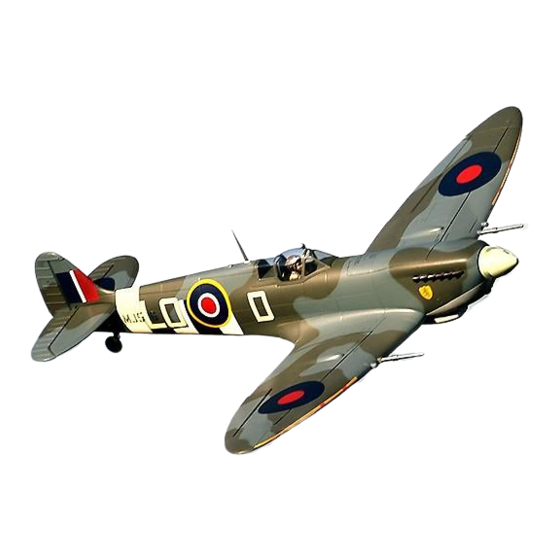
Summary of Contents for Flightline Spitfire Mk.IXc
-
Page 2: Table Of Contents
Catalog I nt r od u c ti o n ······························ .. ·················································································································1 Ba s i c I n fo r ma ti o n ............................2 P a c ka g e L i s t ······ ............................2 Assembly Instructions Fuselage Assembly·······················... -
Page 3: I Nt R Od U C Ti O
Introduction Thank you for purchasing the FlightlineRC 1600mm Spitfire Mk. lXc! FlightlineRC is a leading brand produced by Freewing Models in partnership with M otion RC aimed at bringing you a new, exciting series of propeller driven aircraft at the same level of quality and value you've come to expect from Freewing Model's EDF aircraft and other products. -
Page 4: Ba S I C I N Fo R Ma Ti O N
Product basic information Wing loading: 7 4g/dm Wing area : 46.5dm Motor: 5 055-390KV brush less outrunner m otor P rop ell er : 4-Blade 1 6 x 10 ESC: 8 0A (1 pc) Servo: : 17g MGx6pcs Weight: 2850g (W/O battery) Flight sp eed : 125KMH Aileron: Yes... -
Page 5: Assembly Instructions
A ss emb ly I nstructions 1.B efore assembly, remov e the battery compartment and the fuselage pushrods in the plastic F uselage A sse mb ly t ube. I nstall the ball-hea d buckle on the pushrods. Then insert the rudder push rod fr om tail f uselage sectio n in to the fro nt f uselage plastic tube. -
Page 6: Aileron Push Rod Installation
P N P A ss emb ly I nstructions 1. Insert one side of rudder pushrod A ,through plastic tube B, to the servo arm C. 2.Buckle the ball head buckle of rudder push rod to the rudder horn D . &... -
Page 7: Pushrod Instructions
PNP A ss emb ly I nstructions tic pieceA 5.Pull the main wing servo cables from the fuselage up into the battery compartment. 6.Insert the main wing plastic joiner pieces, A and B to the underside of the wing, as shown. Finally, use the four machine screws to attach the wing to the fuselage. -
Page 8: Scale Parts Installation
P N P A ss emb ly I nstructions S cale parts Installation 2.Use 1xPWM4x8mm screw to attach the air intake. 1.Glue the Radia tors A and B to the main wing surfaces, as shown. Screw (PWM4 x8 mm) 4.Use clear ca nopy glue to attach the scale rearview mirror t o the clear canopy. -
Page 9: Battery Installation
A ss em b ly I nstructions Battery Installation To remove the battery Place the battery into the front of the hatch, lift up on the tape. fuselage using the provided rubber matting or Velcro to secure it. Battery cabin size: L=260 W=76 H=45(mm) Before connecting t he battery to the ESC , please... -
Page 10: Control Direction Test
PNP Asse mb ly Instructions Control direction test After installed the plane, before flying, we need a fully charged battery and connect to the ESC, then use radio to test and check that every control surface work properly. A ilerons Stick Left Stick Right •... -
Page 11: Dual Rates And Preflight Considerations
A ss emb ly Instructions Acc o rding to our test results, the following rates proved to be a good starting point. Low rates are good for initial flights or for less experienced pilots. j ust rates to suit your own style. Aileron(ls Side) Elevator (Is Side) Rudder (The Bottom) Flaps... -
Page 12: Accessories Description
Accessories Description "' " , · ·· Servos Introductions · " '" ,. 0 · A servo or reversed se rvo i s de f i ned a s f ollo w s: W hen the servo i npu t si g nal chang es f rom 1000 ųs to 2000 ųs, if the servo arm / , _ rotat e s clockwise, it... -
Page 13: Power System Installation
Accessories Description Power system installation ------------------------------------------ /�- A-Screw (KM4x8mm 4pcs) B-'Motor mount C-5O55-390KV out-runner motor D-Propeller hub E-Screw (HM2.5x1Omm 4pcs) ,.---------------------------------------------------------,. ----- ---------------------------------------------- A-Fire wall B-Screw (PA4x15mm 4pcs) C-Screw (PM3x16mm 8pcs) D-Scale propeller (16x1 4-blade) E-Scale propeller back plate As an upgrade for propeller NOTE: A-Spinner center plug strength, a metal reinforcement... -
Page 14: Main Landing Gear Installation
Accessories Description M a in landing gear installation A ssemble and disassemble the main landing gear acco rding to the following ph otos. A-Main gear axle -C-Buckle (01.5mm) W-Screw (PA 1.4x12 2pcs) 8-Main wheel (0 85x26mm) C-Buckle (01.5mm) X- Main landing g ear door C-Grub Screw (M4x4) N- C-Buckle (01.5mm)
Need help?
Do you have a question about the Spitfire Mk.IXc and is the answer not in the manual?
Questions and answers