
Related Manuals for Pulsar WM60


Summary of Contents for Pulsar WM60
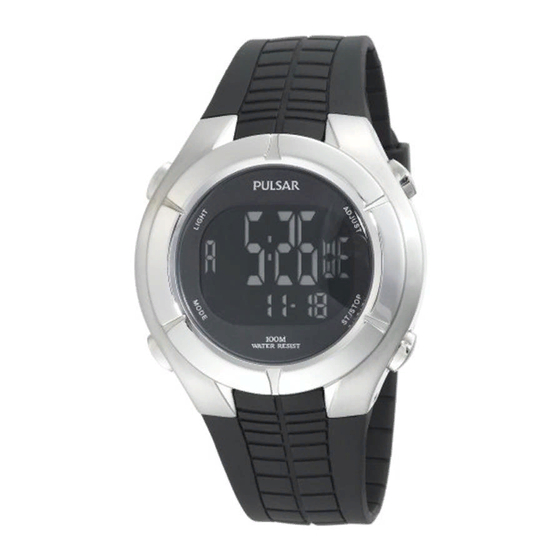
- Page 1 CAL. WM60 DIGITAL QUARTZ Time/calendar Dual time Alarm Countdown timer Stopwatch Pacer Illuminating light (Electroluminescent panel) NSD38_E.indd 1 08.9.22 10:42:18 AM...
-
Page 2: Buttons And Displays
BUTTONS AND DISPLAYS TIME/CALENDAR MODE TIME/CALENDAR SETTING Hour Minute Press and hold for 2 seconds to show the TIME/CALENDAR SETTING mode. • The Day of the Week starts flashing. Press to adjust the flashing digits. Second or AM or PM Day of the week Press to move on to the next item. -
Page 3: Dual Time Mode
CHANGEOVER BETWEEN 12-/24- HOUR INDICATION DISPLAY DUAL TIME MODE With each press of button D, the time indication format in the Press to enter the DUAL TIME mode. TIME/CALENDAR display can be alternately selected between the The dual time mode indicator will appear on the display. 12-hour indication or the 24-hour indication. -
Page 4: Dual Time Setting
DUAL TIME SETTING ALARM MODE Press and hold for 2 seconds to show the DUAL TIME SETTING Press to enter the ALARM mode. mode. The alarm mode indicator will appear on the display. • The Hour starts flashing. Alarm time Press to change the hour to be adjusted. -
Page 5: Alarm Time Setting
ALARM TIME SETTING ALARM ENGAGEMENT/DISENGAGEMENT Each time you press in the ALARM mode, the alarm is alternately Press and hold for 2 seconds to show the ALARM SETTING mode. engaged and disengaged. • The Minute starts flashing. • While the alarm is engaged, the alarm mark will appear on the display. -
Page 6: Countdown Timer Mode
TIMER SETTING COUNTDOWN TIMER MODE Press and hold for 2 seconds to show the TIMER SETTING mode. Press to enter the TIMER mode. The countdown timer mode indicator will appear on the display. • The Minute starts flashing. Press to select the minutes to be adjusted. Elapsed time Press to set the minutes to be adjusted. -
Page 7: Timer Operation
TIMER OPERATION STOPWATCH MODE (CHRONO) Press to start counting down. Press to enter the STOPWATCH mode. The stopwatch mode indicator will appear on the display. Press to stop counting down. Press to reset the stopwatch to 00’00”00 before use. Minute Second Press to reset the display to the starting value. -
Page 8: Stopwatch Operation
STOPWATCH OPERATION PACER MODE <Standard measurement > Press to enter the PACER mode. The pacer mode indicator will appear on the display. StaRt Stop ReSet Pace <Split time measurement> Pacer mode indicator ReSet StaRt SpLIt SpLIt Stop l Up to 4 split times can be measured. l Press button B to view the split time displayed under SP 1 to SP4 heading. - Page 9 When the battery expires, be sure to replace it as soon as possible to prevent any malfunction. l We recommend that you contact an AUTHORIZED PULSAR DEALER for battery Press to turn the Electroluminescent backlight on for about 3 replacement.
-
Page 10: To Preserve The Quality Of Your Watch
WR 3 bar, such as accidental contact with diving. We recommend that you wear a PULSAR splashes of water or rain, but it is not designed for Diver’s watch for scuba diving. - Page 11 * Before using the water resistance 5, 10, 15 or 20 bar watch in water, be sure the TEMPERATURES SHOCKS & VIBRATION crown is pushed in completely. Do not operate the crown when the watch is wet or in water. If used in sea water, Light activities will not Operational temperature rinse the watch in fresh water and dry it completely.
-
Page 12: Periodic Check
Years watch checked by an electricity which may AUTHORIZED PULSAR DEALER or disturb the display. Keep the SERVICE CENTER to ensure that watch away from close contact...
Need help?
Do you have a question about the WM60 and is the answer not in the manual?
Questions and answers