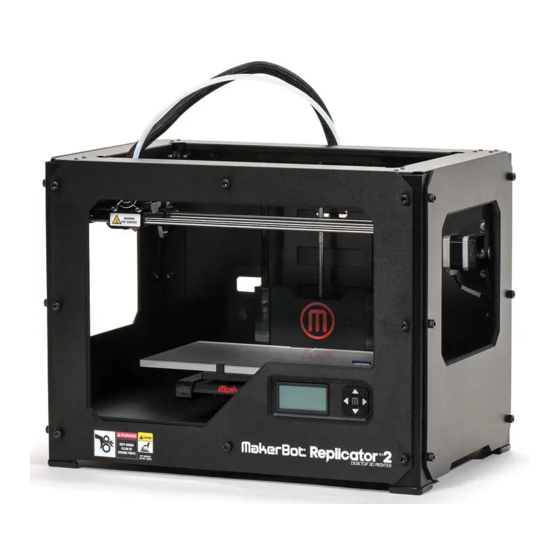
MakerBot Replicator 2 Replacement Instructions
Thermocouple
Hide thumbs
Also See for Replicator 2:
- User manual (64 pages) ,
- Quick start manual (14 pages) ,
- User manual (60 pages)
Table of Contents
Advertisement
Quick Links
MakerBot Replicator 2 Thermocouple
Replacement Instructions
Before you begin, do the following:
• Unload any filament.
• Turn off the MakerBot Replicator 2.
• Remove the filament guide tube and spool holder.
• Unplug power and USB cables.
1. Detach the active cooling duct.
Gently pull the active cooling duct away from the nozzle. Allow the duct to hang.
2. Remove the extruder from the gantry.
Use the 2.5 mm hex wrench that came with your MakerBot Replicator 2 to unscrew the
two bolts holding the extruder to the extruder carriage. One bolt is at the left side of the
extruder carriage and the other is at the right.
3. Free the extruder cable from the clips on the back of the MakerBot Replicator 2.
Carefully clip the zip tie attaching the extruder cable to the top clip. Gently pull it free of
the other clips. Set the extruder down next to your bot.
4. Snip the zip tie securing the end of the extruder cable.
Be careful not to cut any of the wires inside.
5. Remove the black wire wrapping from the extruder cable.
Find the seam in the black cable and unroll the wrapping. The wrapping will easily pull
off of the entire cable.
Advertisement
Table of Contents

Summary of Contents for MakerBot Replicator 2
- Page 1 2. Remove the extruder from the gantry. Use the 2.5 mm hex wrench that came with your MakerBot Replicator 2 to unscrew the two bolts holding the extruder to the extruder carriage. One bolt is at the left side of the extruder carriage and the other is at the right.
- Page 2 6. Flip the MakerBot Replicator 2 so that it rests on its left side and the bottom of the machine faces you. 7. Remove the electronics bay cover. Use the 2.5 mm hex wrench to remove the four bolts attaching the cover to the underside of the bot.
- Page 3 Position the zip tie as close as possible to the extruder cap and tie it as tightly as you can. 18. Return the electronics cover to the bottom of your MakerBot Replicator 2. The thermocouple replacement is now complete. Plug in your MakerBot Replicator 2,...


Need help?
Do you have a question about the Replicator 2 and is the answer not in the manual?
Questions and answers