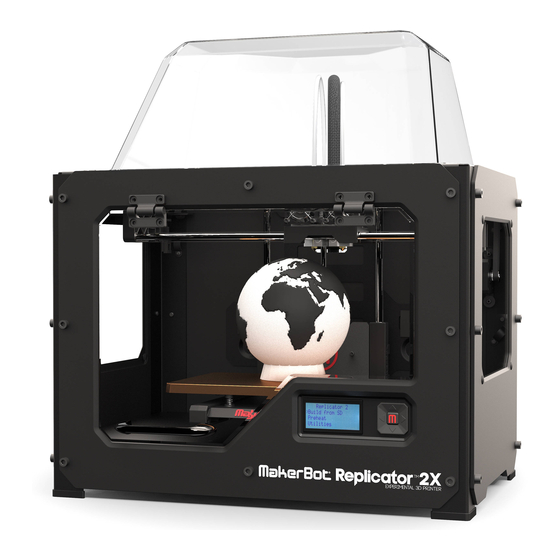
MakerBot Replicator 2X Replacement Manual
How to replace a thermocouple
Hide thumbs
Also See for Replicator 2X:
- User manual (116 pages) ,
- Troubleshooting and maintenance (40 pages) ,
- Replacement instructions (5 pages)
Table of Contents
Advertisement
Quick Links
How to Replace a Thermocouple on a MakerBot
Replicator 2X
These are instructions for replacing a thermocouple on a MakerBot Replicator 2X. This
part replacement will require the use of a scissor or wire cutter, some tape, an
adjustable wrench, the 2.5 mm hex wrench that came with your bot, and possibly a
small flathead screwdriver.
Before you begin, do the following:
• Unload any filament from the extruder being repaired.
• Turn off the MakerBot Replicator 2X.
• Unplug power and USB cables.
1. Remove the motor assembly from the extruder.
First detach the white plastic motor wire connector from the motor. Then use your 2.5
mm hex wrench to loosen the fan bolts at the front of the extruder until the motor is
free. Remove the motor assembly and set it aside.
Advertisement
Table of Contents

Related Manuals for MakerBot Replicator 2X


Summary of Contents for MakerBot Replicator 2X
- Page 1 How to Replace a Thermocouple on a MakerBot Replicator 2X These are instructions for replacing a thermocouple on a MakerBot Replicator 2X. This part replacement will require the use of a scissor or wire cutter, some tape, an adjustable wrench, the 2.5 mm hex wrench that came with your bot, and possibly a small flathead screwdriver.
- Page 2 2. Loosen the bar mount set screw. Locate the set screw holding the thermal barrier tube in place. It's at the back of the bar mount. Use the 2.5 mm hex wrench to loosen it. This will loosen the entire hot end– the nozzle, thermal core and thermal barrier tube.
- Page 3 10. Free the extruder cable. Carefully clip the zip ties attaching the extruder cable to the clips at the top of the extruder and the back of the MakerBot Replicator 2X. Gently pull it free of the other clips.
- Page 4 14. Flip the MakerBot Replicator 2X so that it rests on its left side and the bottom of the machine faces you.
- Page 5 21. Reattach the extruder cable to the back of the MakerBot Replicator 2X. Move your extruders all the way to the front left corner of the MakerBot Replicator 2X. Zip tie the cable to the clip at the top of the back of your bot, leaving a small amount of slack on the cable.
Need help?
Do you have a question about the Replicator 2X and is the answer not in the manual?
Questions and answers