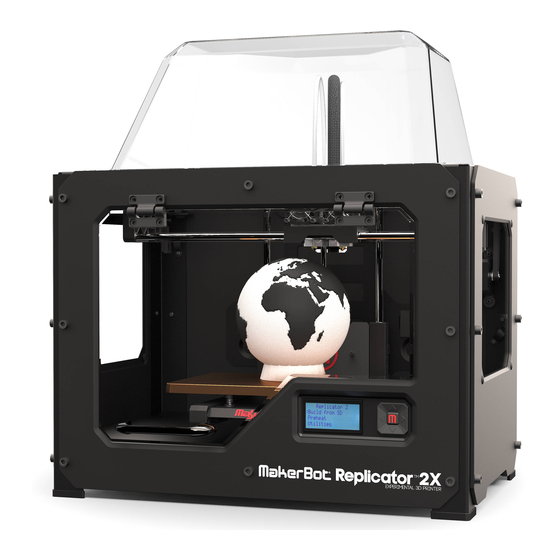
MakerBot Replicator 2X Replacement Instructions
Bar mount replacement instructions
Hide thumbs
Also See for Replicator 2X:
- User manual (116 pages) ,
- Troubleshooting and maintenance (40 pages) ,
- Replacement manual (5 pages)
Table of Contents
Advertisement
Quick Links
Replicator 2X Bar Mount Replacement Instructions
These are instructions for replacing the bar mount assembly for the MakerBot
Replicator 2X's dual extruders. They will require the use of the 2.5 mm hex wrench that
came with your printer, a pair of scissors, some tape, and possibly a small flathead
screwdriver.
Before you begin, do the following:
• Unload any filament.
• Turn off the MakerBot Replicator 2X.
• Remove the filament guide tubes and spool holders.
• Unplug power and USB cables.
1. Clip the zip tie holding the extruder cable to the plastic guide at the back of the
extruders.
Be careful -- make sure you clip only the zip tie and avoid any of the wires going into the
extruder cable.
2. Use your 2.5 mm hex wrench to loosen the fan bolts on the left extruder.
These are the two bolts at the lower corners of the left extruders. Loosen them just
enough that you can remove the left extruder motor and attached drive block from the
dual extruder assembly by sliding them to the left.
3. Remove the motor cable connector from the left extruder motor.
This is the white plastic clip at the top of the motor. Wiggle it free and label it with a
piece of tape to identify it as the left motor cable. Set the left extruder motor assembly
aside.
4. Remove the two bolts holding the extruders to the extruder carriage.
Advertisement
Table of Contents

Related Manuals for MakerBot Replicator 2X


Summary of Contents for MakerBot Replicator 2X
- Page 1 These are instructions for replacing the bar mount assembly for the MakerBot Replicator 2X's dual extruders. They will require the use of the 2.5 mm hex wrench that came with your printer, a pair of scissors, some tape, and possibly a small flathead screwdriver.
- Page 2 Move the whole assembly to the right and tilt it to free it from the extruder carriage. 6. Free the extruder cable from the clips on the back of the MakerBot Replicator 2X. Carefully clip the zip tie attaching the extruder cable to the top clip on the back of the MakerBot Replicator 2X.
- Page 3 16. Return the electronics cover to the bottom of the MakerBot Replicator 2X. Use the four small bolts and the 2.5 mm hex wrench to secure the cover to the bottom of your bot and flip the printer upright again.
- Page 4 17. Orient the new bar mount so the nozzles point down and the heater wire leads point away from you. 18. Route the right side thermocouple around the channel in the bar mount Bend the thermocouple as little as possible. 19.
- Page 5 Push the cable into the other guides on the back of the bot. Your MakerBot Replicator 2X is all set up to print again. Plug it in, turn it on, load up some filament and try out your new bar mount.
Need help?
Do you have a question about the Replicator 2X and is the answer not in the manual?
Questions and answers