Table of Contents
Advertisement
Quick Links
Advertisement
Table of Contents

Related Manuals for Brickcom FB-H200Np-S-WDRPro


Summary of Contents for Brickcom FB-H200Np-S-WDRPro
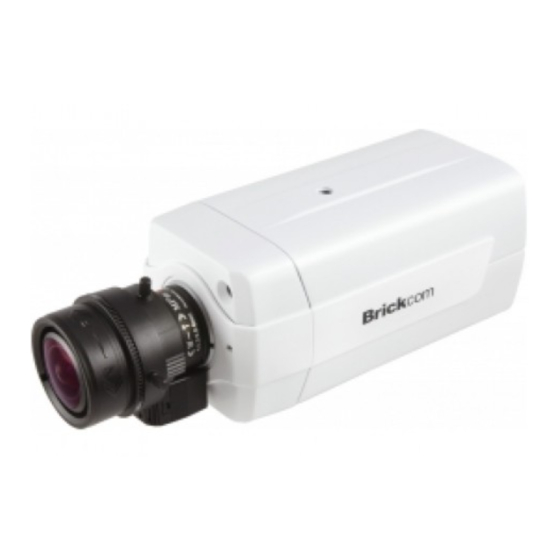
- Page 1 Megapixel Network Camera Easy Installation Guide FB-H200Np-S-WDRPro...
-
Page 2: Safety Instruction
I. Preface Thank you for purchasing our product. If there is any question, please do not hesitate to contact us. These instructions are intended to ensure that the user can use the product correctly to avoid danger or property loss. Please read this Guide carefully before using the product, and keep it properly for future reference. -
Page 3: Daily Maintenance
3. Daily Maintenance Do not touch the heat component of the device directly to avoid empyrosis. When the lens is contaminated by dust or grease, use cotton cloth or lens clean cloth to wipe it off. When it is hard to clean, dip some lens cleanser and wipe gently and rotate outward from the middle until it is clean. Never apply any organic solvent with ethanol or benzene to clean the lens and housing. -
Page 4: Installation Steps
III.Installation Steps 1. Remove the dust cover and mount the lens. CS type lens can be mounted directly, while an adapter ring is needed before mounting C type lens, as the picture shows. Mount an adapter If the lens does not focus well after DC IRIS, for Auto IRIS lens ring for C type lens adjustment, try to mount a spacer. - Page 5 RS485 Port Audio In/Out Indicator Alarm In/Out Alarm In/Out Indicator Network Port Network Port G O1 O2 I 1 I 2 G IN some models some models Audio In/Out RS485 Port support PoE support PoE LINK RS485 ALARM AUDIO DC 12V Power Port, Micro SD DC12V...
- Page 6 RS485 Port Indicator Alarm In/Out Network Port some models Audio In/Out support PoE Video Out Power Port, -Some models DC12V/AC24V support HD-SDI -Other models support CVBS TF Card Slot Max Memory 256G [Note]: RUN Lamp: operation indicator, green, flashes (1s on, 1s off) after power on, and goes off after power off. LINK Lamp: network status indicator, green, flashes (1s on, 1s off) after power on and network connected, and goes off after power off or network disconnected.
- Page 7 Batch: Select the device and click “Batch processing”. In the popup interface, set admin user's password and the email address to find back the password. Click “Activate” and it will reboot automatically. Individual: Select the device from IPCSearch and right click to select “Activate”. Fill admin user name and password and the e-mail address to find back the password.
- Page 8 3. Modify device IP address Click “Modify Params” and set the network parameters. When configuring a static IP for the camera, please check “Custom device address (Close DHCP)” and fill the Ethernet parameters. During modification, the username (admin) and the password set during activation should be entered. After configuration, the camera will reboot automatically.
-
Page 9: Bracket Installation
V. Bracket Installation When mount the camera on a ceiling mount bracket, the bracket adapter can be taken apart from the bottom and be mounted on the top of the camera, as the picture shows. Camera Top View Size of bracket adapter Bracket Adapter Screw Hole VI. - Page 10 V3 20190716...
Need help?
Do you have a question about the FB-H200Np-S-WDRPro and is the answer not in the manual?
Questions and answers