
Related Manuals for Fenix MR Series


Summary of Contents for Fenix MR Series
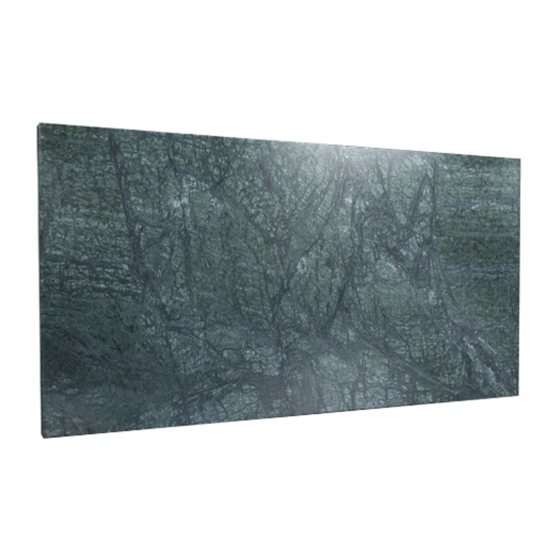
- Page 1 N69/R08(11.01.07) PANEL MR MRAMOROVÉ PANELY MARBLE PANELS MARMORPLATTEN www.fenixgroup.cz Návod k montáži a použití Instructions for installation and use Bedienungsanleitung...
-
Page 3: Návod K Montáži A Použití
2 rozměry jsou v mm El. instalaci je nutné vybavit 2 pólovým vypínáním, u něhož se vzdálenost rozpojených kontaktů rovná min. 3 mm (tuto podmínku splňuje termostat Fenix 1 mramorový panel Therm 100). 2 konzoly 3 stavěcí opěrky 4 stěna... -
Page 4: Elektrická Instalace
Ovládání panelu Doporučujeme zajistit ovládání panelu externím prostorovým termostatem s vypínačem (např. Fenix Therm 100). Prostorový termostat udržuje nastavenou teplotu vzduchu v místnosti. Panel je dále vybaven omezovacím termostatem, který zajišťuje, že maximální teplota panelu nepřekročí 110 °C. -
Page 5: Důležité Bezpečnostní Pokyny
Demontáž panelu Před uvolněním upevňovacích konzol odpojíme pomocí dvoupólového vypínače panel od sítě. S použitím nářadí uvolněte montážní šrouby a panel nadzvedněte svisle nahoru tak, aby se konzoly uvolnily ze šroubů. Dále je nutné odpojit napájecí kabel z krabice na zdi. Upozornění... -
Page 6: Technické Údaje
Technické údaje r ì k ý í t ì í ø t í t y × Š × × × × × × × ° × × × × × × Záruční podmínky Dodavatel poskytuje na výrobky záruku 24 měsíců od data prodeje. Záruka se nevztahuje na vady způsobené... -
Page 7: Installation Instructions
2 dimensions in mm gap opening of at least 3 mm (this requirement is met by the Fenix Therm 100 thermostat. 1 marble panel 2 mounting bracket 3 adjustment rest... -
Page 8: Electric Installation
Panel Control The panel control by external room thermostat equipped with a switch is recommended (e.g. Fenix Therm 100). The room thermostat maintains set air temperature in a room. Moreover, the panel is equipped with a limiting thermostat which regulates the panel... -
Page 9: Panel Removal
Panel Removal Before releasing the mounting brackets, disconnect the panel from the mains by double- pole switch. Using tools, release erection bolts and lift the panel vertically upwards to release the brackets from the screws. It is also necessary to disconnect the power supply cable from the wall junction box. -
Page 10: Technical Data
Technical Data c i r e r r a t l a f r i t c × L × × × × × × × ° × × × × × × Guarantee Conditions The guarantee is valid for 24 months from a date of sale. The guarantee does not cover any appliances which defects are due to transport, negligent manipulation and/or faulty installation. - Page 11 Elektrosteckdose angebracht werden. Die Elektroinstallation ist mit einer zweipoligen Abschaltung auszustatten, bei der die Mindestent- 1 Marmorplatte fernung der unterbrochenen Kontakte 3 mm beträgt 2 Konsolen (diese Bedingung erfüllt der Thermostat Fenix 3 verstellbare Therm 100). Tragstützen 4 Wand 5 Dübel mit...
- Page 12 Bedienung des Heizkörpers Wir empfehlen, den Heizkörper mit einem Raumthermostat mit Schalter auszustatten (z.B. Fenix Therm 100). Der Raumthermostat erhält die eingestellte Lufttemperatur des Raumes aufrecht. Der Heizkörper ist weiter mit einem Begrenzungsthermostat ausgestattet, der zur Temperatur- regulierung der Heizkörperoberfläche dient, die nicht 110 °C übersteigen darf.
-
Page 13: Wichtige Sicherheitsanweisungen
Demontage des Heizkörpers Vor dem Lösen der Befestigungskonsolen schalten Sie den Heizkörper mittels des zweipoligen Schalters vom Netz ab. Mit Hilfe des Werkzeugs lockern Sie die Montageschrauben und heben Sie den Heizkörper vertikal nach oben, damit sich die Konsolen von den Schrauben lösen können. -
Page 14: Technische Angaben
Technische Angaben e ß i e L u t s o r t - r e × L T × c ä × × × × × × ° × × × × × × Garantiebedingungen Der Auftragnehmer gewährleistet für das Erzeugnis eine Garantie von 24 Monaten ab Verkaufsdatum. - Page 16 Fenix Trading s.r.o. Slezska 2 790 01 Jesenik Czech Republic tel.: +420 584 495 302 fax: +420 584 495 303 e-mail: fenix@fenixgroup.cz www.fenixgroup.cz...
Need help?
Do you have a question about the MR Series and is the answer not in the manual?
Questions and answers