Table of Contents
Advertisement
ApeosPort
Reference Guide
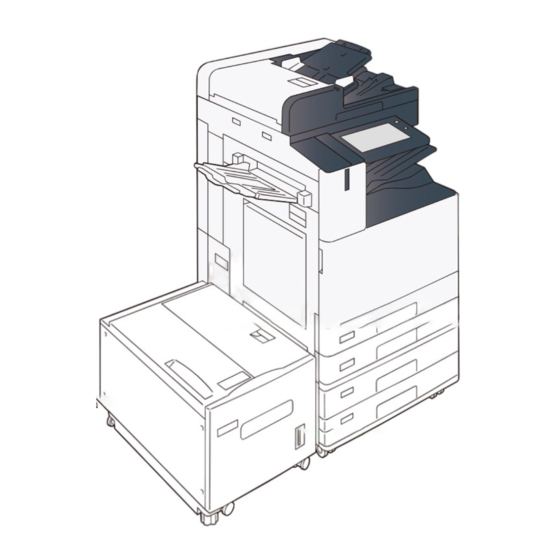
Optional Units
A guide describing the operations for optional units, such as the Finisher.
Refer
Descriptions for the following optional products are provided in different guides.
Envelope Tray, Extra Center Tray, side tray: Reference Guide Main Unit
Wireless kit, print / scan / FAX function-related products: Reference Guide Operations
Long Paper Inserter: Manual included in the product
This manual may not be edited, modified or copied in whole or in part without the written consent of the publisher.
Parts of this manual are subject to change without prior notice.
The screen shots and the illustrations in this manual are used as examples. They may differ from yours depending on the model, the software,
or the OS.
®
C7070/C6570/C5570/C4570/C3570/C3070/C2570
Edition 3, August 2020 / ME9026E1-1
©Fuji Xerox Co., Ltd. All rights reserved.
Advertisement
Table of Contents


Need help?
Do you have a question about the ApeosPort C7070 and is the answer not in the manual?
Questions and answers