Table of Contents
Advertisement
Quick Links
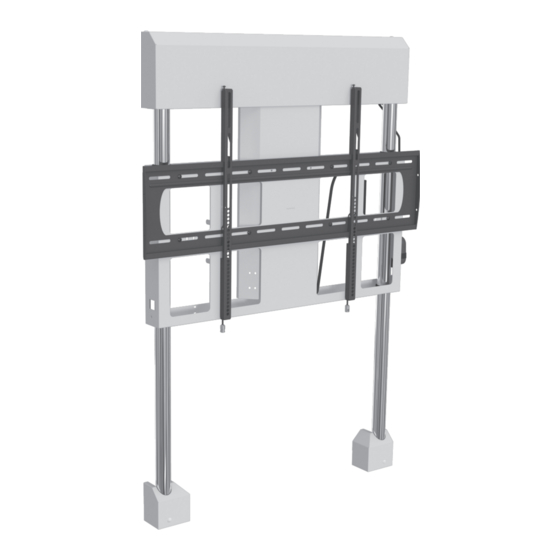
FPS-200
Installation Guide
Installationsanleitung, Guía de Instalacíon, Guida de Installazione, Guide d'Installation, Installatie gids
Warranty, Garantie, Garantía, Garanzia, Garantie, Waarborg: http://www.mounts.com/warranty
9535-001-011-0X Rev.0
www.mounts.com | North America 800.368.9700 | International +1-714-632-7100 | Europe +44 (0) 24 7664 4105
1321 S. State College Blvd., Fullerton, CA 92831 USA
Advertisement
Table of Contents

Summary of Contents for Premier Mounts FPS-200
- Page 1 FPS-200 Installation Guide Installationsanleitung, Guía de Instalacíon, Guida de Installazione, Guide d’Installation, Installatie gids Warranty, Garantie, Garantía, Garanzia, Garantie, Waarborg: http://www.mounts.com/warranty 9535-001-011-0X Rev.0 www.mounts.com | North America 800.368.9700 | International +1-714-632-7100 | Europe +44 (0) 24 7664 4105 1321 S. State College Blvd., Fullerton, CA 92831 USA...
- Page 2 Important Note: Please take the time to completely read the installation manual and confirm your understanding of all steps for the proper installation of the FPS-200 power lift system. Remove all items from the carton and confirm that you have the complete kit. Should you have any missing items, please call (800) 368-9700, or internationally at (714) 632-7100 and ask for customer service.
- Page 3 Set the FPS- 200 aside and drill the four pilot holes. Step 3: With a minimum of two people raise the FPS-200 and secure it to the wall with the 5/16” x 3” lag bolts and flat washers.
- Page 4 Step 4: With the base FPS-200 securely mounted to the wall, the two A/C power outlet boxes can now be mounted to the FPS-200 frame. Note: The upper power box needs to have the two outlets “hard wired” to them.
- Page 5 FPS-200 Installation Guide Installationsanleitung, Guía de Instalacíon, Guida de Installazione, Guide d’Installation, Installatie gids Step 6: With the system now powered and level, re-attach the upper and lower covers with the supplied hardware that you removed. Step 7: Install the “P” series flat mount with the supplied hardware, following the installation instructions supplied with the “P”...
- Page 6 What Premier Mounts Will Do At the sole option of Premier Mounts, Premier Mounts will repair or replace any product or product part that is defective. If Premier Mounts chooses to replace a defective product or part, a replacement product or part will be shipped to you at no charge, but you must pay any related labor costs.


Need help?
Do you have a question about the FPS-200 and is the answer not in the manual?
Questions and answers