Advertisement
Advertisement

Related Manuals for EasyIO FS-32


Summary of Contents for EasyIO FS-32
- Page 1 EasyIO FS Series – Installation Guide v1.1 EasyIO FS-32 Installation Guide...
- Page 2 EasyIO FS Series – Installation Guide v1.1 Document Change Log March 2017 Document created. Dec 2018 Updated disclaimer and support channel emails addresses...
- Page 3 While every effort has been made to assure the accuracy of this document, EasyIO Holdings Pte Ltd is not responsible for damages of any kind, including without limitation consequential damages, arising from the application of the information contained herein.
-
Page 4: Table Of Contents
EasyIO FS Series – Installation Guide v1.1 Table of Contents Introduction ..............................5 Dimension ............................... 5 Physical Installation Instructions ........................7 Opening the Top Cover ..........................10 Micro SD Card Installation ..........................11 Technical Support ............................13... -
Page 5: Introduction
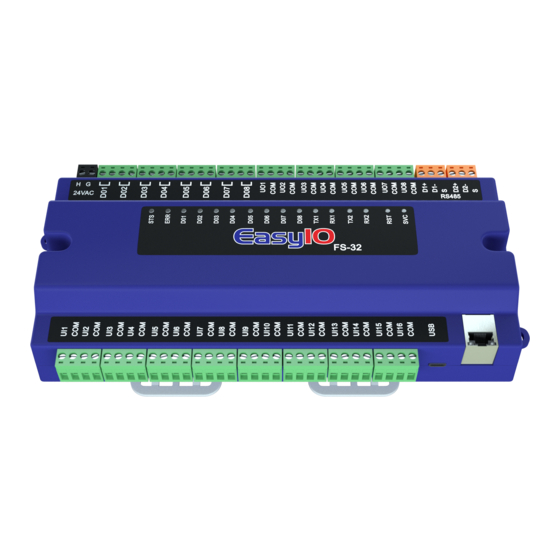
EasyIO FS Series – Installation Guide v1.1 Introduction This document provides the installation guide/mounting guide for the EasyIO FS-32 controller. Do not mount the EasyIO FS-32: In an area where excessive moisture, corrosive fumes or explosion vapors are present. Where excessive vibration or shock is likely occur... - Page 6 EasyIO FS Series – Installation Guide v1.1 Side view and back view. Improved DIN rail mounting for easy dismantling. Alternate mounting option dimension...
-
Page 7: Physical Installation Instructions
EasyIO FS Series – Installation Guide v1.1 Physical Installation Instructions Step 1 Securely fasten the DIN rail to the enclosure base plate. A standard DIN rail width 35mm. Typical industrial DIN rail, 35mm Step 2 Use a screwdriver to unlock the 2 numbers of locking clips. Eventually you may use your finger. - Page 8 EasyIO FS Series – Installation Guide v1.1 Step 3 Position the EasyIO FS-32 on the DIN rail mount till it hooks over the top edge of the DIN rail. Push the controller towards the bottom part of the DIN rail...
- Page 9 Image shows a typical “DIN rail end clip(end stopper)” The EasyIO FS-32 comes with 2 mounting holes as optional mounting. Occasionally if DIN rail mounting is not practical, you can use screws to mount the EasyIO FS-32 to an enclosure base plate.
-
Page 10: Opening The Top Cover
EasyIO FS Series – Installation Guide v1.1 Opening the Top Cover Step 1 Use a Philips screwdriver to unscrew the 2 Philips screw located on top the top cover. Remove the 2 Button HeadPhilips screws Step 2 Hold both end of the top cover to lift up the top cover. Occasionally a small flat head screw driver might come handy in case the top cover stuck to the bottom cover. -
Page 11: Micro Sd Card Installation
Class 4 Class 10 ***Please note that the Micro SD card in the EasyIO FS Series is optional and the controller does not complete with the SD Micro Card as standard. The SD Micro card can be purchased separately that have the following specifications.***... - Page 12 EasyIO FS Series – Installation Guide v1.1 Step 2 Slide the micro SD card with contact pins face down. Step 3 Carefully push the micro SD card in until it is lock. A click sound indicates the micro SD card is locked in position.
-
Page 13: Technical Support
EasyIO FS Series – Installation Guide v1.1 Step 4 To remove the micro SD card , push the micro SD card in towards the holder until you hear a click sound. The micro SD card will eject. Then slide the micro Card out.
Need help?
Do you have a question about the FS-32 and is the answer not in the manual?
Questions and answers