Advertisement
Table of Contents
- 1 Before You Get Started
- 2 Step 1: Make Sure You Put the Textilence to the End of Track.
- 3 Step 2: Set up Textilence Panel a with Holding Frame B and C
- 4 Step 3: Connect Binding D, E to Holding Frame B, C with Bolt G.
- 5 Step 4: Tighten up All of the Screws.
- 6 Attentions
- 7 Risky of Injury
- Download this manual
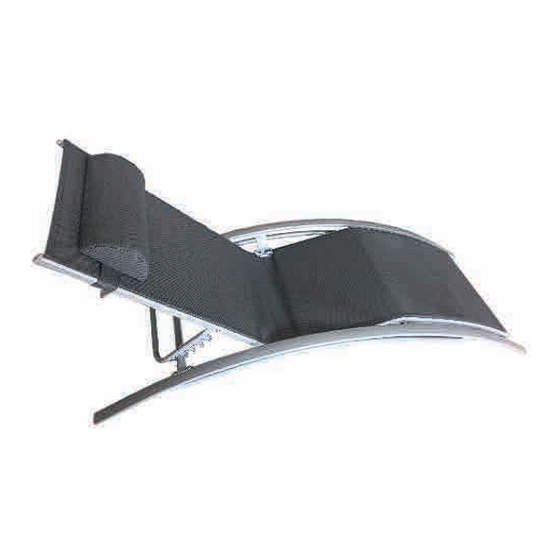
Outdoor Patio Chaise Lounge
Assembly Instructions (1/3)
Before you get started, check following itms in the box.
A
B
C
A
B
C
D
Please keep at least 1/4" to 1/2" gap when you screw in the bolt , this is VERY
IMPORTANT. After set up, then fully tighten the bolts and screws.
2825 80th AVE SE, STE 202
Mercer Island, WA 98040
1
E
1
F
1
G
H
1
Kozyard LLC
www.kozyard.com
email: info@kozyard.com
Toll-free: 866-355-0018
E
2
I
8
J
M6*35
12
K
M6*16
8
D
E
24
2
2
Page 1
Advertisement
Table of Contents

Related Manuals for Kozyard Outdoor Patio Chaise Lounge


Summary of Contents for Kozyard Outdoor Patio Chaise Lounge
- Page 1 Outdoor Patio Chaise Lounge Assembly Instructions (1/3) Before you get started, check following itms in the box. M6*35 M6*16 Please keep at least 1/4” to 1/2” gap when you screw in the bolt , this is VERY IMPORTANT. After set up, then fully tighten the bolts and screws.
- Page 2 Outdoor Patio Chaise Lounge Assembly Instructions (2/3) Step1: Make sure you put the textilence to the end of track. Step 2: Set up textilence panel A with holding frame B and C You only need one J in each side, J is...
- Page 3 Outdoor Patio Chaise Lounge Assembly Instructions (3/3) Second First Step 3: Connect binding D, E to holding frame B, C with bolt G. Second First Page 3 Kozyard LLC www.kozyard.com 2825 80th AVE SE, STE 202 email: info@kozyard.com Mercer Island, WA 98040...
- Page 4 Outdoor Patio Chaise Lounge Step 4: Tighten up all of the screws. Attentions ❶ Don’t allow textilence fabric to come into direct contact with a heat source (candle, electric device, heater, etc.). ❷ For stability and to avoid cross threading screws, assemble all parts manually and start by tightening all screws by hand.
Need help?
Do you have a question about the Outdoor Patio Chaise Lounge and is the answer not in the manual?
Questions and answers