Table of Contents
Advertisement
Quick Links
STEP 5
Attach Cabinet Door (C) by lining it
up on the 1" Pin on Cabinet Bottom
(B) as referenced in Step 3 with top
1" Pin being inserted into bottom of
Cabinet Top (E) predrilled hole as
shown on right. Fasten Cabinet Top
(E) using four 1-1/4" screws.
STEP 6
Attach Drawer Pull to Drawer (F)
by inserting through holes in
Drawer (F) and securing with pull
screws provided.
Attach Door Pull the same vertically
with pull assembled to face on top.
STEP 7
Slide Drawer in on Side Assembly
(A) slats and push both Drawer Stop
Dowels on predrilled holes on top of
Drawer (F) as shown on right.
STEP 8
Attach Magnet Plate with ½" Flat
Screw on Cabinet Door (C) as
shown on right.
STEP 9
Place Top (G) onto Side Assemblies
(A) and fasten with remaining 1-
1/4" screws as shown on right.
STEP 10
Insert flush plugs to cover screws
in Side Assemblies (B) and tap
lightly into place with a hammer.
CARE
Dust as needed with soft cloth. Clean with
damp cloth and mild solution of dish soap.
Polish with soft cloth and polish that
www.llbean.com
contains no pigment or silicone.
Product Support 1 800 341 4341
Advertisement
Table of Contents

Summary of Contents for L.L.Bean HOME Mission Cabinet Small
- Page 1 STEP 5 Attach Cabinet Door (C) by lining it up on the 1” Pin on Cabinet Bottom (B) as referenced in Step 3 with top 1” Pin being inserted into bottom of Cabinet Top (E) predrilled hole as shown on right. Fasten Cabinet Top (E) using four 1-1/4”...
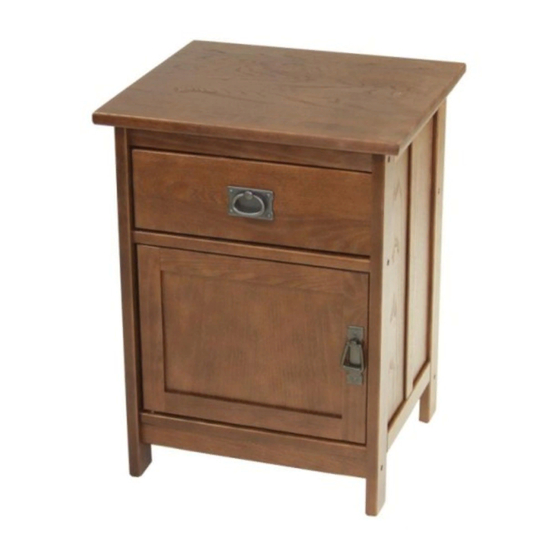
- Page 2 Mission Cabinet Small Thank you for purchasing our Mission Cabinet Small. Assembly of this product requires a Phillips screwdriver (screw gun with Philips head recommended) and a hammer. We have found it helpful to have a second person present in at least one step of the assembly. 7573 05AG1160111...
- Page 3 Read through these instructions thoroughly. We have found this to be of great value when first assembling this product. Remove all parts and hardware from packing material. Place wooden parts on non-abrasive surface (like carpet or carton) to prevent damage to finish. Assembly of this product requires a Phillips screwdriver and a hammer.
- Page 4 STEP 1 Please review which way you would like the cabinet to open. As shown on the right, the Cabinet Bottom (B) has predrilled holes on the surface. If you choose the 1” Pin in Step 4 facing your left side, the cabinet door will close on the right and vice versa.


Need help?
Do you have a question about the HOME Mission Cabinet Small and is the answer not in the manual?
Questions and answers