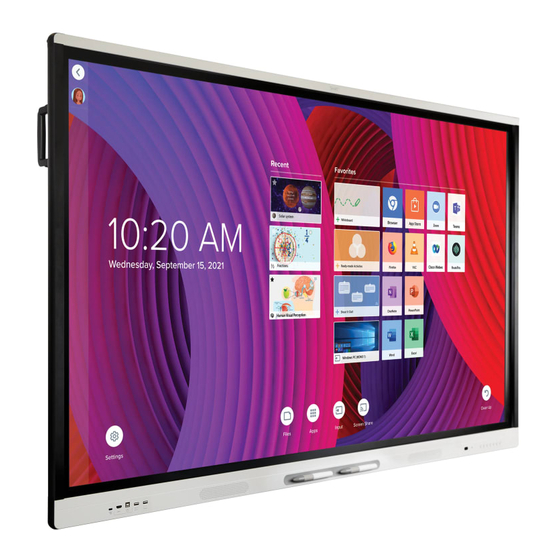
SMART Board Quick Reference
Basics
Hide thumbs
Also See for Board:
- Installation manual (53 pages) ,
- Quick reference (4 pages) ,
- Quick reference (2 pages)
Advertisement
Quick Reference
SMART Board™ Interactive Whiteboard Basics
This Quick Reference Guide provides an overview of the information you need to begin using a SMART Board interactive
whiteboard. Before you begin, make sure the appropriate SMART Board software has been loaded on your computer. For
more information, refer to you SMART Board User's Guide.
Starting the SMART Board Interactive Whiteboard
1 Ensure the interactive whiteboard and projector are connected to the computer.
2 Turn on the projector, then the computer. The interactive whiteboard draws power from the computer and is activated
automatically. You will know the whiteboard has power when the Ready Light turns red.
: Depending on the model of SMART Board interactive whiteboard you are using, the Ready Light is either located
NOTE
on the right side of the pen tray or the lower-right of the frame bezel.
3 Log on, if required, using the computer keyboard. When the Ready Light on the pen tray turns green, the computer and
the interactive whiteboard have established communication. The whiteboard is now touch sensitive, and you can open
any application available on the connected computer.
Orienting the SMART Board Interactive Whiteboard
You should orient your interactive whiteboard when setting it up, or if either the projector or interactive whiteboard has been
moved since you last used it.
1 Press and hold the circled pen tray buttons simultaneously until the orientation interface appears.
2 Begin orientation at the upper-left corner. Press your finger squarely in the center of each red cross in the order indicated
by the white, diamond-shaped background.
Ready Light on right
side of pen tray
Pen Tray Buttons
Pen Tray Buttons
Ready Light on lower-
right of the frame bezel
Advertisement
Table of Contents

Summary of Contents for SMART Board
- Page 1 SMART Board™ Interactive Whiteboard Basics This Quick Reference Guide provides an overview of the information you need to begin using a SMART Board interactive whiteboard. Before you begin, make sure the appropriate SMART Board software has been loaded on your computer. For more information, refer to you SMART Board User’s Guide.
- Page 2 SMART Board Software > SMART Notebook. Additional training material on how to use Notebook software is available at www.smarttech.com/trainingcenter. © 2005 SMART Technologies Inc. All rights reserved. SMART Board, Notebook and the SMART logo are trademarks of SMART Technologies Inc. Printed in Canada 09/2005.


Need help?
Do you have a question about the Board and is the answer not in the manual?
Questions and answers