Advertisement
Advertisement
Table of Contents

Subscribe to Our Youtube Channel
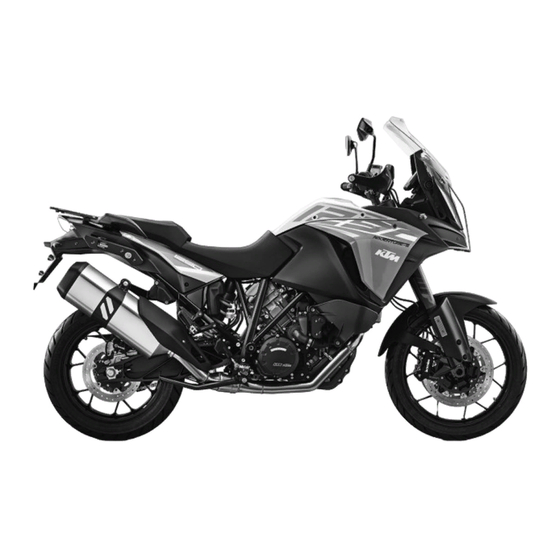
Summary of Contents for KTM 1290 Super Adventure S 2017
- Page 1 SETUP INSTRUCTIONS 2017 1290 Super Adventure S Art. no. 3213628en...
- Page 3 KTM accepts no liability for delivery options, devi- ations from illustrations and descriptions, misprints, and other errors.
-
Page 4: Means Of Representation
MEANS OF REPRESENTATION Symbols used The meaning of specific symbols is described below. Indicates an expected reaction (e.g. of a work step or a function). Indicates an unexpected reaction (e.g. of a work step or a function). Indicates a page reference (more information is provided on the specified page). Indicates information with more details or tips. - Page 5 SETUP Unpacking and setting up the vehicle – Remove the straps and box. V00717-10 – Remove the adhesive tape in the upper area of the motorcycle. V00718-10 – Roll down the film at the sides. Info To avoid damaging the motorcycle during unpacking, leave the other films on the vehicle until you have finished work on the vehicle.
- Page 6 The vehicle is released at the front. – Together with an assistant, take the vehicle off the palette. V00724-10 – Remove radiator shield V00725-10 Condition Function KTM MY RIDE activated (optional). – Remove screws – Remove the headlight mask. V00793-10...
- Page 7 – Apply radio certification sticker to the rear of the combination instrument in area Info If the function KTM MY RIDE is enabled, the sticker must be applied. – Connect the plug-in connector. – Mount and tighten the screws with sleeves...
- Page 8 WORK Installing the engine guard – Position engine guard , mount screws with bushings and tighten. Guideline Screw, engine guard 10 Nm (7.4 lbf ft) V00726-10 Removing the passenger seat – Insert the Race‑on key or the black ignition key into the seat lock and turn clockwise.
-
Page 9: Recharging The Battery
WORK Mounting the front rider's seat Main work – Attach the recesses on the front rider's seat to the fuel tank at the desired seat position , and push the driver's seat forward while lowering it at the rear. – Finally, check that the front rider's seat is correctly mounted. - Page 10 WORK Preparatory work – Switch off all power consumers and switch off the engine. – Remove the passenger seat. ( p. 6) – Remove the front rider's seat. ( p. 6) – Remove the battery. ( p. 8) Main work –...
- Page 11 WORK Main work – Pull locking mechanism in the direction of the arrow. – Fold open cover V00729-10 – Disconnect negative cable from the battery. – Disconnect positive cable from the battery. – Take the battery and battery case out of the battery compartment. V00730-10 Installing the battery Warning...
- Page 12 WORK – Close the cover and push down slightly. The cover engages with an audible click. V00729-11 Finishing work – Mount the front rider's seat. ( p. 7) – Mount the passenger seat. ( p. 6) – Set the time and date. 3.10 Starting Danger...
- Page 13 WORK – Turn the emergency OFF switch/electric starter button to the lower position Info Do not press the emergency off switch/electric starter button into the lower position until the combination instrument function check has been com- pleted. When starting, DO NOT open the throttle. If you open the throttle during the starting procedure, fuel is not injected by the engine management system and the engine cannot start.
- Page 14 WORK 3.12 Closing the filler cap Warning Fire hazard Fuel is highly flammable, toxic and a health hazard. – Check the filler cap is locked correctly after closing. – Change your clothing in case of fuel spills on them. – Rinse the affected area immediately with plenty of water in the event of contact with the skin.
-
Page 15: Checking The Headlight Setting
WORK 3.14 Checking the headlight setting – Park the vehicle on a horizontal surface in front of a light-colored wall and make a mark at the height of the center of the low beam headlight. – Make another mark at a distance under the first mark. -
Page 16: Technical Data
TECHNICAL DATA chassis tightening torques – Screw, combination switch, left 5 Nm (3.7 lbf ft) – Screw, headlight EJOT ALtracs ® 60x20 10 Nm (7.4 lbf ft) – Screw, headlight holder EJOT ALtracs ® 50x12 7 Nm (5.2 lbf ft) –... - Page 17 TECHNICAL DATA – Angled valve (Super Adventure S 6 Nm (4.4 lbf ft) EU/AU/CN) – Angled valve (Super Adventure S JP) 4 Nm (3 lbf ft) – Remaining chassis nuts 25 Nm (18.4 lbf ft) – Remaining chassis screws 25 Nm (18.4 lbf ft) –...
- Page 18 SUBSTANCES Super unleaded (ROZ 95/RON 95/PON 91) Standard/classification – DIN EN 228 (ROZ 95/RON 95/PON 91) Guideline – Only use unleaded super fuel that matches or is equivalent to the specified fuel grade. – Fuel with an ethanol content of up to 10 % (E10 fuel) is safe to use. Info Do not use fuel containing methanol (e.
- Page 19 *3213628en* 3213628en 01/2017 KTM Sportmotorcycle GmbH 5230 Mattighofen/Austria Photo: Mitterbauer/KTM http://www.ktm.com...


Need help?
Do you have a question about the 1290 Super Adventure S 2017 and is the answer not in the manual?
Questions and answers