Table of Contents
Advertisement
Quick Links
TONNEAU INSTALLATION INSTRUCTIONS
FORD RANGER PX SINGLE CAB WITH HEADBOARD (CHECK IMAGE)
BASIC TOOLS REQUIRED
-
Rivet gun, Drill, 4.5mm Drill bit, Measuring tape, Silicon sealant, Anti-corrosive primer.
CONTENTS
1 x Tonneau cover
4 x Bar Brackets
18 x Buttons
4 x Pieces of dowel
1 x Seal Template
(Some parts in the fitting kit may not be required. All fitting kits are weighed to ensure accurate quantities.)
1. INSTALLATION PROCEDURE
THE HEADBOARD ON THIS VEHICLE WAS CHANGED IN MAY 2013.
PLEASE REFER TO THE IMAGE BELOW TO CONFIRM THE
HEADBOARD ON THE VEHICLE MATHCES THE IMAGE ON THE RIGHT HAND SIDE.
JUNE 2013 – CURRENT
PART NUMBER: ATB01030
3 x Aluminium rope track (476mm)
2 x Tonneau support bar
35 x Rivets
1 x Seal Tape
1 x Fitting Instruction
– IMPORTANT –
Advertisement
Table of Contents

Related Manuals for AUSSIE TONNEAU ATB01030


Summary of Contents for AUSSIE TONNEAU ATB01030
- Page 1 TONNEAU INSTALLATION INSTRUCTIONS FORD RANGER PX SINGLE CAB WITH HEADBOARD (CHECK IMAGE) JUNE 2013 – CURRENT PART NUMBER: ATB01030 BASIC TOOLS REQUIRED Rivet gun, Drill, 4.5mm Drill bit, Measuring tape, Silicon sealant, Anti-corrosive primer. CONTENTS 1 x Tonneau cover 3 x Aluminium rope track (476mm)
- Page 2 Figure 1a 1. Using a 4mm drill bit, drill a hole 50 mm in from each end and 9 mm up from the bottom of the 3 pieces of rope track as shown in Figure 1a. 2. Join the 3 pieces of rope track together using the 2 pieces of wooden dowl as shown in Figure 1b Figure 1b 3.
- Page 3 8. Using the Bar Bracket as a guide, drill into the body. Apply rust inhibitor and rivet the front and rear holes to complete attachment of the Bar Bracket. Repeat for the passenger side of vehicle. 9. Measure 465mm up from the bottom edge of the tail gate and 25mm, 295mm & 562mm in from the outside edge of the driver’s side of the tailgate and mark button positions.
- Page 4 Figure 9 Slide the front of the tonneau cover into the rope track as shown in Figure 9 and centre the cover. Drape the cover over the cab. 16. Install the support bar (Refer Multi Fit Support Bar Page) then drape cover over support bar and fit rear bunji's to Figure 10 buttons on tailgate as shown in Figure 10 17.
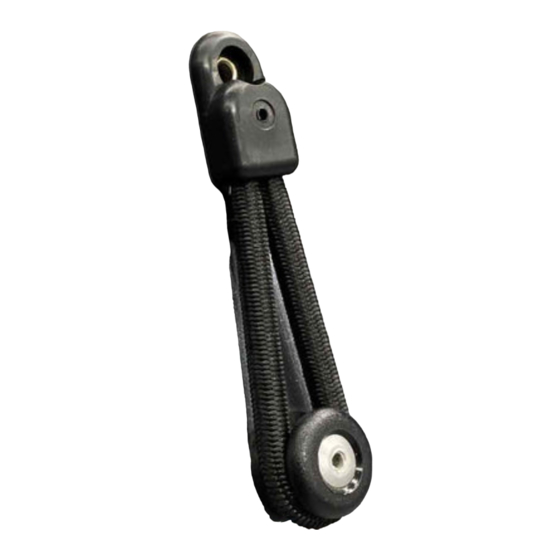
- Page 5 "Tonneau is not designed to be used as a load restraint" 3. MULTI-FIT SUPPORT BAR The Aussie Tonneau Multi - Fit Support Bar is designed to fit almost all Utes on the Market, from Suburu Brumbys to Cab Chassis aluminium trays.
- Page 6 3.2 FITTING MULTI-FIT SUPPORT BAR 1. Insert solid bar pieces into either end of hollow tube. Adjust bar so it fits between bar bracket holders with the holes facing to the ground (so the grub screws don’t rub against the tonneau), as shown above and then with a white pencil make a mark through the small holes of the hollow bar onto the solid ends.
Need help?
Do you have a question about the ATB01030 and is the answer not in the manual?
Questions and answers