Advertisement
Quick Links
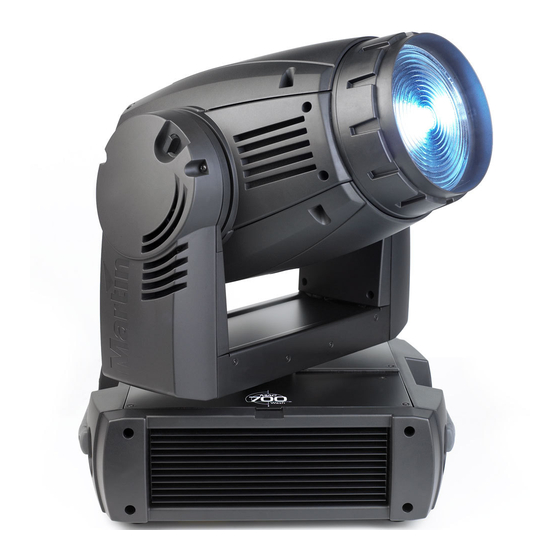
MAC 700 Wash™ Spill Limiter Kit
Installation Guide
Introduction
This Installation Guide explains how to install the Martin™ MAC 700 Wash Spill Limiter Plate Kit,
P/N 91614029.
For the latest documentation and information about this and all Martin Professional™ products, please
visit the Martin website at www.martin.com.
Warning! Read and follow the safety precautions in the MAC 700 Wash user manual before installing the
Spill Limiter Kit. The user manual is supplied with the MAC 700 Wash and is also available for
download from www.martin.com
Disconnect the fixture from power, allow to cool and place on a workbench before starting work.
The MAC 700 Wash Spill Limiter Kit must be installed by qualified professional technicians only.
Read all of this Installation Guide carefully before starting to install the Spill Limiter Kit.
If you have any questions about how to install the Spill Limiter Kit or use the MAC 700 Wash
safely, please contact your local Martin distributor (see www.martin.com/distributors for details)
or call the Martin 24-hour service hotline on +45 8740 0000, or in the USA on 1-888-tech-180.
Important! To avoid damage to PCBs and their sensitive electronic components, take precautions to avoid
ESD (electrostatic discharge) and carry out work at an ESD-free workstation.
Do not get oil or grease onto optical components. Do not touch optical components without
wearing clean, lint-free cotton gloves. To avoid any possibility of damage, clean all optical
components with 99.9% isopropyl alcohol before reinstalling them in the fixture.
© 2009 Martin Professional A/S. Olof Palmes Allé 18, DK-8200 Aarhus N, Denmark. Information subject to change without notice. Martin
Professional A/S and all affiliated companies disclaim liability for any injury, damage, direct or indirect loss, consequential or economic
loss or any other loss occasioned by the use of, inability to use or reliance on the information contained in this installation note. The
Martin logo, the Martin name and all other trademarks in this document pertaining to services or products by Martin Professional A/S or its
affiliates and subsidiaries are trademarks owned or licensed by Martin Professional A/S or its affiliates or subsidiaries.
P/N 35000609 Rev. A
MAC 700 Wash Spill Limiter Kit Installation Guide – Page 1 of 13
Advertisement

Related Manuals for Martin MAC 700 Wash


Summary of Contents for Martin MAC 700 Wash
- Page 1 The Martin logo, the Martin name and all other trademarks in this document pertaining to services or products by Martin Professional A/S or its affiliates and subsidiaries are trademarks owned or licensed by Martin Professional A/S or its affiliates or subsidiaries.
- Page 2 Screw sizes given in this guide are indicative only. The following tools are normally required to install the Spill Limiter Kit in a MAC 700 Wash as described in this guide. However, if screws have been replaced during service, for example, you may find that other tools are required.
- Page 3 Installation procedure To install the MAC 700 Wash Spill Limiter Kit components in a standard MAC 700 Wash fixture: Disconnect the fixture from power, allow to cool, and place on a workbench. Take precautions against ESD (electro-static discharge).
- Page 4 Torx M4 x 20 screw (arrowed) from the center of the color wheel. Keep this screw for re-fastening the color wheel pulley to its shaft later. Figure 4 MAC 700 Wash Spill Limiter Kit Installation Guide – Page 4 of 13...
- Page 5 See Figure 7. Move the inner aperture plate to one side to give clearance for the color wheel pulley, then lift the color wheel and pulley out of the module. Figure 7 MAC 700 Wash Spill Limiter Kit Installation Guide – Page 5 of 13...
- Page 6 PCB on the new outer aperture plate (P/N 62409070) supplied in the kit, leaving the sensor PCB as shown in the photo at the bottom of Figure 9. Figure 9 MAC 700 Wash Spill Limiter Kit Installation Guide – Page 6 of 13...
- Page 7 Figure 11 14. See Figure 12. Loosen the color wheel drive belt tensioner locking screw (arrowed) and loosen the belt. Figure 12 MAC 700 Wash Spill Limiter Kit Installation Guide – Page 7 of 13...
- Page 8 Torx 10 retaining screws from the heat deflector plate and remove the plate for easier access during the next step. Figure 15 MAC 700 Wash Spill Limiter Kit Installation Guide – Page 8 of 13...
- Page 9 M3 x 20 pillar bolt. Keep the original seven screws for re-use. Figure 18 MAC 700 Wash Spill Limiter Kit Installation Guide – Page 9 of 13...
- Page 10 23819270) supplied in the kit. Make sure that you use the correct hole and install the spacer and pillar facing as shown in the illustration. Figure 20 MAC 700 Wash Spill Limiter Kit Installation Guide – Page 10 of 13...
- Page 11 Figure 27. Reconnect the color wheel motor you disconnected in step 24. Figure 22 MAC 700 Wash Spill Limiter Kit Installation Guide – Page 11 of 13...
- Page 12 M4 x 10 Taptite screws. Do not damage the filters while applying force to cut the threads in the color wheel flange. Figure 24 MAC 700 Wash Spill Limiter Kit Installation Guide – Page 12 of 13...
- Page 13 Figure 26 Product information For other information about the MAC 700 Wash, please refer to the user manual originally supplied with the fixture. The manual is also available for download and online specifications for the MAC 700 Wash can be viewed in the Product Support area of the Martin website at http://www.martin.com.
Need help?
Do you have a question about the MAC 700 Wash and is the answer not in the manual?
Questions and answers