Advertisement
Quick Links
Advertisement

Related Manuals for Matrix Endurance


Summary of Contents for Matrix Endurance
-
Page 3: Important Precautions
SAVE THESE INSTRUCTIONS • When using Matrix Cycles, basic precautions should always be followed, including the following: Read all instructions before using this equipment. It is the responsibility of the owner to ensure that all users of this equipment are adequately informed of all warnings and precautions. -
Page 4: Power Requirements
If the user does not follow systems, or any other item should lose power when you perform this test. these grounding instructions, the user could void the Matrix limited warranty. Non-looped (isolated) neutral/grounding means that each circuit must have an individual... - Page 5 Page Recumbent ASSEMBLY UNPACKING Unpack the equipment where you will be using it. Place the carton on a level flat surface. It is recommended that you place a protective covering on your floor. Never open box when it is on its side. IMPORTANT NOTES During each assembly step, ensure that ALL nuts and bolts are in place and partially threaded.
- Page 6 RECUMBENT CYCLE ASSEMBLY Hardware Bolt Spring Washer TOOLS REQUIRED: F 4 mm Allen Wrench F 6 mm Allen Wrench F Flat Wrench (15mm/17mm 325L) F Phillips Screwdriver PARTS INCLUDED: F 1 Main Frame F 1 Rear Stabilizer Tube F 1 Front Stabilizer Tube F 1 Rear Frame Handle F 1 Rear Frame Cover Hardware...
- Page 7 Hardware Hardware Bolt Bolt Tooth Washer Spring Washer Screw (pre-installed) Hardware Hardware Screw Bolt Bolt Spring Washer Arc Washer Screw...
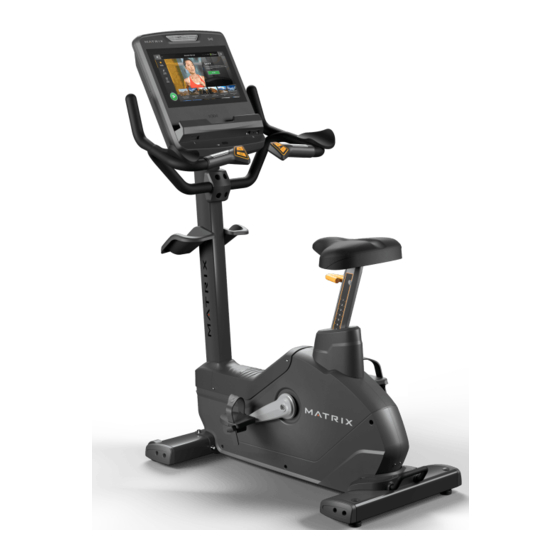
- Page 8 UPRIGHT CYCLE ASSEMBLY Hardware Bolt Bolt (pre-installed) Bolt TOOLS REQUIRED: F 4 mm Allen Wrench F 6 mm Allen Wrench F Flat Wrench (13/15 mm) F Phillips Screwdriver PARTS INCLUDED: F 1 Main Frame F 1 Rear Stabilizer Tube F 1 Front Stabilizer Tube F 1 Rear Frame Handle ASSEMBLY COMPLETE F 1 Rear Frame Cover...
- Page 9 Hardware Hardware Bolt Bolt Flat Washer Tooth Washer Screw (pre-installed) Screw Bolt Hardware Hardware Bolt Bolt Screw...
- Page 10 ASSEMBLY COMPLETE Pre-installed Hardware Flat Washer Nylon Nut Hardware Bolt (pre-installed) Bolt...
- Page 11 BEFORE YOU BEGIN FREE AREA LOCATION OF THE UNIT Place the equipment on a level and stable surface away from direct sunlight. The intense UV light can cause discoloration on the plastics. Locate your equipment in an area with cool temperatures and low humidity.
- Page 12 PROPER USAGE To determine proper seat position, sit on the seat and position the ball of your foot on the center of the pedal. Your knee should bend slightly at the furthest pedal position. You should be able to pedal without locking your knees or shifting your weight from side to side. Use the orange lever under the seat to adjust the seat position.
-
Page 13: Maintenance
107 x 47 x 77 cm / 42” x 18.3” x 30.1” * Ensure a minimum clearance width of 0.6 meters (24”) for access to and passage around MATRIX equipment. Please note, 0.91 meters (36”) is the ADA recommended clearance width for individuals in wheelchairs. - Page 14 © 2020 Johnson Health Tech Rev 1.0 A...
Need help?
Do you have a question about the Endurance and is the answer not in the manual?
Questions and answers