Table of Contents
Advertisement
Quick Links
Advertisement
Table of Contents

Related Manuals for Gasmate GM172-120


Summary of Contents for Gasmate GM172-120
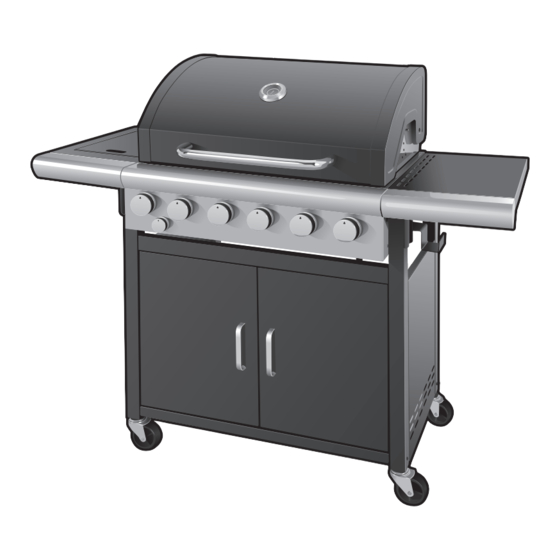
- Page 1 Gemini Gas Grill Model No. GM172-120 GM172-121 Model No. GM172-122 FOR OUTDOOR USE ONLY - OPERATES ON LPG Retain these instructions for future use. Important: The installer or seller must leave these instructions with the consumer. 4473-05/16...
-
Page 2: General Information
GENERAL INFORMATION Gas Cylinder Use & Safety IMPORTANT This is a low pressure barbecue and must only be used Read these instruction carefully prior to use. with the hose and regulator supplied. Your barbecue is Familiarise yourself with the appliance before designed for use with 9Kg LPG cylinders. - Page 3 GENERAL INFORMATION FOR YOUR SAFETY • Never alter or modify the regulator or gas supply Failure to comply with these instructions could result assembly. in a fire or explosion which could cause serious bodily injury, death or property damage. • This barbecue must not be used indoors. CAUTION: Accessible parts may be •...
-
Page 4: Protect Children
Injector Size Injector Size Model No. Gas Type Consumption Pressure BBQ Burners BBQ Burner Side Burner MJ/h Ø 0.78mm Ø 0.73mm GM172-120 42.2 MJ/h 2.75 kPa GM172-121 MJ/h each 8.65 MJ/h 7.6 MJ/h 13B/P30/ULPG Ø 0.78mm Ø 0.73mm GM172-122 59.5 MJ/h 2.75 kPa... -
Page 5: Parts List
EXPLODED DIAGRAM - 4 BURNER Model No. GM172-120 & GM172-121 PARTS LIST No. Description Qty No. Description Qty No. Description Hood Side Burner Nozzle Assembly Back Panel Thermometer Side Shelf Left Fascia Door Beam Hood Handle Rear Hood Left Side Panel... - Page 6 EXPLODED DIAGRAM - 6 BURNER Model No. GM172-122 PARTS LIST No. Description Qty No. Description Qty No. Description Hood Side Burner Nozzle Assembly Back Panel Thermometer Side Shelf Left Fascia Door Beam Hood Handle Rear Hood Left Side Panel Door Stopper Warming Rack Rear Hood Right Side Panel Left Door Assembly...
-
Page 7: Hardware Pack
HARDWARE PACK M6x50 ( x 12 ) M6x12 ( x 13 ) M5x12 ( x 8 ) M6x15 ( x 2 ) M4x6 ( x 4 ) ASSEMBLY INSTRUCTIONS Before assembling the barbecue, read these Instructions carefully. Assemble the barbecue on a flat, clean surface. The barbecue is heavy. - Page 8 ASSEMBLY INSTRUCTIONS Step 2 Attach legs to the firebox assembly (41) using 8 x M6x50 screws and then attach the back panel (31) to the back of the legs with 4 x M6x12 screws. M6x50 (x8) M6x12 (x4) M6x50 ( x 12 ) M6x12 ( x 13 ) M5x12 ( x 8 ) M6x15 ( x 2 )
- Page 9 ASSEMBLY INSTRUCTIONS Step 4 Secure the back panel to the cabinet shelf with 1 x M6x12 screw at the back. Attach the cabinet door stop with 2 x M5x12 screws in the middle of the cabinet shelf at the front. M6x12 (x1) M5x12 (x2) M6x50 ( x 12 )
- Page 10 ASSEMBLY INSTRUCTIONS Step 6 Attach the door handles to the doors (34, 35) using 2 x M4x6 screws for each door. M4x6 (x4) M6x50 ( x 12 ) M6x12 ( x 13 ) M5x12 ( x 8 ) M6x15 ( x 2 ) M4x6 ( x 4 ) Step 7 For each door, insert hinge pins into the...
- Page 11 ASSEMBLY INSTRUCTIONS Step 8 Loosen leg screws and lower side shelf over these screws. Retighten screws. Use 2 x M5x12 screws to affix fascia (1 at each end). Attach cylinder hook to fire box with 2 x M6x15 screws on the right hand end. M6x15 (x2) M5x12 (x2) M6x50 ( x 12 )
- Page 12 ASSEMBLY INSTRUCTIONS Step 10 Attach grease cup (42) to grease tray (8) and slide into back of fire box at the bottom below burners. Step 11 Connect the regulator and hose to the gas inlet. Follow leak testing instructions overleaf.
- Page 13 ASSEMBLY INSTRUCTIONS Step 12 Step 13 Attach the regulator to your gas cylinder. Turn on the gas cylinder ensuring that all of the controls on the BBQ are turned OFF at this point. DO NOT ATTEMPT TO LIGHT THE BBQ!!. Step 14 Step 15a Use a solution of soapy water (dishwashing liquid...
- Page 14 GENERAL INFORMATION Regulator Safety Feature Connecting & Disconnecting to Gas Source Familiarise yourself with the general information and All QCC regulators (the part that attaches to the gas safety guidelines located at the front of this manual. cylinder to regulate the flow of gas) have a safety feature included that restricts gas flow in the event of a gas leak.
-
Page 15: Lighting Procedure
LIGHTING PROCEDURE Before lighting your barbecue for the first time, read the IMPORTANT: instructions fully to ensure the barbecue is assembled correctly and is ready for use. • Note: If for some reason, ignitor fails to produce a spark at the electrode, barbecue can be lit by Remove all point-of-sale material from the barbecue. -
Page 16: Operating Procedure
Burner Operation & Ignition System Check Problem Possible Reason Solution Valve on cylinder is closed Open valve on cylinder Burner will not ignite Control knob is closed Turn knob to high when lighting Electronic igniter is faulty Use a long barbecue match Burner has gone out Check that the gas bottle is not empty and re-ignite the burner... -
Page 17: Care And Maintenance
CARE & MAINTENANCE As with all appliances, proper care and maintenance will IMPORTANT: keep them in top operating condition and prolong their life. Your new gas barbecue is no exception. By following these • Beware of spiders and wasps. Burner tube cleaning procedures on a timely basis, your barbecue will should be inspected and cleaned periodically. - Page 18 figures - the same principles apply to any other shaped area. the same principles apply to any other shaped area. Gasmate ® is a registered trademark of: Sitro Group Australia Pty Ltd www.gasmate.com.au Gasmate is a registered trademark of: Sitro Group Australia Pty Ltd www.gasmate.com.au...
- Page 19 This page has been left intentionaly blank...
Need help?
Do you have a question about the GM172-120 and is the answer not in the manual?
Questions and answers