Table of Contents
Advertisement
Quick Links
Part No. 79100847_B
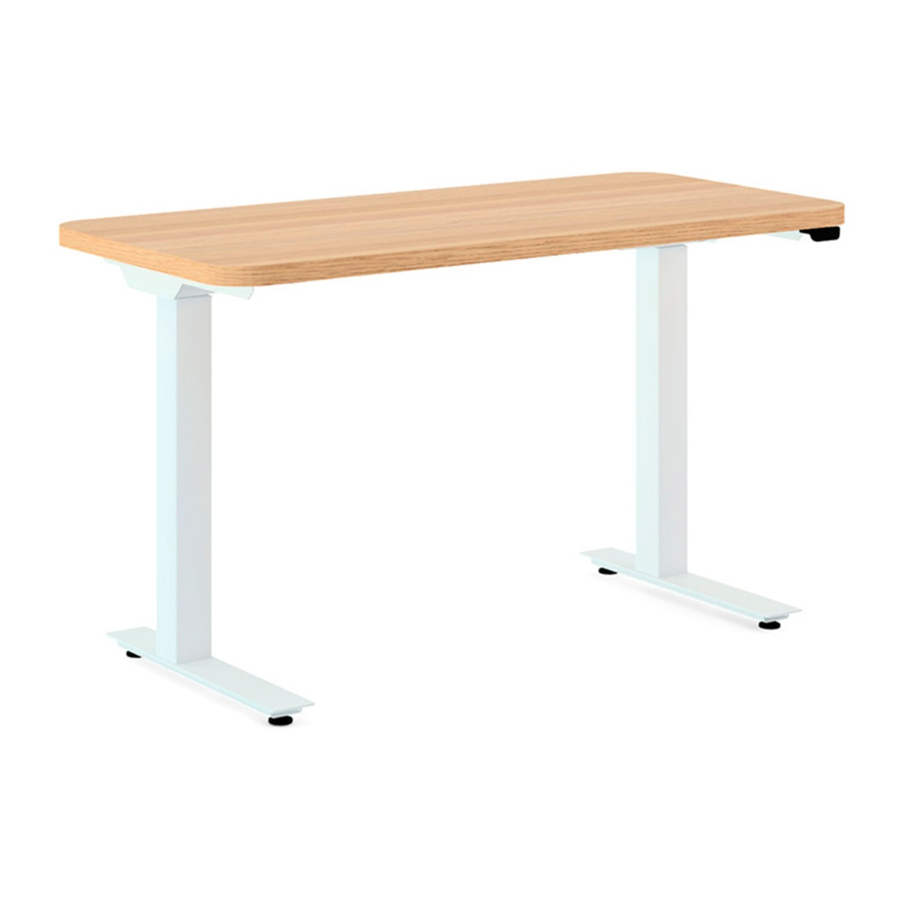
Hipso
Height-Adjustable Desk
™
Installation Instructions
Thanks for choosing a Hipso Desk! Be sure to follow these assembly instructions.
To begin, you will build the base. Next, you will add the worksurface.
Finally, you will power the desk.
Knoll, Inc.
1235 Water Street
East Greenville, PA 18041
© Knoll, Inc.
Advertisement
Table of Contents

Related Manuals for Knoll Hipso


Summary of Contents for Knoll Hipso
- Page 1 Hipso Height-Adjustable Desk ™ Installation Instructions Thanks for choosing a Hipso Desk! Be sure to follow these assembly instructions. To begin, you will build the base. Next, you will add the worksurface. Finally, you will power the desk. Knoll, Inc.
- Page 2 Handset • Blanket or Other Floor Protection • A Friend Feet Side Brackets Also Included: Adjustable Crossbars (shown facing opposite directions) Zip Ties and P-Clips to manage cables once the desk is assembled. © Knoll, Inc. Page 2 of 8...
- Page 3 It is normal to feel resistance when installing these screws. They are intentionally snug for a sturdy connection, however, if you feel like the screw is going in crooked (known as cross threading), remove the screw and start again. © Knoll, Inc. Page 3 of 8...
- Page 4 (known as cross threading), remove the screw and start again. It should start looking like a table now. You are about halfway done! © Knoll, Inc. Page 4 of 8...
- Page 5 The power supply will get installed later and slips into the larger part of the S. Ensure the holder starts about 2" from the motor housing and is not covering any of the predrilled holes in your worksurface. © Knoll, Inc. Page 5 of 8...
- Page 6 No additional screws are required for a 45"-wide top. This screw is longer than the rest and is designed to pass through the crossbar before attaching to the worksurface. Any other use will damage your worksurface. © Knoll, Inc. Page 6 of 8...
- Page 7 Then connect the power supply to the control box. View from above with worksurface on the ground. US Power Cord Power supply and holder Control Box Handset Front of desk © Knoll, Inc. Page 7 of 8...
- Page 8 Installation Instructions 11. Carefully turn table right side up. Connect to power and perform a reset. To perform a reset, rmly press and hold the Up and Down Get ready to use your Hipso desk. ™ Button for 8 seconds then release and immediately press and hold the down button until the table travels to its lowest limit, stops mov- ing, and then moves up a little.
Need help?
Do you have a question about the Hipso and is the answer not in the manual?
Questions and answers