Advertisement
Quick Links
Advertisement

Subscribe to Our Youtube Channel
Related Manuals for Knoll Power Cube


Summary of Contents for Knoll Power Cube
- Page 1 Power Cube 11/4/2013 Installation Instructions ke_ii_cube_front.eps at 400% then at 150% 2MA1528H01...
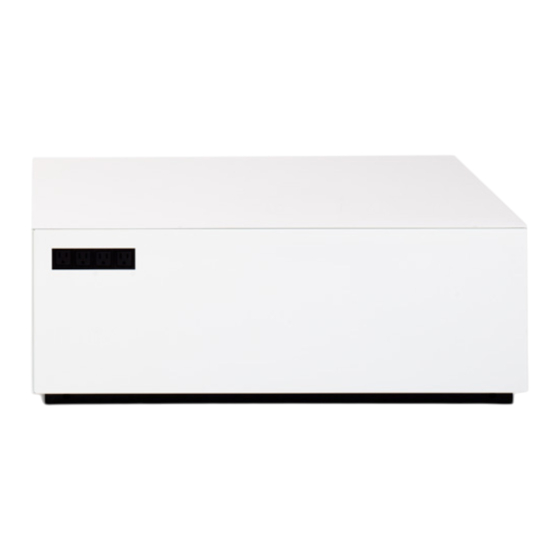
- Page 2 Tools Needed • Magnetic Phillips screwdriver ke_ii_cube_hardware.eps Note: Instructions apply for all Power Cube configurations including both size be_hardware.eps tables, 24” and 36”, and hard wire and cord set versions. Hard wire has option for (1) or (2) electrical modules. Each module has either (4) outlets or (3) outlets and (2) USB ports.
- Page 3 Step 3: Place Top Upside-Down on Floor (Cube shown upside-down) 1. Place top panel upside-down on floor (using care to not scratch surface). Place side panel assembly onto top panel. Attach sides to top using (3) #8 screws for each side panel ((12) total screws). Top panel ke_ii_cube_3.eps Step 4: Attach Levelers to Base...
- Page 4 ((4) total screws). clearance holes to attach cube to base. then for all at 80% 2. Lay fully assembled Power Cube with cord set onto its base and plug into outlet. Note: For code compliance, cord to outlet connection must remain visible.
Need help?
Do you have a question about the Power Cube and is the answer not in the manual?
Questions and answers