bemodern Pryzm 750 Instructions For Installation Manual
Hide thumbs
Also See for Pryzm 750:
- Instructions for use manual (22 pages) ,
- Instructions for installation and use manual (7 pages)

Related Manuals for bemodern Pryzm 750


Summary of Contents for bemodern Pryzm 750
- Page 1 Impero Marble Wall Suites Pryzm 750, 1000 Instructions for installation Patent pending UK Registered Design R2 Aug 2019 200784_2...
- Page 2 Contents Technical Specs Contents of Fixings Box Installation – Wall Marble 5 - 9 Maintenance 200784_2...
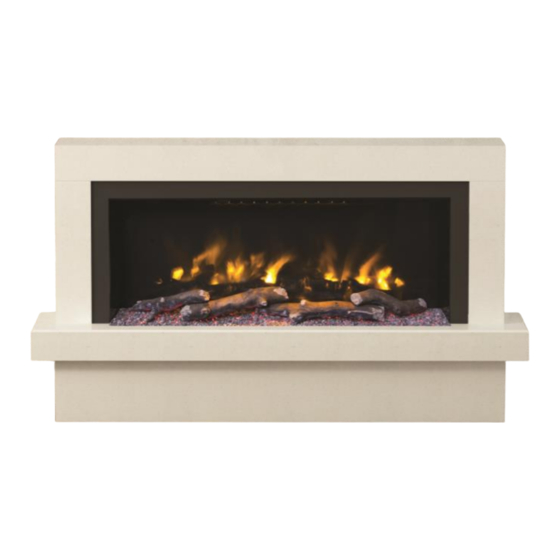
- Page 3 Technical Specification of suites Dimensions Fire Description Logs 57” IMPERO 4 LRG 1320mm 619mm 290mm 1450mm 195mm PRYZM 5D 1000 Micro Marble Wall Hung 47” IMPERO 4 SML 1070mm 619mm 290mm 1200mm 195mm PRYZM 5D 750 200784_2...
- Page 4 Predrilled Plywood Fixing Panel (x1) located in the rear of the surround Contents of fixings box 8 x 16mm round dome head L -Wall Bracket fixing screws (A) Wall Bracket Adjustable Top Support (x18) 6 x 13mm flange head fixing screws (B) (x12) Nuts, Bolts and Washers Mantle Hooks (x2)
- Page 5 Note: the surround / fixing panel is a two adult Installation – Wall Marble person lift. A second person will be required to lift and support the surround fixing panel. Before the surround can be installed, consideration will need to be given to routing the power supply to the fire.
- Page 6 Installation – Wall Marble Note: the surround / fixing panel is a two adult person lift. A second person will be required to lift and support the surround. Once the assembled fixing panel is secured in place, attach the two off L- wall brackets onto the plywood panel in the pre-drilled locations using 9 x screw (A) to secure each bracket.
- Page 7 Installation – Wall Marble continued 2. Fit Main Body Once the hearth is secured carefully lift the main body onto the hearth over the L-bracket and centralise on the hearth cut- out. (52mm each side) See Diagram 4. Diagram 4 5.
- Page 8 Installation – Wall Marble continued 7. Fix Hook Brackets Remove the surround and securely fix the hook brackets to the fixing panel using 4 x fixing screw (B) - 2 per bracket. Diagram 7 Diagram 7 8. Fit Main Body Once the brackets are secured carefully lift the main body onto the hearth over the L-bracket...
- Page 9 Installation – Wall Marble continued Before installing the fire, please unpack it carefully 11. Install the Fire and place the box containing the logs to one side. Place a protective covering over the hearth to prevent the fire scratching the polished surface. The Pryzm fire can now be installed in the surround by lifting the fire at a slight angle to allow the fire to be positioned in the upper section of the surround...
- Page 10 CAUTION: Abrasive cleaners should not be used on the glass panel. Liquids should not be sprayed directly onto any surface of the unit. Troubleshooting Should you have any queries regarding this product please contact Customer Services on 01914300901 or email us at customerservices@bemodern.co.uk Recycling All cardboard packing is recyclable. IMPORTANT NOTE: Wall fixings (i.e.
Need help?
Do you have a question about the Pryzm 750 and is the answer not in the manual?
Questions and answers