Advertisement
BHM
09/05/19
NTV-DOC347
3950 NW 120
th
Ave, Coral Springs, FL 33065 TEL 561-955-9770 FAX 561-955-9760
www.nav-tv.com
info@nav-tv.com
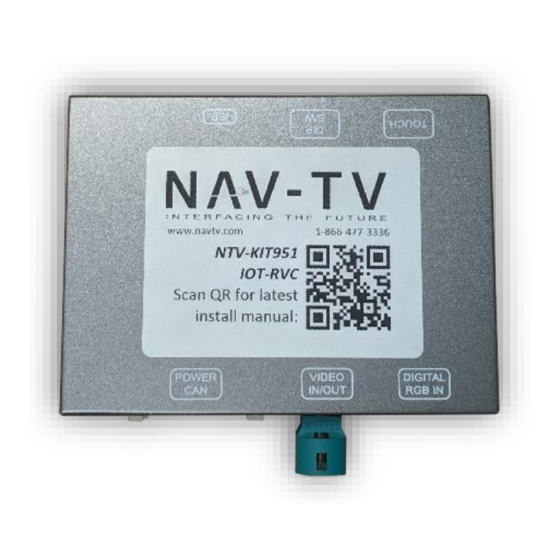
IOT-RVC
NTV-KIT951
Overview
The IOT-RVC interfaces a backup camera input (and 1 additional video input) to the factory
media screen in select GM vehicles equipped with either the MYLINK or CUE (8" only) IOS or
IOT media systems (2019+ only). With KIT800, HDMI input is available with this unit.
Kit Content
IOT-RVC Interface
HD-LINK Optional KIT800
LVDS
Output
cable
Power/CAN Harness
:
Agreement
End user agrees to use this product in compliance with all State and Federal laws. NAV-TV Corp. would not be held liable for
misuse of its product. If you do not agree, please discontinue use immediately and return product to place of purchase. This product is
intended for off-road use and passenger entertainment only.
1 |
P a g e
Advertisement
Table of Contents

Related Manuals for Nav TV IOT-RVC


Summary of Contents for Nav TV IOT-RVC
- Page 1 NTV-KIT951 Overview The IOT-RVC interfaces a backup camera input (and 1 additional video input) to the factory media screen in select GM vehicles equipped with either the MYLINK or CUE (8” only) IOS or IOT media systems (2019+ only). With KIT800, HDMI input is available with this unit.
- Page 2 09/05/19 NTV-DOC347 Interface Connectors Power/CAN LVDS I/O HDMI Cable from HD-LINK OUOUT NOT USED NOT USED Dip Switches Dip Switch Settings (c onfigure prior to installation) Dip SW: HDMI CVBS NOT USED SEE BELOW DOWN ADDING CVBS NOT USED HDMI* *HDMI input requires KIT800 Dip SW: Dip SW:...
- Page 3 09/05/19 NTV-DOC347 Interface Installation (GM Truck) THIS INTERFACE INSTALLS AT THE RADIO TUNER, AT THE SCREEN! 1. Locate the IOS/IOT GM radio tuner. For pickup trucks, this should be located behind the glove box, mounted vertically, up high. The 2 connectors required for wiring the unit in are circle here (right): 3.
- Page 4 LVDS I/O cable. 6. Connect the blue end of the provded cable to port LVDS port on the IOT-RVC interface. 7. Connect the reverse camera (if added) and front camera (if applicable) to the proper RCAs (RVC: ‘CAMERA’...
- Page 5 09/05/19 NTV-DOC347 IOT-RVC Operation • After all connections are made and dip switches set properly, start the vehicle. Placing the vehicle in reverse will show the connected rear camera, with dynamic guidelines overlaid onto the media screen. • If adding a front camera, this must be activated by setting DIP SWITCH #2 to ON. Forcing this camera on at any time is performed by holding the Voice Recognition (2 sec) button or pressing the phone Hang-Up button on the steering wheel (shown below).
- Page 6 Follow the instructions below when adding the HDMI adapter (HD-LINK: KIT800) to enable HDMI input to the OEM screen: 1. Disconnect the main power plug from the IOT-RVC interface. 2. Put dip switch #1 in the DOWN position. 3. Reconnect the main power plug.
Need help?
Do you have a question about the IOT-RVC and is the answer not in the manual?
Questions and answers