Advertisement
Quick Links
Enables a backup camera and a secondary on the factory 2009 and Up Porsche PCM 3.0 Radios
Certain features are intended for passenger and off-road use only. User must obey
all State and Federal regulations
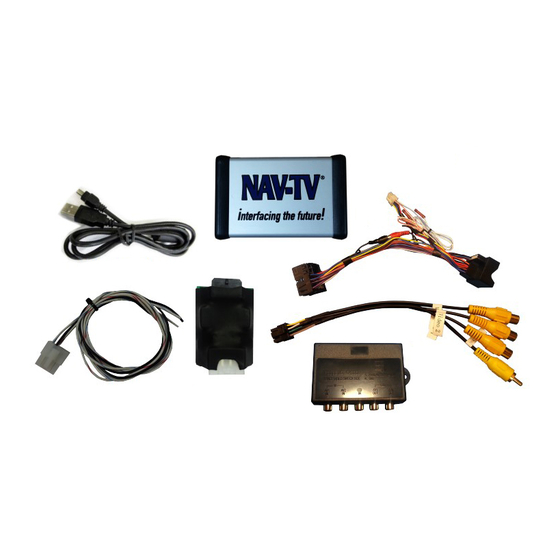
USB Cable (Updates)
NTV-CAB009
VSW-R Trigger
Harness
NTV-HAR066
Wire Functions
1. CAN Hi to Vehicle.
2. CAN Lo to Vehicle
3. Chassis Ground.
4. +12V Output to Camera.
5. CAN Hi to PCM.
6. CAN Lo to PCM.
7. +12V Battery
8. +12V Output to switcher and front Flir IR camera.
1 |
P a g e
PCM3CAM-USB
Front and rear camera interface
Make sure your radio looks like this prior to installation
Kit Contents
PCM3-CAM Module
NTV-ASY107
VSW-R Board
NTV-ASY187
Filter Harness Description and Diagram
Wire Colors
1. Yellow
2. Blue
3. Black
4. White/Red
5. Yellow
6. Blue
7. Red
8. White/Blue
3950 NW 120th Ave, Coral Springs, FL 33432
Tel. 561-955-9770
www.nav-tv.com info@nav-tv.com
Plug & Play Harness
VSW-R Harness
NTV-HAR301
V1 Switcher shown
here, this has been
replaced with the
VSW-R in 03/15
Fig. 2 - Connection plug on Can Filter
8 pin Molex connector
Wire side view
PCM3CAM
NTV-KIT100
Rev 2 BHM 03/18/15
NTV-DOC045
Fax. 561-955-9760
NTV-HAR111
Advertisement

Subscribe to Our Youtube Channel
Related Manuals for Nav TV PCM3CAM


Summary of Contents for Nav TV PCM3CAM
- Page 1 PCM3CAM NTV-KIT100 Rev 2 BHM 03/18/15 NTV-DOC045 3950 NW 120th Ave, Coral Springs, FL 33432 Tel. 561-955-9770 Fax. 561-955-9760 www.nav-tv.com info@nav-tv.com PCM3CAM-USB Front and rear camera interface Enables a backup camera and a secondary on the factory 2009 and Up Porsche PCM 3.0 Radios Certain features are intended for passenger and off-road use only.
- Page 2 Attach the PCM3CAM module to the aftermarket harness and secure the filter to the back of the radio cavity with either double sided tape or Velcro. Fold the harness in the cavity as shown to allow clearance for the radio.
- Page 3 Installation Part 2 5. Drop the plastic panel over the passenger side kick panel area by taking out (1) t20 Torx screw and pulling the panel towards the floor. Run the black, white/blue and white/red wires from the new radio harness into the opening as in the picture to your left. These wires will power your reverse and front cameras, as well as the video switcher.
- Page 4 Read programming steps (1-2) completely before beginning, there is a timeout. Programming 1. With the radio booted fully, Press and hold the + button on the steering wheel. a. While continually holding down the + button, press and hold down the mute button. b.
Need help?
Do you have a question about the PCM3CAM and is the answer not in the manual?
Questions and answers