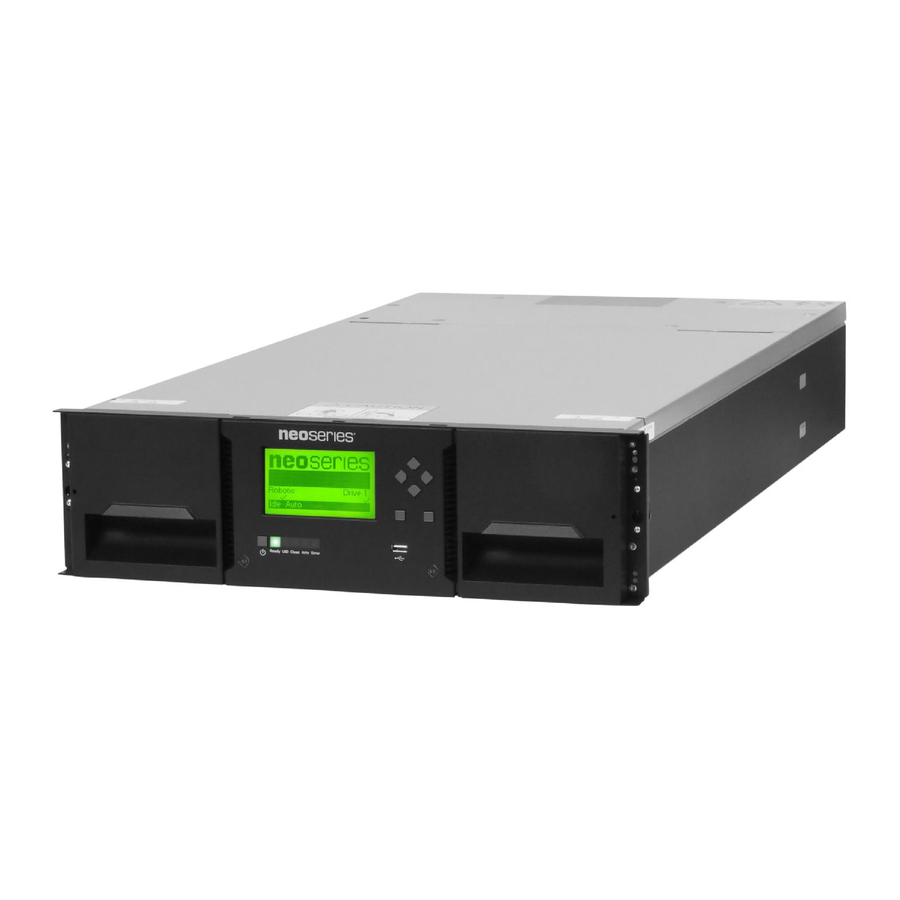
Overland Tandberg NEOxl 40 Instructions
Tape library add-on expansion module instructions
Hide thumbs
Also See for NEOxl 40:
- Instructions manual (9 pages) ,
- Quick start manual (7 pages) ,
- Instructions (5 pages)
Advertisement
Add-on Expansion Module Instructions
This document describes how to add an optional Expansion
Module to a NEOxl 40 (3U) tape library from Overland
Storage.
WARNING:
To reduce the risk of electric shock or damage to
equipment, always remove any power cords while working with
the library.
WARNUNG:
Um das Risiko eines elektrischen Schlags oder
Schäden am Gerät zu vermeiden, ziehen Sie stets den
Netzstecker, bevor Sie an der Einheit arbeiten.
AVERTISSEMENT:
Pour réduire le risque de choc électrique
ou endommagement de l'équipement, retirez toujours les
cordons électriques en travaillant avec l'appareil.
CAUTION:
While working with the library, observe standard
Electrostatic Discharge (ESD) precautions to prevent damage
to micro-circuitry or static-sensitive devices.
Overview
To install an Expansion Module, the main steps include:
1. After determining the installation location, if necessary,
transfer the library top or bottom cover to the new
Expansion Module.
2. Make space in the rack and install the rack rails.
3. If applicable, install the power supplies.
4. If applicable, install the DC-DC drive power board.
5. Install the Expansion Module in the rack and align the
module with the library.
6. If applicable, install the tape drives.
7. Attach the cables and cords.
8. Install the tape magazines and verify the installation.
You will need a small flat head or Torx screwdriver and a #2
Phillips screwdriver.
Prepare the Library
Power Off Library
If still running, power off the library from the Base Module
front panel by pressing and holding down the power button for
three (3) seconds.
NOTE: If the library does not perform a soft shutdown, press and
hold the power button for 10 seconds.
Verify that the Robotic Assembly is in its parked position and
that all host processes are idle.
10400850-001
Special Handling Notice
Each NEOxl 40 Expansion Module weighs more than 44
lbs (20 kg) without drives or tapes and more than 77 lbs
(35 kg) with three tape drives and 40 tapes.
Before moving or lifting the Expansion Module, remove
the tape magazines and drives to reduce the weight.
©2018 Overland Storage, Inc.
NEOxl
40 Tape Library
®
Page 1 of 5
Advertisement
Table of Contents

Subscribe to Our Youtube Channel
Related Manuals for Overland Tandberg NEOxl 40


Summary of Contents for Overland Tandberg NEOxl 40
- Page 1 40 Tape Library ® Add-on Expansion Module Instructions This document describes how to add an optional Expansion Module to a NEOxl 40 (3U) tape library from Overland Storage. WARNING: To reduce the risk of electric shock or damage to equipment, always remove any power cords while working with the library.
-
Page 2: Determine Installation Location
Expansion Module onto the new rails and install the new Expansion Module in its old space. Chapter 1, “Supported Configurations,” in the NEOxl 40 Tape Library Administrator’s Guide for additional details. Install the Expansion Module Install the Rack Rails 1. - Page 3 NEO Add-on Expansion Module Instructions To move a bottom cover: 1. Place both Expansion Modules upside-down. 2. At the old Expansion Module, insert a small flathead or Torx screwdriver into the release hole and slide it about 1/4 in. (4mm) sidewards to unlock the spring loaded lock. 3.
- Page 4 NEO Add-on Expansion Module Instructions Insert the Module in the Rack WARNING: To avoid injury, it is recommended that a mechanical lifter (or at least two people) be used for rack installation or removal. Use care during rack installation or removal to avoid accidentally tilting or tipping the rack, causing damage or personal injury.
-
Page 5: Attach Cables
NEO Add-on Expansion Module Instructions Attach Cables Reconnect all cables and cords: 1. Connect the expansion interconnect cables (1) from the Expansion Module to any adjacent modules. 2. If tape drives are installed, connect the SAS/FC cables (2) to the appropriate ports on the drives. 3.
Need help?
Do you have a question about the NEOxl 40 and is the answer not in the manual?
Questions and answers