Overland Tandberg NEOxl 40 Quick Start Manual
3u tape library base module
Hide thumbs
Also See for NEOxl 40:
- Instructions manual (9 pages) ,
- Quick start manual (7 pages) ,
- Instructions (5 pages)
Advertisement
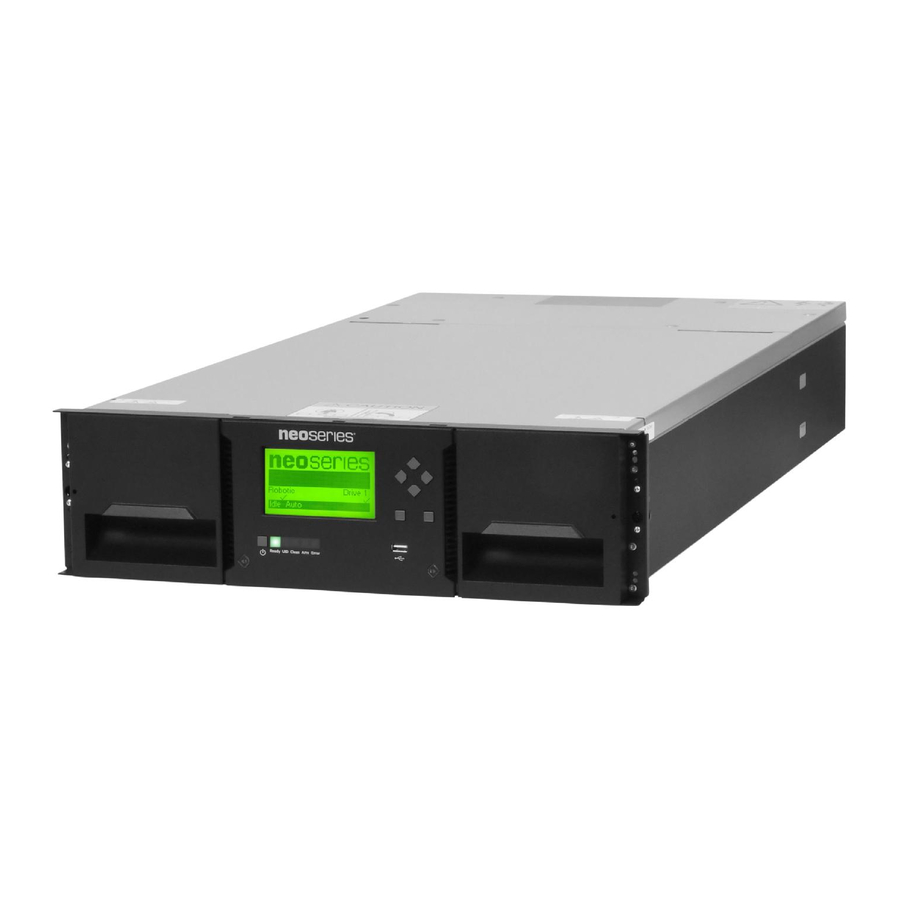
NEOxl 40 3U Tape Library Base Module
Quick Start Guide
*10400895*
This document describes how to install a NEOxl 40 (3U)
Tape Library Base Module. Expansion Modules can be added
to the Base Module to enhance the system.
Step 1
It is essential that you activate your warranty. Technical
and warranty support are not available until the warranty
is active.
The serial number used to register your Base Module is
located at the bottom left of the rear panel.
Module Registration
For an existing customer:
1. Go to
http://support.overlandstorage.com/
2. Enter your e-mail
address and password
in the appropriate fields,
and then press Enter or
click the right arrow (
3. At the Support Home page, click Register New.
4. Enter the requested information and click Submit.
Your warranty certificate will be emailed to you. Follow
the instructions in the email to complete the process.
For a new customer:
1. Go to the
New User Registration
instructions.
2. You'll receive a confirmation e-mail from Overland with
instructions on how to complete the process.
10400895
10400895
support page.
>
).
page and follow the
Step 2
WARNING: Due to the weight of the module, it is
recommended that at least two people be used to lift the
module out of the box to prevent injury.
WARNUNG: Um Verletzungen zu vermeiden, empfehlen
wir aufgrund des Gewichts des Moduls, dass mindestens
zwei Personen das Modul aus der Verpackung heben.
AVERTISSEMENT: En raison du poids du module, il est
recommande d'utiliser deux personnes au moins pour
soulever l'module hors de la boîte pour éviter les
blessures.
NOTE: If the temperature in the room where the module will be
installed varies by 15º C (30º F) from the room where the boxed
module was stored, allow the module to acclimate to the
surrounding environment for at least 12 hours before unpacking
it.
1. Using two people, remove the module from its box and
set it on a secure surface.
2. Remove and save the packaging materials and tape
from the Base Module.
3. Remove the robotics insertion foam:
a. Using two small screwdrivers, unlock and remove
the top cover plate.
b. Lift the front edge about 5 in. (12cm) and pull
forward to disengage the cover; set the cover aside.
c. Remove the foam from the center.
d. If you are only installing the Base Module at this
time, replace the cover.
©2019 Overland-Tandberg
Page 1 of 5
Advertisement
Table of Contents

Related Manuals for Overland Tandberg NEOxl 40


Summary of Contents for Overland Tandberg NEOxl 40
- Page 1 éviter les 10400895 blessures. This document describes how to install a NEOxl 40 (3U) Tape Library Base Module. Expansion Modules can be added NOTE: If the temperature in the room where the module will be to the Base Module to enhance the system.
-
Page 2: Install The Rack Rails
5. Mount the LH Rackmount rail to the left adapter A NEOxl 40 3U Base Module comes with a rack kit for easy blocks with the tray flange parallel to the floor and installation and securing of the module into a 19-inch facing inward. -
Page 3: Operator Control Panel
Ethernet port (1) on the rear panel of the Base l'appareil. Module. The NEOxl 40 3U tape libraries are expandable and accept add-on components to enhance performance: • The Base Module comes without tape drives. Tape drives are always installed in the module from the bottom up. -
Page 4: Remote Management Interface
Quick Start Guide It is supported by four LEDs above the screen (3-6) and four • If available, an IP address is automatically buttons to the right (7, 8, 11, 12). Refer to the NEOxl 40 Tape assigned. Continue with Settings. -
Page 5: Warranty/Technical Support
4. At the FTP site, if newer, download the firmware and Release Notes. 5. Update the firmware using the NEOxl 40 Tape Library Administrator’s Guide. Confirm Your Tape Drive Firmware Refer to the installation instructions and warnings that are packaged with your tape drive to determine if the firmware is current or needs to be updated.
Need help?
Do you have a question about the NEOxl 40 and is the answer not in the manual?
Questions and answers