Advertisement
Quick Links
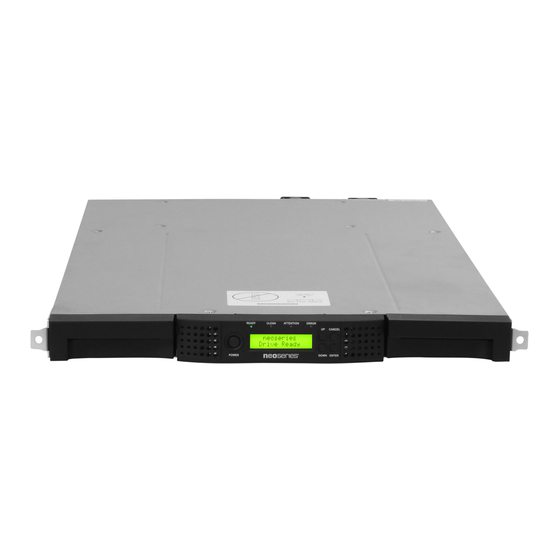
Quick Start Guide
®
NEOs
™
StorageLoader
1U Tape Library
Step 1
It is essential that you activate your warranty. Technical and warranty support are
not available until the warranty is active:
For an existing customer:
1. Go to
http://support.overlandstorage.com/
support
page.
2. Enter your e-mail address and password in the
appropriate fields, and then press Enter or click the
>
right arrow (
).
3. At the Support Home page, click Register New.
4. Enter the requested information and click Submit.
Your warranty certificate will be emailed to you. Follow the instructions in the
email to complete the process.
For a new customer:
Go to the
New User Registration
page and follow the instructions.
You'll receive a confirmation e-mail from Overland with instructions on how to
complete the registration process.
Step 2
Optional Components
WARNING:
To reduce the risk of electric shock or damage to equipment, always
remove any power cords while working with the unit.
WARNUNG:
Um das Risiko eines elektrischen Schlags oder Schäden am Gerät zu
vermeiden, ziehen Sie stets den Netzstecker, bevor Sie an der Einheit arbeiten.
AVERTISSEMENT:
Pour réduire le risque de choc électrique ou endommagement de
l'équipement, retirez toujours les cordons électriques en travaillant avec l'appareil.
Any optional internal components need to be installed before continuing. Refer to the
installation instructions and warnings that are packaged with the components.
The tape drives are installed in
Step
5.
–1–
Step 3
Prepare for Installation
NOTE: If the temperature in the room where the library will be installed varies by 15º C
(30º F) from the room where the library was stored, allow the library to acclimate to the
*10400893*
surrounding environment for at least 12 hours before unpacking it.
10400893
1. Unpack the library and components, placing them on a secure surface.
2. Remove the shipping lock:
a. Remove the yellow label on the top that is securing the shipping lock.
b. Remove the shipping lock from the slot underneath the label.
Store the shipping lock in the slot in the power supply should it needed later.
Store Here
c. Replace the yellow label back over the slot.
Step 4
The NEOs StorageLoader comes with a sliding rail rack kit for easy installation into a
19-inch (EIA-310) rack.
IMPORTANT: Two-post telco-style or other racks less than 29 inches in depth will NOT
support this unit.
Install the Rack Rails
1. Determine the location where the library is to be installed and mark each
vertical rail on the rack.
NOTE: Verify that the rails are mounted level and at the same rack height on each side.
–2–
2. Using the correct screws for your type of rack, secure one rail using four screws,
two front and two rear.
3. Repeat
Step 2
for the other rail on the other side.
Attach Mounting Brackets
Using the four T10 Torx screws, attach the mounting brackets to each side of the front
of the library.
Install the Library in Rack
WARNING:
It is recommended that a mechanical lifter (or at least two people) be
used to raise and align the unit to prevent injury during installation. Use care when
inserting or removing a unit into or out of a rack to prevent the accidental tipping of
the rack, causing damage or personal injury.
WARNUNG:
Um Verletzungen zu vermeiden, empfehlen wir zur Rack-Installation oder
-Deinstallation die Nutzung einer mechanischen Hebehilfe (oder mindestens zwei
Personen). Seien Sie vorsichtig bei der Rack-Installation oder -Entnahme, um ein
versehentliches Kippen des Racks zu vermeiden und das Rack nicht zu beschädigen
bzw. sich selbst zu verletzen.
AVERTISSEMENT:
Afin d'éviter des blessures pendant l'installation, il est
recommande d'utiliser un monte-charge (ou au moins deux personnes) pour élever
ou aligner l'appareil. Faites attention lorsque vous insérez ou retirez l'appareil d'un
support, pour empêcher le déversement accidentel de la crémaillère causant des
dommages et des blessures.
1. Using the mechanical lifter, position the library in front of the rack.
–3–
Advertisement

Subscribe to Our Youtube Channel
Related Manuals for Overland Tandberg NEOs StorageLoader


Summary of Contents for Overland Tandberg NEOs StorageLoader
- Page 1 You’ll receive a confirmation e-mail from Overland with instructions on how to complete the registration process. Step 4 The NEOs StorageLoader comes with a sliding rail rack kit for easy installation into a Step 2 19-inch (EIA-310) rack. Install the Library in Rack...
- Page 2 Confirm Your Tape Drive Firmware 2. Slide the library onto the rack rails. 2. Connect the management cable to the RJ45 port (5). 3. Plug the power cord into the AC Power Socket (1). Refer to the installation instructions and warnings that are packaged with your tape drive to determine if the firmware is current or needs to be updated.
Need help?
Do you have a question about the NEOs StorageLoader and is the answer not in the manual?
Questions and answers