Advertisement
Quick Links
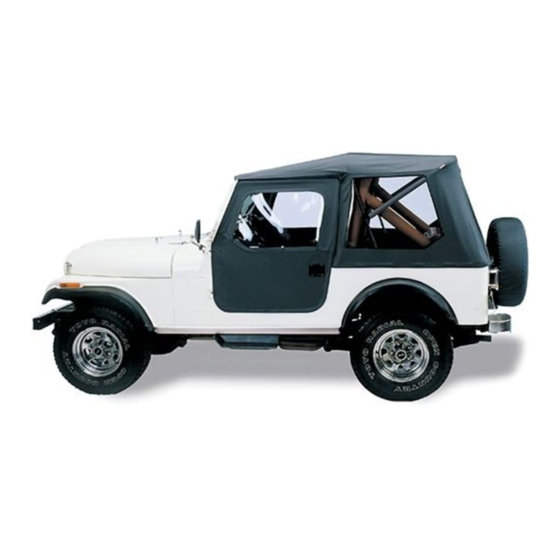
Model: Toyota Land Cruiser, FJ40, 1964 - 1984
Top Kit, Soft Doors Included
Note: Use of this product on some vehicles may not allow the use of factory side mirrors.
Note: Use of this product on some vehicles may require the removal of the entry light bulbs.
Note: On vehicles built after 1975 that have never had a soft top, a metal tailgate panel will need to be ordered. Order Part
Number 51042-01. (Removing the hard top also removes the tailgate).
Model: Toyota Land Cruiser, FJ40, 1964 - 1984
Top Kit Only, Soft Doors Not Included
Note: On vehicles built after 1975 that have never had a soft top, a metal tailgate panel will need to be ordered. Order Part
Number 51042-01. (Removing the hard top also removes the tailgate).
Congratulations on your purchasing decision. Bestop designed this Convertible Top to give you years of dependability and performance with
proper care. If you encounter any problems during the installation of your Convertible Top, or at any later date, please contact your authorized
Bestop dealer or call our Consumer Response Department, Monday - Friday 8AM-4:30PM (MST) at 1-800-346-3910 or (303) 465-1755
in Colorado.
Note: Please read this manual thoroughly before beginning the installation. After completing installation, keep this manual
This product is designed to enhance the appearance of the vehicle and to shield the occupants from ordinary weather conditions.
Do not rely, in any way, on the components of this product to contain occupants within the vehicle, or to protect against injury
or death in the event of an accident. This top will not protect the occupants from falling objects. Never operate vehicle in excess
of manufacturer's specifications.
Read and follow, precisely, all installation instructions provided when installing top. Failure to do so may result in a poor fitting
top and could place occupants of the vehicle in a potentially dangerous situation.
Installation Instructions and Owner's Manual
for future reference.
WARNING
WEAR SEAT BELTS AT ALL TIMES.
by
Part Number 51443
Part Number 51440
Rev. C 0301
51440, 51443
1
Advertisement

Related Manuals for Bestop Tigertop


Summary of Contents for Bestop Tigertop
- Page 1 Installation Instructions and Owner's Manual Congratulations on your purchasing decision. Bestop designed this Convertible Top to give you years of dependability and performance with proper care. If you encounter any problems during the installation of your Convertible Top, or at any later date, please contact your authorized Bestop dealer or call our Consumer Response Department, Monday - Friday 8AM-4:30PM (MST) at 1-800-346-3910 or (303) 465-1755 in Colorado.
-
Page 2: Before You Install
DO NOT RETURN YOUR CONVERTIBLE TOP. Immediately contact Bestop at 1(800)346-3910 or, in Colorado, at (303)465-1755. We will then be able to forward the necessary part to you or have you contact a local distributor to ensure the most expedient service. - Page 3 Installing your Convertible Top Regardless of what type of hardware you currently have on your vehicle, it is extremely important that you only use the hardware found in this Convertible Top kit. This Convertible Top cannot be used with your existing hardware. Windshield Adjustment This is the first step you must take in the installation process and it is also the most important one.
- Page 4 Parts List and Hardware Identification Check off each item Bow Assembly - Right, Qty - 1, PN 244.52 #8 x 1/2" Pan Head Washer Screw - Black, Qty - 9, PN 200.48 #14 Sheet Metal Screw, Qty - 4, PN 243.51 #10-24 x 3/8"...
- Page 5 The Mounting Assembly This section will lead you through the installation of the various pieces that make up your Convertible Top hardware system. Bow Assembly CAUTION: Installation of the Bow Assemblies involves drilling in the top edge of the vehicle body. Check under the body edge at the marked locations. There may be wiring for the rear lights.
- Page 6 Step Two - A Note: If the vehicle is already equipped with brackets in the upper corners of the wind- shield, skip to Step Three. Position the Horizontal Rod Bracket in the upper corner of the windshield, flush with the frame (see Figure 3a).
- Page 7 Step Three Rotate the Front Bow Assemblies forward and insert the Vertical Assemblies into the existing hole on the top of the body at the rear of the door openings. Secure the front of the Horizontal Assemblies to the outside of the existing brackets in the upper corners of the windshield frame using a 5/16 x 3/4"...
- Page 8 Figure 5 Area detailed at right Footman Loop Top Fabric Installation This section will require two people. Note: On vehicles built after 1975 that have never had a soft top, a metal tailgate will need to be ordered. Order Part Number 51042-01. (Removing the hard top also removes the tailgate.) Step One Unfold the top and drape it over the front bow.
- Page 9 Step Two Rub chalk on the snaps on the inside of the top to mark the stud locations. Step Three Move to the front of one of the side panels. Pull the top fabric down and press the snaps against the body. The chalk will leave marks for the Body Stud locations. The Threaded Body Studs should be 1/4 inch below the top lip of the body.
- Page 10 Door Installation - 51443 ONLY Step One Fold the fabric back and insert the Paddle Handle into the Paddle Handle Mount on the rear lower part of each door frame. Make sure that the latch is toward the rear of the door. Use four #10-24 x 3/8 Truss Head Machine Screws and four #10-24 Locknuts to secure Figure 9...
-
Page 11: Adjusting The Top
Door Strike Installation Note: If a hard door strike is present, it must be removed. Note: Some vehicles will use the existing holes and bolts from the hard door strike. Close the door against the body and locate the Door Strike behind the Paddle Handle Latch. - Page 12 Side Curtains The small Front Side Curtain may be left in the down position while the Rear Side Curtain is in the up position. To roll up the Side Curtains, fold the bottom rear corner of the panel forward and roll the curtain to the outside. Avoid wrinkles in the fabric and the windows. Secure the curtain in place with the curtain straps inside the top (see Figure 13).
- Page 13 Care and Maintenance of your Bestop Top Your top is made of the finest materials available. To keep it looking new and for the maximum possible wear, it will need periodic cleaning and maintenance. Washing: The top fabric should be washed often using soap, warm water and a soft bristle brush. Rinse with clear water to remove all traces of soap.
Need help?
Do you have a question about the Tigertop and is the answer not in the manual?
Questions and answers