Advertisement
Quick Links
Installation Instructions
Trektop NX
Installation Tips
Before you begin installing your new Trektop NX, please read
all the instructions thoroughly, and watch the Bestop installation
video. (See Support section on this page)
For a smooth fit:
For easier installation, the top should be installed at a temperature above
72º F. Below this temperature, the fabric may contract an inch or more,
making it difficult to fit the vehicle.
It is normal for the fabric to contract and wrinkle when stored in the ship-
ping carton. Within a few days after installation, the fabric will relax and the
wrinkles will disappear.
Safety glasses should be worn at all
times when installing this product.
Tools
Phillips
Utility Knife
Screwdriver
Safety
13mm Socket
Glasses
This product is designed primarily to enhance the appearance of the vehicle and to shield the occupants from ordinary weather conditions. Do not rely in
any way on the components of this product to contain the occupants within the vehicle, or to protect against injury or death in the event of an accident, This product will not protect
the occupants from falling objects. Never operate the vehicle in excess of manufacturer
WEAR SEAT BELTS AT ALL TIMES
potentially dangerous situation.
P1 - 56823 Rev. K 0116
Installation Time
Ratchet
Skill Level
2 - Moderately Easy
Installation Instructions - Trektop NX
2 Hours
See a video showing installation of this top at:
http://www.youtube.com/watch?v=SiHjRyVdtqU
Or search Youtube for "Bestop Trektop NX install JK Unlimited (four door)"
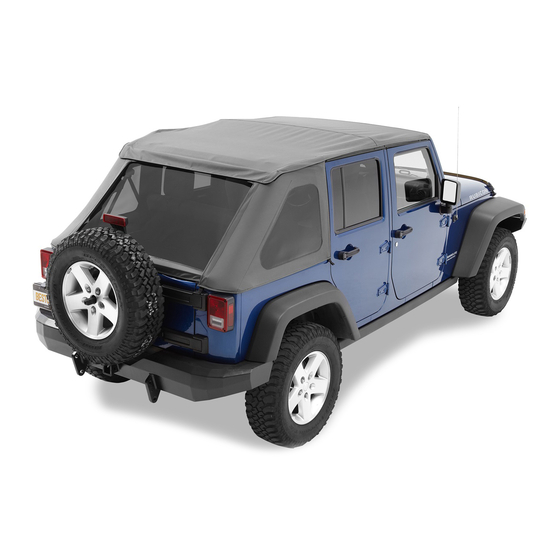
Vehicle Application:
Jeep Wrangler Unlimited (JK) 4 Door
2007 – Current
Part Number: 56823
Support
We're here to help!
Go to www.Bestop.com and
click "Contact Us"
© 2016 Bestop, Inc.
Advertisement


Need help?
Do you have a question about the Trektop NX and is the answer not in the manual?
Questions and answers