Advertisement
Table of Contents
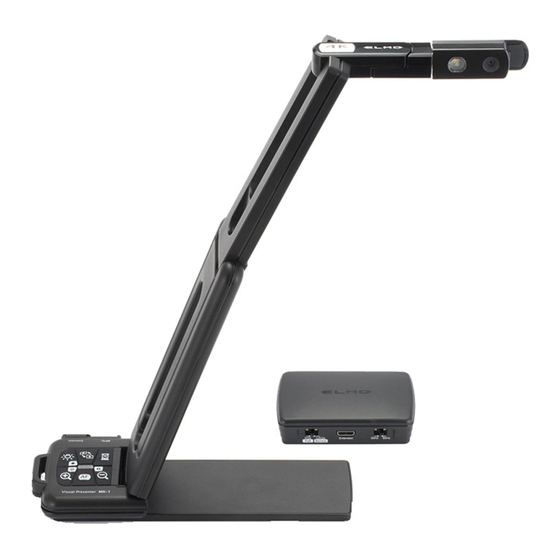
MX-1 New Baseplate Installation Guide
WARNING: Before you begin installing the new MX-1 baseplate, make sure that your MX-1 unit is not
plugged into anything else, including the optional ELMO Connect Box.
Fold up the MX-1 unit and flip it over so that
1
the baseplate is facing upwards and the
serial numbers are visible.
Using a screwdriver, carefully remove the 2
2
screws from the bottom of the baseplate.
The baseplate is magnetized and will not
come off until manually removed.
Take off the baseplate and screws. Do not
3
throw away your baseplate – you may
need the serial number for later reference.
Place the new MX-1 baseplate on the
4
bottom of the unit, making sure that it is
properly aligned with the unit.
Replace the 2 screws and screw them back
5
into the bottom of the new baseplate to
finish installation.
Bottom of baseplate
Bottom of baseplate
Bottom of MX-1
with new baseplate
1
Top of folded MX-1
Advertisement
Table of Contents

Related Manuals for Elmo MX-1


Summary of Contents for Elmo MX-1
- Page 1 MX-1 New Baseplate Installation Guide WARNING: Before you begin installing the new MX-1 baseplate, make sure that your MX-1 unit is not plugged into anything else, including the optional ELMO Connect Box. Fold up the MX-1 unit and flip it over so that the baseplate is facing upwards and the serial numbers are visible.
- Page 2 MX-1 New Baseplate Installation Guide To use the MX-1 Writing Board, slide the baseplate of the MX-1 unit into one of the two slots located on the bottom of the Writing Board. This will keep the camera in place as you write...
Need help?
Do you have a question about the MX-1 and is the answer not in the manual?
Questions and answers