Advertisement
[How to check MX-P3 firmware version]
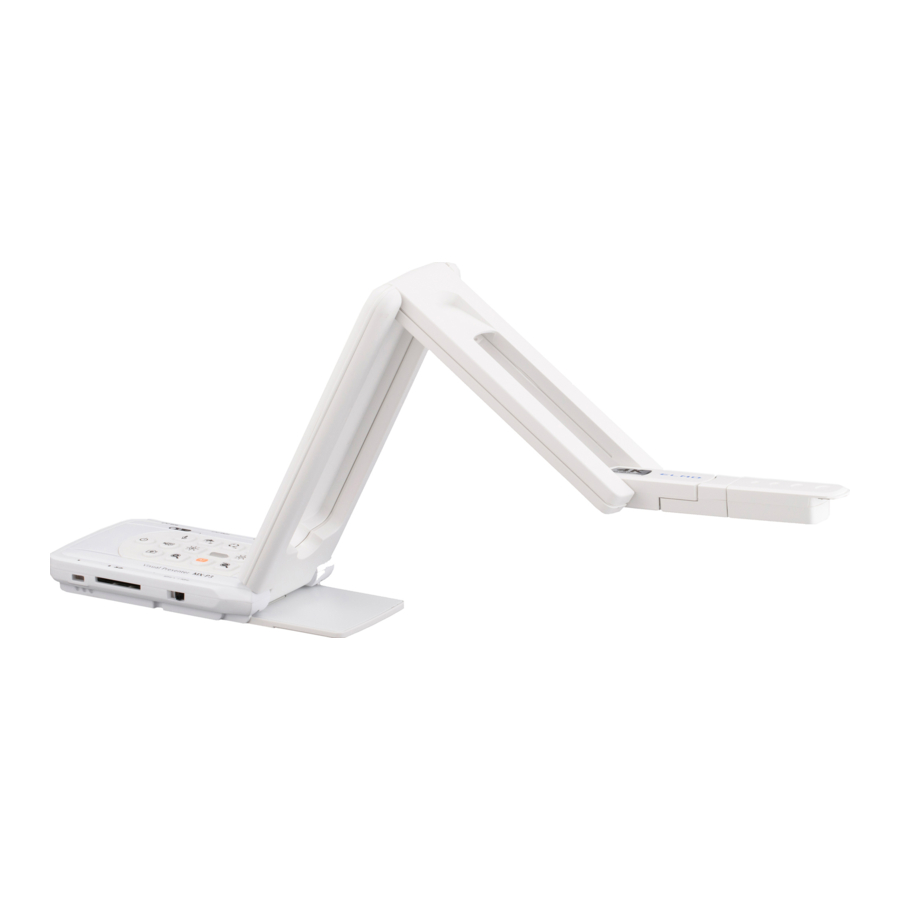
1. Connect the HDMI and RGB terminals to a monitor, projector, etc., and press the MX-
P3's power button to activate the camera.
2. When the image is displayed on the monitor or projector, press and hold the button
(about 2 seconds). Menu appears on the screen.
Use the
and
determine the setting value. The menu is displayed as shown below. The part surrounded
by the blue line is the cursor position.
3. Select the item [FW version] from the menu.
4. Displays the MX-P3 camera firmware version.
MX-P3 Firmware update
buttons to move the cursor, and use the
1
Nov. 2022
button to
Advertisement
Table of Contents

Related Manuals for Elmo MX-P3


Summary of Contents for Elmo MX-P3
- Page 1 The menu is displayed as shown below. The part surrounded by the blue line is the cursor position. 3. Select the item [FW version] from the menu. 4. Displays the MX-P3 camera firmware version.
- Page 2 2. After unzipping, save the firmware (**.fex and ulmage) in the root of the SD card (top, no folder), and insert the SD card into the MX-P3 3. Connect the DC cable to MX-P3. Confirm that the status display LED lights red. 4. Press the buttons at the same time.
Need help?
Do you have a question about the MX-P3 and is the answer not in the manual?
Questions and answers