Table of Contents
Advertisement
Quick Links
Add-on/Spare DIMM Instructions
This document describes how to add a second DIMM (Dual
In-line Memory Module) or remove and replace an existing
DIMM in a SnapServer DX1 from Overland Storage.
WARNING: To reduce the risk of electric shock or damage to
equipment, always remove any power cords while working
with the unit.
AVERTISSEMENT: Pour réduire le risque de choc électrique ou
endommagement de l'équipement, retirez toujours les cordons
électriques en travaillant avec l'appareil.
CAUTION:
While working with the unit, observe standard
Electrostatic Discharge (ESD) precautions to prevent damage
to micro-circuitry or static-sensitive devices.
Register the Add-on DIMM
NOTE: If you are only replacing an existing DIMM, skip to the next
section,
"Prepare the Unit."
When adding a second DIMM to your server, you must first
register it to activate the warranty. Technical and warranty
support are not available until this is done:
1. Go to the Overland Storage website
(http://www.overlandstorage.com/).
Selec
2.
t Service & Support > My Products.
3. At the
Site
Login, enter your e-mail address and
password, and click
4. Click the
Manage Products
5. From the Product Selector drop-down list, select the unit
in which you are installing the extra DIMM.
6. Click
Add a Component
7. Enter the DIMM information.
8. Click
Save & Exit
.
IMPORTANT: Your warranty certificate will be emailed to you.
Follow the instructions included in the email to complete the
registration process.
Prepare the Unit
Power Off and Disconnect
1. Power off the unit using the Web Management
Interface.
Select
System Maintenance > Reboot and Shutdown >
.
Shutdown
2. When all the LEDs are off, disconnect the power cord.
3. Disconnect all data cables from the unit.
10400351-002 02/2013
GO
.
button.
.
©2011-13 Overland Storage, Inc.
IMPORTANT: Using DIMMs that are not supplied by
Overland Storage will void your warranty. Overland
Storage DIMMs have been tested and verified to operate
properly with the SnapServer appliance. Failure to use qualified
DIMMs may impact data availability or lead to data loss.
Data Cables
™
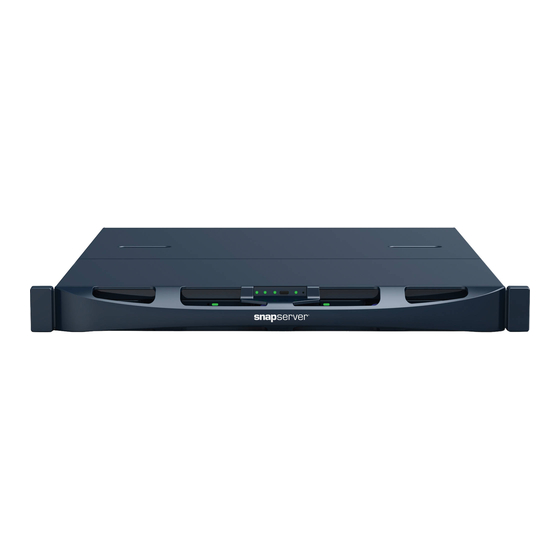
SnapServer
DX1
Enter
Enter
Power Socket
Page 1 of 4
Advertisement
Table of Contents

Related Manuals for Overland Storage SnapServer DX1


Summary of Contents for Overland Storage SnapServer DX1
- Page 1 This document describes how to add a second DIMM (Dual In-line Memory Module) or remove and replace an existing DIMM in a SnapServer DX1 from Overland Storage. WARNING: To reduce the risk of electric shock or damage to equipment, always remove any power cords while working with the unit.
- Page 2 1. Remove and retain the four screws holding the top panel. 2. Slide the top panel toward the rear no more than one-half inch (1.25cm) and lift it off. Screws 10400351-002 02/2013 Page 2 of 4 ©2011-13 Overland Storage, Inc. ...
- Page 3 • Sliding rails – Slide the rails on the side of the unit into the rack rails, slide it all the way to the rear, and secure the appliance using the two captive screws. 10400351-002 02/2013 Page 3 of 4 ©2011-13 Overland Storage, Inc. ...
- Page 4 Return Old Part to Overland 1. Place the old part in the anti-static bag and put it in the replacement part’s box. 2. Use an RMA to return the part to Overland Storage. For return shipping details and RMA number, go to: http://docs.overlandstorage.com/return-instructions http://support.overlandstorage.com...
Need help?
Do you have a question about the SnapServer DX1 and is the answer not in the manual?
Questions and answers