Advertisement
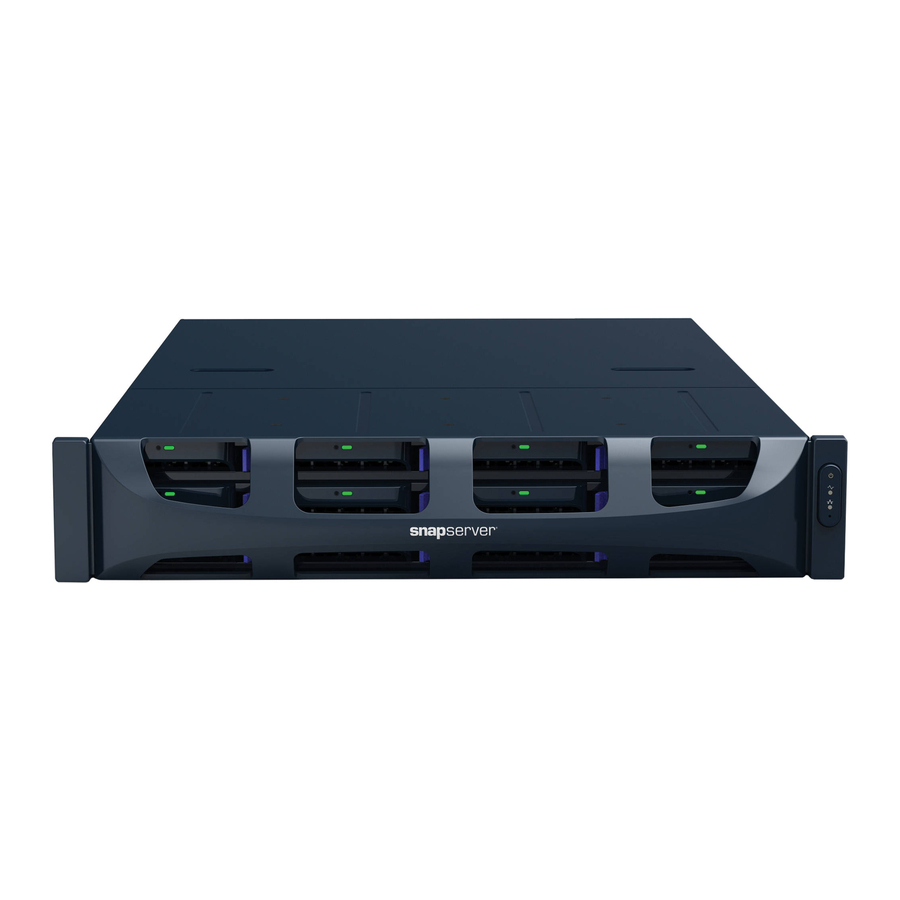
SnapServer
Overview
Some versions of the SnapServer DX2 appliance's rail kit come with bar nuts in place of the
clip nuts shown in the Quick Start Guide. This addendum provides the instructions necessary
to install the rail kit using the bar nuts.
Procedure
Use these steps to attach the rack rails in place the ones in Step 3 of the Quick Start Guide:
Size the Outer Rails to Rack
WARNING: It is recommended that a mechanical lifter (or at least two people) be used to raise and align
the unit to prevent injury during installation. Use care when inserting or removing a unit into or out of a
rack to prevent the accidental tipping of the rack, causing damage or personal injury.
AVERTISSEMENT: Afin d'éviter des blessures pendant l'installation, il est recommande d'utiliser un monte-
charge (ou au moins deux personnes) pour élever ou aligner l'appareil. Faites attention lorsque vous insérez ou
retirez l'appareil d'un support, pour empêcher le déversement accidentel de la crémaillère causant des
dommages et des blessures.
1. Measure the distance between the inside edges of the
front and rear vertical rails on the rack.
2. Check that the outside distance between the slide rail
front and rear flanges is slightly less than the rack
internal dimensions.
3. If necessary, remove the four bolts holding the outer
rail rear component, slide it out the needed
distance, and loosely reinstall the nuts and bolts.
NOTE: For some racks, only two bolts can be used with the rear component due to the location
of the slots. This does not impact the stability of the rails.
4. Repeat
Step 3
Attach Outer Rails
1. At the front, determine the 2U area where the DX2 is to be
mounted, and mark the second and fourth holes from the
top on both sides.
NOTE: The bottom rail hole is used by the captive screw on the unit
to secure the DX2.
2. Position a slide rail between the front and rear rack rails
with the rail kit flanges on the inside of the rack rails and
pointing outward.
3. At the front, use two 10-32 screws to secure the front of the
slide rail:
a. Align the top rail hole with the second (marked)
rack hole and insert the screw.
10400379-001
DX2 Rail Kit Change
®
for the other rail.
©2012 Overland Storage, Inc.
Addendum
Rear
Component
Nuts & Bolts
(Front View)
Mark #2
DX2
Mark #4
(Top View)
Slide Rail
Rack
Bar Nut
2U
03/2012
Advertisement
Table of Contents

Summary of Contents for Overland Storage SnapServer DX2
- Page 1 ® Overview Some versions of the SnapServer DX2 appliance’s rail kit come with bar nuts in place of the clip nuts shown in the Quick Start Guide. This addendum provides the instructions necessary to install the rail kit using the bar nuts.
- Page 2 6. For the other rail, repeat Steps 2–5. 7. Verify both rails are level and tighten all screws. Continue with “Install the Unit” in the SnapServer DX2 Quick Start Guide. Additional Help For help with your SnapServer DX2 appliance, search at: http://support.overlandstorage.com/kb You can email our technical support staff at techsupport@overlandstorage.com...


Need help?
Do you have a question about the SnapServer DX2 and is the answer not in the manual?
Questions and answers