Table of Contents
Advertisement
Advertisement
Table of Contents

Subscribe to Our Youtube Channel
Related Manuals for Gilson Pipetman Classic Series


Summary of Contents for Gilson Pipetman Classic Series
- Page 1 CLASSIC User’s Guide...
-
Page 2: Table Of Contents
TABLE OF CONTENTS INTRODUCTION | 3 Parts Checklist | 3 GLP Compliant | 3 Description | 4 Specifications | 4 SETTING THE VOLUME | 6 PIPETTING | 7 Fitting the Tips | 7 Pre-Rinse the Tips | 8 Guidelines for Good Pipetting | 9 ACCESSORIES | 11 TROUBLESHOOTING | 12 Troubleshooting Table | 12... -
Page 3: Introduction
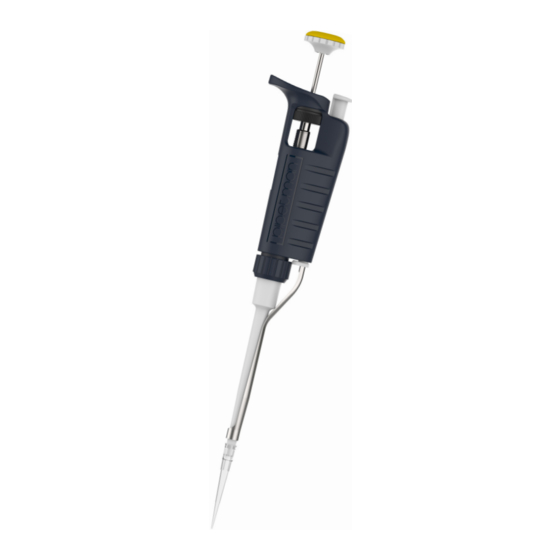
Chapter 1 INTRODUCTION PIPETMAN® Classic, the pipetting standard, is a fully adjustable, air-displacement pipette that is used with disposable tips. The PIPETMAN Classic offers a large range of accurate and precise pipettes. Eight single channel models cover a volume range from 0.2 µL to 10 mL for many applications: ●... -
Page 4: Description
PIPETMAN® DIAMOND Tips are used. Each pipette is inspected and validated by qualified technicians in accordance with the Gilson Quality System. Gilson declares that its manufactured pipettes comply with the requirements of the ISO 8655 standard by type testing. The adjustment is carried out under strictly defined and monitored conditions (ISO 8655-6). - Page 5 (refer to Guidelines for Good Pipetting on page 9), the P2 model may be used to aspirate volumes as low as 0.1 µL and the P10 model as low as 0.5 µL. GILSON ISO 8655 VOLUME (µL) SYSTEMATIC...
-
Page 6: Setting The Volume
Chapter 2 SETTING THE VOLUME The volume of liquid to be aspirated is set using the volumeter. The dials are colored either black or red to indicate the position of the decimal point, depending on the model (refer to Figure 3). The volume is set by turning the thumbwheel or the push button. -
Page 7: Pipetting
Chapter 3 PIPETTING While many brands of tips can be used with the PIPETMAN® Classic, it is recommended to use PIPETMAN® DIAMOND Tips for optimum performance. These tips are made from pure polypropylene. Plastic tips are for a single application—they should not be cleaned for reuse. -
Page 8: Pre-Rinse The Tips
An autoclavable tip ejector extension can be ordered as an accessory for P2 and P10 equipped with a plastic tip ejector (part number F107027; refer to ACCESSORIES on page 11). To fit a tip ejector extension: Slide the extension over the tip holder. -
Page 9: Guidelines For Good Pipetting
Dispense Place the end of the tip against the inside wall of the recipient vessel at an angle of 10° to 40°. Press the push button slowly and smoothly to the first stop. Wait for at least one second, then press the push button to the second stop to expel any residual liquid from the tip. - Page 10 ● Each new tip should be pre-rinsed with the liquid to be pipetted. ● Liquid should never enter the tip holder. To prevent this: ○ Press and release the push button slowly and smoothly. ○ Never turn the pipette upside down. ○...
-
Page 11: Accessories
Chapter 4 ACCESSORIES To make pipetting more comfortable and secure, Gilson has developed several accessories. DESCRIPTION PART NUMBER Plastic ejector P2/P10 with adapter F107027 Plastic ejector P20 F107028 Plastic ejector P100 F107029 Plastic ejector P200 F107030 Plastic ejector P1000 F107031... -
Page 12: Troubleshooting
Chapter 5 TROUBLESHOOTING A quick inspection of the pipette may help you to detect a problem. You may download the Two Minute Inspection Poster from the Gilson NOTE website (www.gilson.com), which shows how to perform a quick diagnosis of your pipette. - Page 13 Replace the ejector damaged spacer Assemble the tip The tip ejector is loose ejector properly The ejector lock is Align the ejector misaligned lock If you are not able to resolve the issue, contact your Gilson representative. PIPETMAN® CLASSIC USER’S GUIDE...
-
Page 14: Leak Test
Leak Test This test may be performed at any time to check that the pipette does not leak, especially after performing a maintenance or decontamination procedure. If a pipette fails this test, replace the O-ring and seal. After making sure that the pipette is correctly reassembled, repeat this test. -
Page 15: Maintenance
After replacing any parts you NOTICE should verify the performance of your pipette following the verification procedure available on the Gilson website (www.gilson.com). If the pipette needs to be readjusted, please contact your authorized Gilson Service Center. Changing the Tip Ejector... - Page 16 Color-coded push button Connecting Piston assembly Seal O-ring ejector holder Figure 7 Piston assembly (disassembled) MAINTENANCE PIPETMAN® CLASSIC...
-
Page 17: Changing The Tip Holder - No Tools Required
Servicing the Piston Assembly You may remove the piston assembly for cleaning purposes only. If the piston assembly is changed, the pipette must be adjusted and calibrated in a Gilson authorized Service Center. The piston assembly must not be NOTICE autoclaved. -
Page 18: Cleaning And Decontamination
Please contact your authorized Gilson Service Center. You can refer to the decontamination procedure available on the Gilson website NOTICE (www.gilson.com). Liquid must never enter the upper part (handle) of any pipette. - Page 19 Cleaning The pipette must be cleaned, as described below, before it is decontaminated. Soap solution is recommended for cleaning PIPETMAN Classic. EXTERNAL Remove the tip ejector. Wipe the tip ejector with a soft cloth or lint-free tissue soaked with soap solution. Wipe the entire pipette with a soft cloth or lint-free tissue soaked with soap solution to remove all dirty marks.
- Page 20 Autoclaving The upper part (body) and the piston assembly of the pipette are not autoclavable. Only the following parts may be autoclaved: tip ejector, tip holder, and connecting nut. The O-ring and seal are not autoclavable. They may be cleaned or replaced with the ones found in SPARE PARTS on page 21.
-
Page 21: Spare Parts
Chapter 7 SPARE PARTS Service Kit 1st level includes: ● 3 piston seals* ● 3 O-rings* ● 1 tip holder Service Kit 2nd level includes: ● 1 push button ● 1 connecting nut ● 1 tip ejector For only: P2 and P10 models ●... -
Page 22: P2 (F144801) And P10 (F144802)
P2 (F144801) and P10 (F144802) LABEL DESCRIPTION C+D+E Service Kit 1st level F144501 F144502 A+B+F1+F2 Service Kit 2nd level F107012 F107013 Seal Guide + O-Ring F144861 F144862 (5 sets) Dual-Position Adapter F144879 F144879 (x5) P20 (F123600) and P100 (F123615) LABEL DESCRIPTION P100 C+D+E Service Kit 1st level F144495 F144496 Service Kit 2nd level... - Page 23 Push button (qty. 1) for 2nd Level Service Kit Connecting nut (qty. 1) for 2nd Level Service Kit ejector (qty. 1) only for P2 and P10 Models Piston seals (qty. 3)* for 1st Level Dual- Service Kit position adapter (qty. 5) O-rings only for P2 (qty.
-
Page 24: Warranty
Gilson or its designates. Gilson’s sole liability under this warranty shall be limited to, at Gilson’s sole option, repair, or replacement of any defective components of pipettes or refund of the purchase price paid for such pipettes. - Page 25 NOTES PIPETMAN® CLASSIC USER’S GUIDE...
- Page 26 NOTES NOTES PIPETMAN® CLASSIC...
- Page 27 NOTES PIPETMAN® CLASSIC USER’S GUIDE...
- Page 28 LT801120/H | ©2019 Gilson, Inc. All rights reserved.
Need help?
Do you have a question about the Pipetman Classic Series and is the answer not in the manual?
Questions and answers