Advertisement
Quick Links
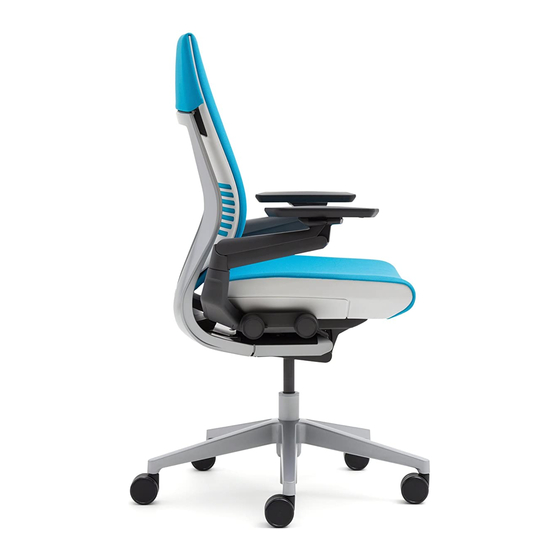
442 Gesture
™
Chair - Control Replacement
®
T-30
TORX
Pneumatic Cylinder
Removal Tool
Back Release
Tool
Safety Pin
If you have a problem, question, or request, call
your local dealer, or Steelcase Line 1 at
888.STEELCASE (888.783.3522)
for immediate action by people who want to help you.
(Outside the U.S.A., Canada, Mexico, Puerto Rico,
and the U.S. Virgin Islands, call: 1.616.247.2500)
Holding Block
Or visit our website: www.steelcase.com
©
2013 Steelcase Inc.
Grand Rapids, MI 49501
U.S.A.
Page 1 of 9
939544203 Rev C
Printed in U.S.A.
Advertisement

Subscribe to Our Youtube Channel
Related Manuals for Steelcase 442 Gesture


Summary of Contents for Steelcase 442 Gesture
- Page 1 Back Release Tool Safety Pin If you have a problem, question, or request, call your local dealer, or Steelcase Line 1 at 888.STEELCASE (888.783.3522) for immediate action by people who want to help you. (Outside the U.S.A., Canada, Mexico, Puerto Rico, and the U.S.
- Page 2 ® Back and Can Cover Removal Rotate back tension knob counter clock-wise until it stops. Rotate variable back stop lever counter clock-wise until it stops. (this allows the back to fully recline). Activate seat height lever to raise seat to highest position and rotate seat depth knob counter clock-wise to move the seat all of the way back.
- Page 3 ® SEAT BUCKLE LATCH SNAP BACK RELEASE TOOL Place bent end of back release tool (p/n 442B2100) into slot of back buckle latch. Push down on end of back release tool to pivot bent end up, disengaging back buckle latch (2a) Pull bottom of back out of core qualizer (2b).
-
Page 4: Side View
® SAFETY PIN HOLDING BLOCK CORE EQUALIZER Rock the top of the back forward to compress the SPRING core equalizer spring fully (5a). Insert holding block (P/N 442B8101) and safety pin (P/N 442B9501) as shown (5b). Remove back assembly by pulling straight out. SAFETY PIN BACK ASSEMBLY HOLDING BLOCK... -
Page 5: Seat Removal
® SEAT DEPTH ADJUST KNOB Seat Removal Lay chair on side as shown, with the control knobs pointing up. Depress seat catch spring (located under the seat). Rotate seat depth knob clockwise until seat SEAT CATCH stops moving forward. SPRING Position chair up and pull seat off. - Page 6 ® Arm Removal Use flat bladed screwdriver to pry up at the corners of the arm cover and pine tree fasteners. HOLDING BLOCK Remove arm cover. Use Torx T-30 to remove six (6) screws attaching arms to chair frame. Slide arm out of each side.
-
Page 7: Chair Control
® Remove Control from Cylinder and Base Secure cylinder removal tool, (P/N 879100100), to cylinder to separate control from cylinder and base. Apply lifting force to the cylinder and base with one hand. With hammer in the other hand, gve the removal tool several solid hits on the flat area. - Page 8 ® PINE TREE FASTENER Turn the base with cylinder over and place on wheels. Set new chair control onto cylinder. Slide arms in from the side and attach with three (3) screws each. Use the new pine tree fasteners to re-attach the arm cover. To reinstall seat cushion, slide on from front until it stops.
- Page 9 ® HOLDING BLOCK CORE EQUALIZER SPRING SAFETY PIN Insert new back frame. Feed in from back. Rotate it down into place. Holes should align. Rock back frame forward to compress core equalizer spring. Remove safety pin and holding block. Carefully rock top of back rearward to release tension on spring.
Need help?
Do you have a question about the 442 Gesture and is the answer not in the manual?
Questions and answers