Advertisement
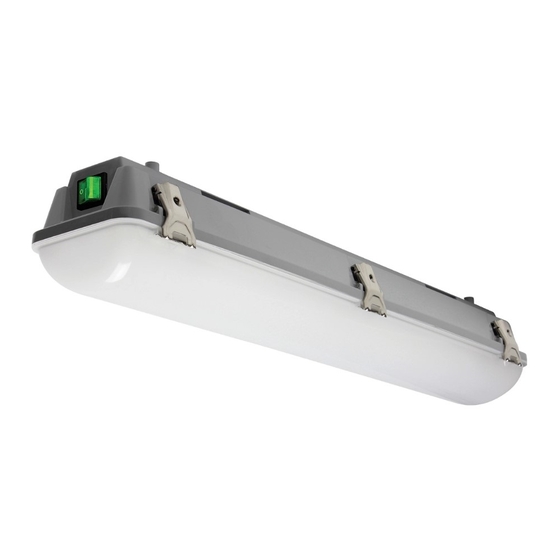
GLE-GL
Installation Instructions
READ AND FOLLOW ALL SAFETY INSTRUCTIONS.
When using electrical equipment, basic safety precautions should always be followed including the following:
• DISCONNECT AC POWER SUPPLY BEFORE SERVICING.
• Installation and servicing of this equipment should be performed by qualified service personnel only.
• Ensure that the electrical wiring conforms to the National Electrical Code NEC® and local regulations if applicable.
• Do not mount near gas or electrical heaters.
• Equipment should be mounted in locations and at heights where it will not be readily subjected to tampering
by unauthorized personnel.
• The use of accessory equipment not recommended by the manufacturer may cause an unsafe condition.
• Any modification or use of non-original components will void the warranty and product liability.
• Do not use this equipment for other than intended use.
Ceiling Mounting (Magnetic)
1. Secure (2) steel mounting disks to the desired location with the hardware provided. Mounting holes should be drilled
20.5" apart from center to center of each disk.
2. Align the magnets located on the backside of the fixture with the mounting disk and place to attach.
Magnetic
40070015 REV 4 - 09/19
IMPORTANT SAFEGUARDS
SAVE THESE INSTRUCTIONS!
Steel Mounting Disk
Mounting Screws
Magnetic
1
800-533-3948 www.barronltg.com
Advertisement
Table of Contents

Related Manuals for BARRON Growlite GLE-GL


Summary of Contents for BARRON Growlite GLE-GL
-
Page 1: Installation Instructions
GLE-GL Installation Instructions IMPORTANT SAFEGUARDS READ AND FOLLOW ALL SAFETY INSTRUCTIONS. When using electrical equipment, basic safety precautions should always be followed including the following: • DISCONNECT AC POWER SUPPLY BEFORE SERVICING. • Installation and servicing of this equipment should be performed by qualified service personnel only. •... - Page 2 GLE-GL Installation Instructions Ceiling Mounting (Snap on Brackets) 1. Secure snap on brackets to ceiling, 13” apart using appropriate hardware for the mounting surface (Fig. 2). 2. Aline fixture with the brackets and snap into place. Slide the bolts throught bracket holes and secure with nuts (snug fit), provided (Fig.
Need help?
Do you have a question about the Growlite GLE-GL and is the answer not in the manual?
Questions and answers