Download Print this page
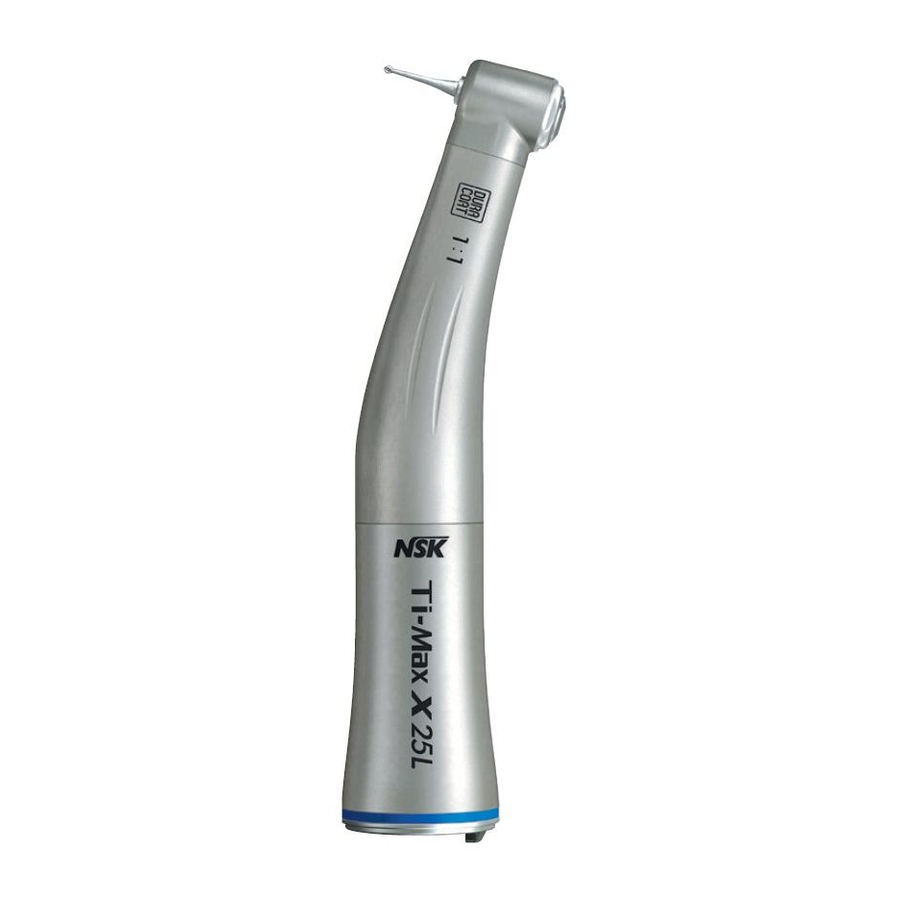
NSK Ti-Max X Series Operation Manual

NSK Ti-Max X Series Operation Manual

Surgical handpiece
Hide thumbs Also See for Ti-Max X Series:

Advertisement

Quick Links

'09.03.01 M
Surgical Handpiece
Ti-Max
X-SG20L
Ti-Max
X-SG25L
Ti-Max
X-SG93L
Ti-Max
X - S G 9 3
S-Max SG20
OM-C0425E
OM-C0425E
001
001

Advertisement

loading
Need help?

Need help?

Do you have a question about the Ti-Max X Series and is the answer not in the manual?

Questions and answers

Subscribe to Our Youtube Channel

Summary of Contents for NSK Ti-Max X Series

  • Page 1 Surgical Handpiece Ti-Max X-SG20L Ti-Max X-SG25L Ti-Max X-SG93L Ti-Max X - S G 9 3 S-Max SG20 OM-C0425E OM-C0425E ’09.03.01 M...
  • Page 2 CAUTION for X-SG20L,SG20 This handpiece is used only for the Surgical Unit with Torque Calibration System such as NSK Surgic XT Plus. Using this product with other surgical units may break the handpiece or bone. Intended to Use The handpiece is designed only for surgical use by qualified personnel.
  • Page 3 CAUTION · Do not operate the handpiece without the bur/drill. · Do not push the push-bottom during operation. If it pressed, it may · Check for vibration, noise and overheating outside the patient's oral cavity before use. If any abnormalities are found, stop -OVERHEATING of the handpiece head.
  • Page 4 · Do not connect or disconnect handpiece until the drive motor has completely stopped. · Connect only the motor which has max rotation speed is less than 40,000min-1 with E type joint (ISO3964) · Connect only NSK’s Motor or motor that it have stopper pin. · This product’s joint followed ISO3964 standards.
  • Page 5 2. Mounting and Removing Bur / Drill X-SG93L/X-SG93 Only X-SG20L/SG20 can use drill 1 ) Align bur and guide area of the handpiece. 2 ) Depress push button to open chuck. Insert the bur into the chuck. 3 ) Gently turn the bur until it engages with the mechanism. ( Fig. 4 ) ( 1 ) Mounting 4 ) Push bur inwards to click into place.
  • Page 6: Spray Nozzle

    3. Spray Nozzle Irrigation Tube Irrigation Tube External ( 2 ) Removing X-SG20L/SG20 has 3 irrigation methods are available; External, Internal or both of them, Spray Push the push button with a thumb, and the bur/drill is removed. ( Fig. 5 ) Nozzle depending on tool and operation procedure.
  • Page 7: Maintenance

    ( 3 ) External and Internal Irrigation together CAUTION Only a drill with internal irrigation is used. Y-Connector Irrigation Tube 1 ) Connect the ends of the Y-Connector to the External Spray Nozzle and Internal Spray When handpiece clean dirt of external surface, be careful the water does not enter into inside of rear of the handpiece. Nozzles refer as detailed in procedures ( 1 ) and ( 2 ) .
  • Page 8 firmly and spray for 2-3 seconds. Check the tissue, if it is clean the handpiece can be autoclaved, if not spray again until clean. For optimum PANA SPRAY plus lubrication use NSK Care 3 Plus. Internal Spray Nozzle Cleaning wire External Spray Nozzle Fig.
  • Page 9 ( 3 ) Stabilization CAUTION CAUTION Autoclave sterilization is recommended. · Do not wash, soak, or wipe off the handpiece with/in the oxidation potential solution ( strong acid, super acid solution ) or Sterilization is required first time you use and after each patient as noted below. sterilized solution.
  • Page 10: Repair Service

    finish and reduce the light transmission efficiency. If Glass Rod Optic end has become damaged, return it to dealer for repair. Glass Rod Optic Fig. 12 6. Repair Service For genuine NSK service and parts always return the handpiece to your NSK dealer.