Advertisement
Quick Links
INTERFACING SOLUTIONS
PRODUCT FEATURES:
- Retains functionality of factory-installed navigation system for passenger access at anytime.
- Allows onscreen access to factory Bluetooth keypad*.
- Allows for navigation destination address entry at anytime*.
- AV input cable included.
*Subject to capability of factory-installed navigation system.
PARTS INCLUDED:
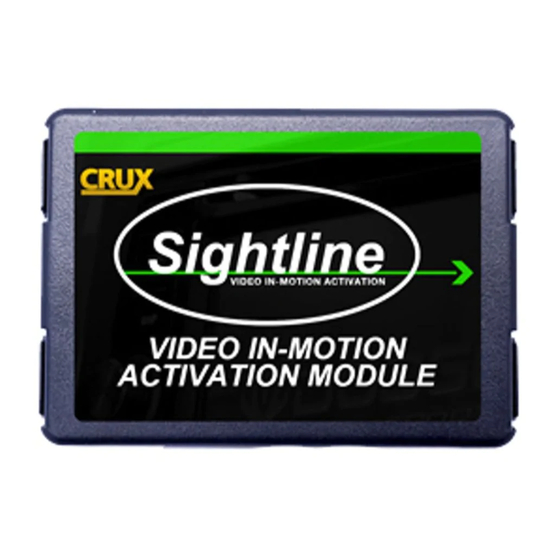
VIMMB-85S Module
DIP SWITCH SETTINGS:
Vehicle / Navigation
Video In Motion permanent
Video In Motion non-permanent*
S Class (W221) with factory rear-view camera
and Video In Motion permanent
*With DIP #1 set to OFF, use the GREEN wire on the VIMMB-85O harness to activate/deactivate the VIM function. Connect
the GREEN wire to a +12V source to activate VIM. The use of a toggle switch (not included) is recommended to allow
activation and deactivation of the VIM function (non-permanent).
POWER CONNECTION:
To VIMMB-85S Module
To VIMMB-85S Module
Crux Interfacing Solutions • 21541 Nordhoff St., Unit C, Chatsworth, CA 91311
R
+
RADIO REPLACEMENT
SWC RETENTION
PIN 1 (RED)
PIN 5 (BLACK)
PIN 1 (RED)
PIN 5 (BLACK)
phone: (818) 609-9299 • fax: (818) 996-8188 • www.cruxinterfacing.com
select Mercedes Benz Vehicles with NTG3, 3.5 & 5 Systems
VIMMB-85S Harness
DIP 1
DIP 2
ON
OFF
OFF
OFF
ON
ON
To NTG3/3.5 20 Pin connector
PIN 20 (RED/BLUE)
PIN 10 (BROWN/WHITE)
To NTG5 Quadlock connector
PIN 15 (RED)
PIN 12 (BROWN)
1 of 5
VIMMB-85S
Video In Motion Activation for
AV Cable
DIP 3
DIP 4
DIP 5
OFF
OFF
ON
OFF
OFF
ON
OFF
OFF
ON
NTG3 and NTG3.5
NTG5
DIP 6
ON
ON
ON
rev.061319
Advertisement

Subscribe to Our Youtube Channel
Summary of Contents for Crux VIMMB-85S
- Page 1 To NTG5 Quadlock connector PIN 1 (RED) PIN 15 (RED) PIN 5 (BLACK) PIN 12 (BROWN) NTG5 1 of 5 rev.061319 Crux Interfacing Solutions • 21541 Nordhoff St., Unit C, Chatsworth, CA 91311 phone: (818) 609-9299 • fax: (818) 996-8188 • www.cruxinterfacing.com...
-
Page 2: Installation Instructions
Remove the Comand unit and unplug the 20 pin connector. Press in the lock tab and slide out the insert. 2 of 5 rev.061319 Crux Interfacing Solutions • 21541 Nordhoff St., Unit C, Chatsworth, CA 91311 phone: (818) 609-9299 • fax: (818) 996-8188 • www.cruxinterfacing.com... - Page 3 PIN 1 and the Blue/Black wire to PIN 11 of the insert. Slide back the insert into the 20 pin Comand connector. 3 of 5 rev.061319 Crux Interfacing Solutions • 21541 Nordhoff St., Unit C, Chatsworth, CA 91311 phone: (818) 609-9299 • fax: (818) 996-8188 • www.cruxinterfacing.com...
- Page 4 Black wire to PIN 3 of the 3 pin connector on the Comand distribution block. rev.061319 4 of 5 Crux Interfacing Solutions • 21541 Nordhoff St., Unit C, Chatsworth, CA 91311 phone: (818) 609-9299 • fax: (818) 996-8188 • www.cruxinterfacing.com...
- Page 5 +12V and the GREEN wire to the other leg. AUDIO/VIDEO INPUT: The VIMMB-85S includes an Audio/Video cable for an external A/V source. Plug in the Audio/Video cable to the OEM A/V port. The OEM A/V port can be found inside the glove box or in the center console.


Need help?
Do you have a question about the VIMMB-85S and is the answer not in the manual?
Questions and answers